This information applies only to the Ultra Course View.
This information applies only to the Ultra experience.
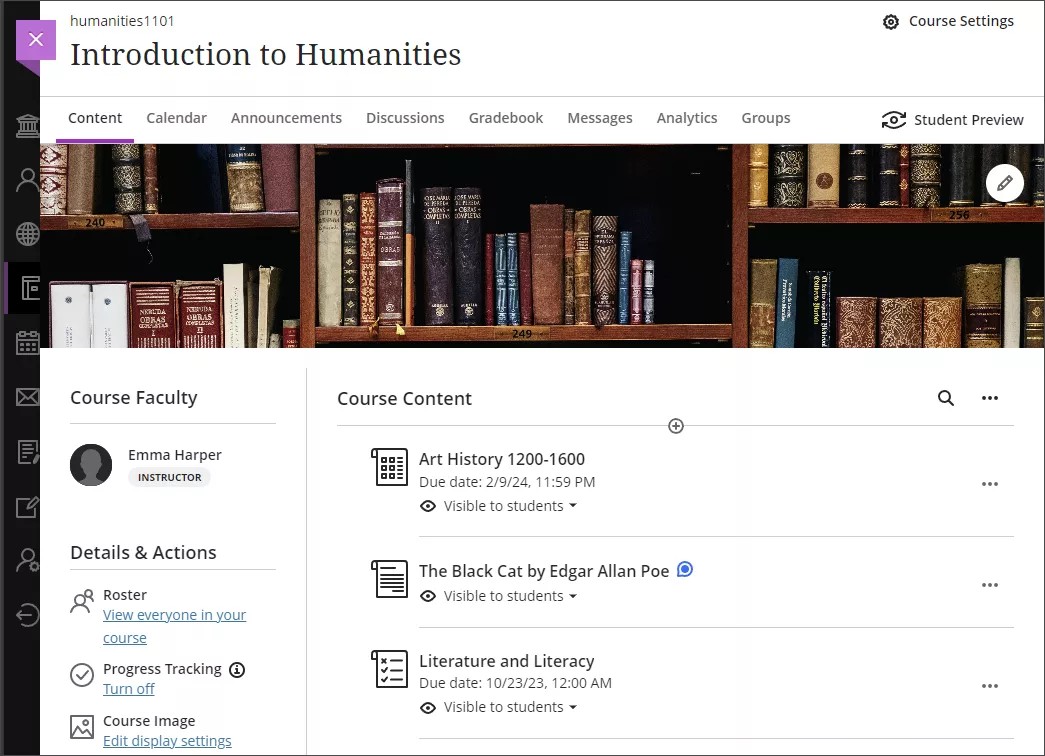
Your Course View
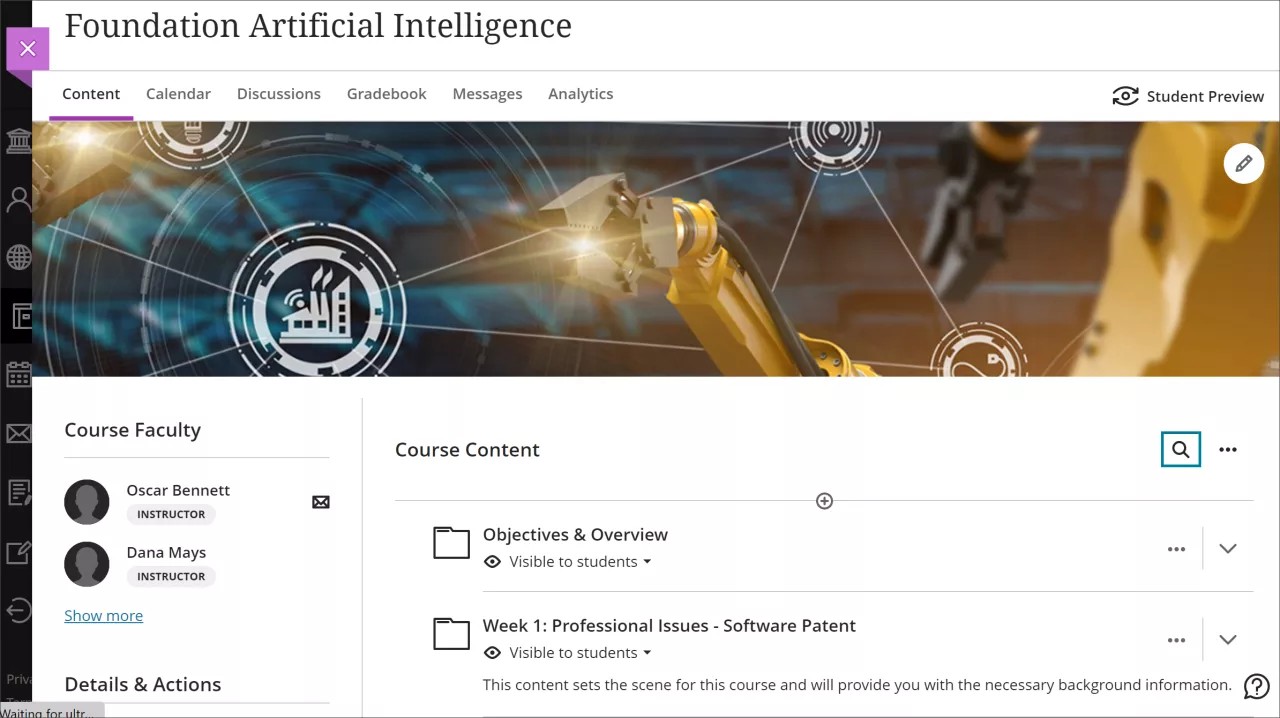
All of your course content appears in the main part of the page. When you open a content item, such as a test, it slides out in a panel on top of the Course Content page. Close the panel to go back to where you were previously.
If you see a gauge icon next to your files, your institution uses Blackboard Ally to measure the accessibility of your course content. To learn more, visit Ally help for instructors.

Learn Ultra supports up to three levels of hierarchy for content nesting on the Course Content page. For example, a folder within a folder is two levels. A folder within a folder within a learning module is an example of three levels. Your institution can choose to add an additional level of content nesting. Ask your Ultra administrator whether your institution uses this option.
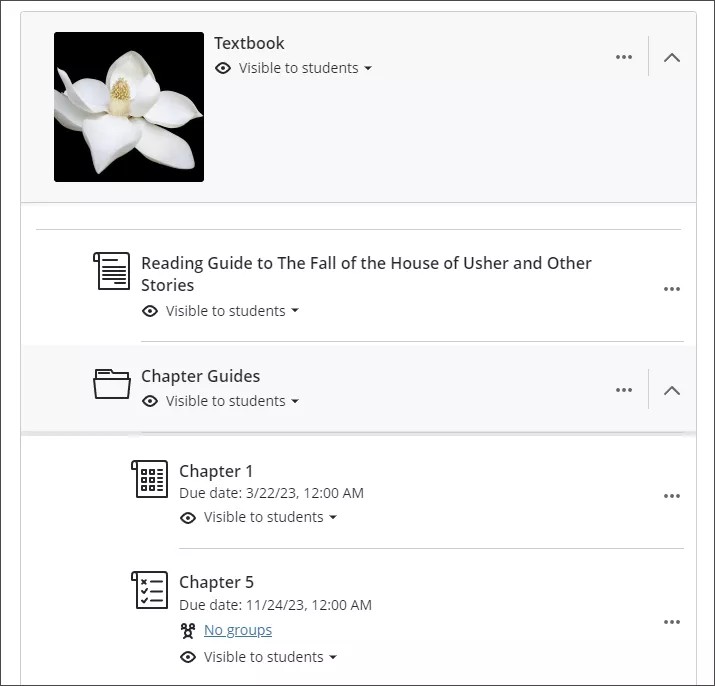
When you select a folder or learning module, it will expand to display the content nested inside that folder or learning module. When you select an item such as an assessment, document, or link, the content slides out in a panel on top of the Course Content page. Close the panel to navigate back to where you were previously.
You can search for course content by title by selecting the magnifying glass icon at the top of the page.
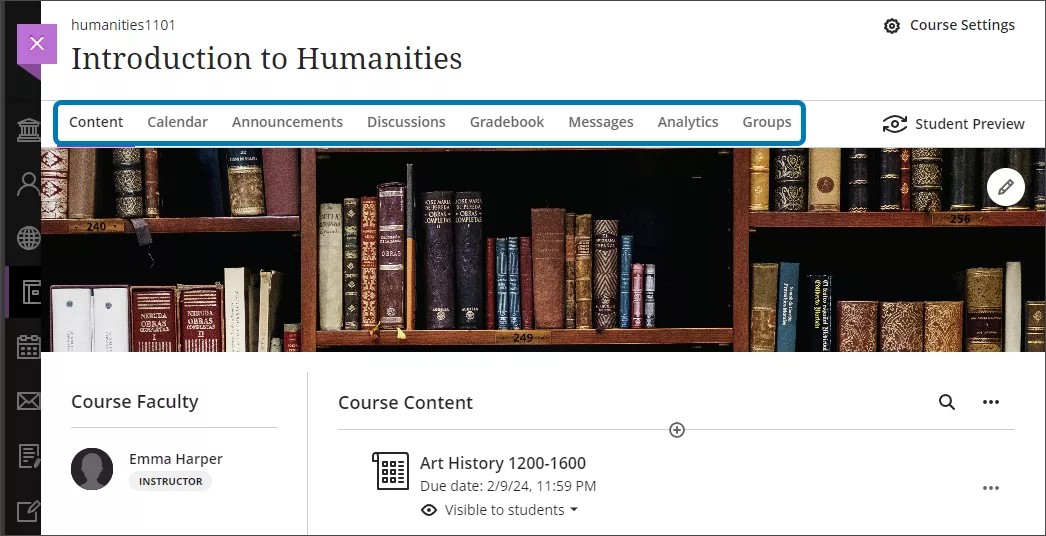
Navigation bar
Open frequently used pages in one step. Select a page to access Content, Calendar, Announcements, Discussions, Gradebook, Messages, Analytics, or Groups.
Details & Actions
Details & Actions gives you a variety of tools for managing your course.
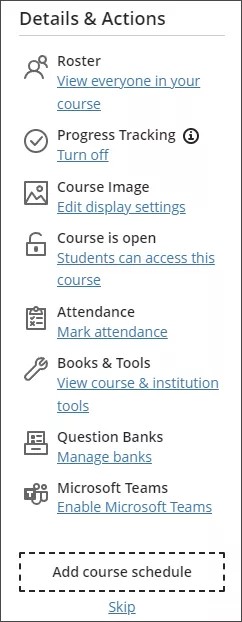
A. Roster: View your class list. You can access basic profile cards and match faces to names. You can also send messages to anyone involved with your course.
B. Progress Tracking: Track student progress relating to content and assessments in your course. Your institution can choose whether or not to allow you to turn Progress Tracking on or off.
C. Course Image: If allowed by your institution, you can add a course banner image to personalize your course. Your image is displayed along the top of the Course Content page and as the course card thumbnail in the Courses list in the base navigation.
D. Course is open: Open a course when you're ready for students to participate. You can also make a course private while you add or experiment with content, and then open it to students when you're ready. Students see private courses in their course lists, but they can't access them.
E. Class Collaborate: If your institution has this integration, you can use Class Collaborate sessions as a convenient launch point for scheduled and impromptu workspaces for students.
F. Attendance: If your institution has this feature turned on, mark attendance grades and access detailed records.
G. Books & Tools: Displays tools available in your course and your institution.
H. Question Banks: Create a database of questions you can reuse in multiple assessments. You can create new question banks or import existing ones to use in your courses.
I. Microsoft Teams: If your institution uses this integration, you can set up a Team class for your course.
J. Add course schedule: Add when your class meets as a calendar event. You can also include a location. Select Skip if you don’t want to be prompted to add a course schedule. If you later decide to add one, go to the Calendar page.
New conversation activity
If you've turned on conversations on content, activity icons appear for new conversation activity.
The activity icon, which resembles a speech bubble, also appears with new discussions and group conversation activity.
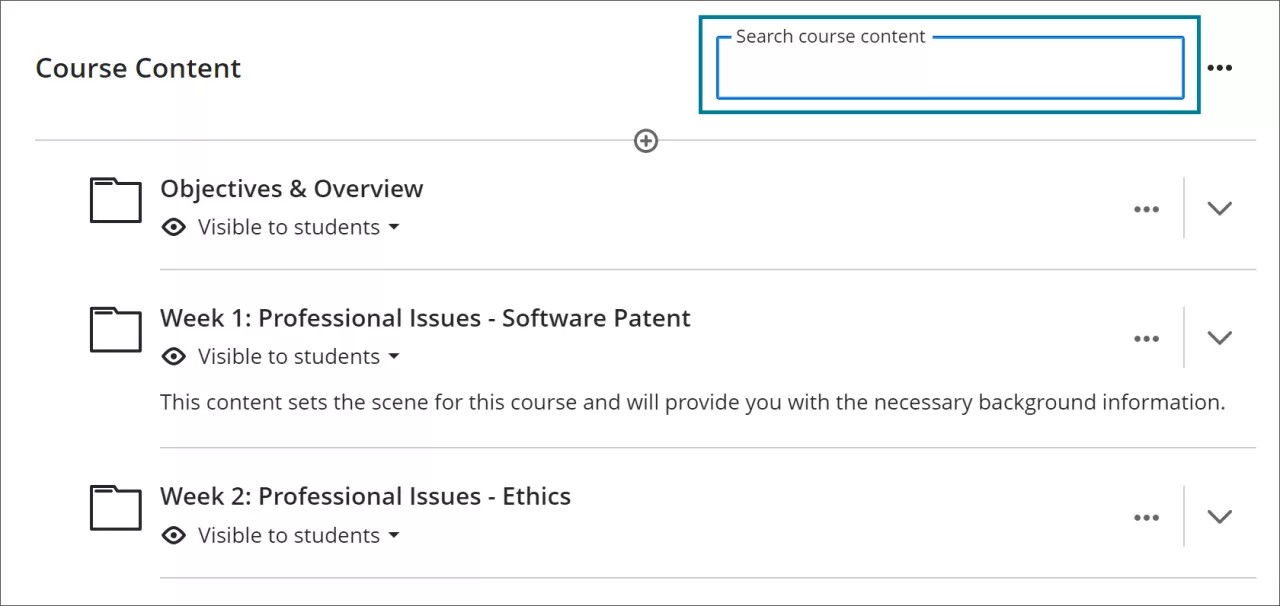
Course content search
You can search for items by title on the Course Content page. Select the magnifying glass located at the top of the Course Content page to expand the magnifying glass into a search bar.
In the search bar, enter letters of the keyword related to the item of your search.
The course search function displays the titles of matched items as you type in letters. Select the item from the list to open the corresponding content.
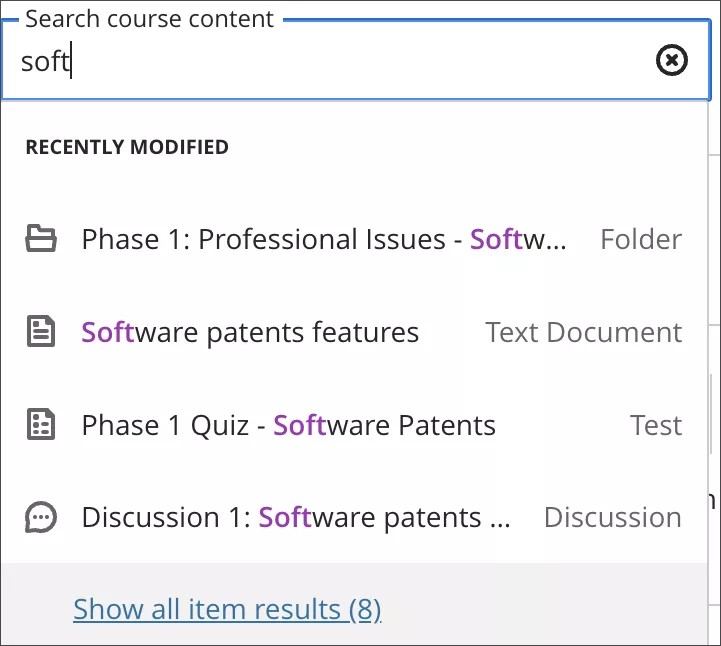
Select Show all item results at the bottom of the list to display a detailed view of all matched items. Select the desired item to view.
To do another search, select X inside the search bar to clear your previous entry. You can also delete the search bar contents and enter a different keyword.
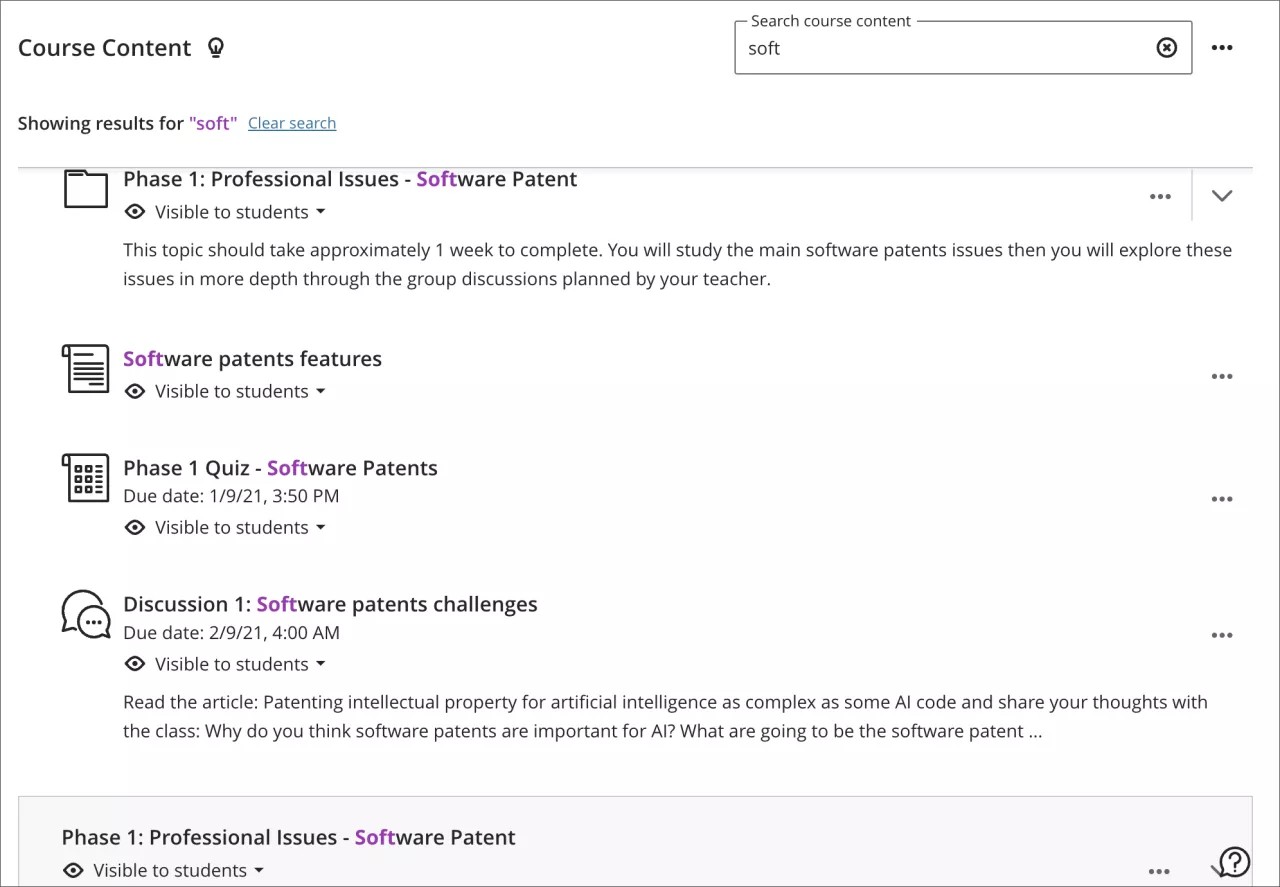
Select Clear Search near the top of the list to clear the detailed list of search results. You'll return to the full Course Content page.

The search display functions in a different way when the browser is not in full screen.
Watch a video about the course environment
The following narrated video provides a visual and auditory representation of some of the information included on this page. For a detailed description of what is portrayed in the video, open the video on YouTube, navigate to More actions, and select Open transcript.
Video: Navigate Inside a course with the Ultra Experience showcases Ultra's modern, comfortable, and simple interface. The streamlined navigation and workflows are designed to allow you to get in, get done, and get out.