This information applies only to the Ultra Course View.
This information applies only to the Ultra experience.
Course Banners
Instructors and administrators can upload an image to be the course banner inside courses in Learn. The course banner also appears in the grid view of the Courses page of Learn’s base navigation.
Course banners have many uses:
- Improve the way your Ultra Course View landing pages appear
- Provide a visual identity for your course for students who are visual learners
- Bring consistency between what the base navigation displays and the actual course
- Help your students to identify your course and locate course details
Your institution can choose to restrict instructors from editing the course banner.
Topics on this page include:
Access course banner options
There are three ways to access the course banner options panel.
1. In your course’s main page, go to Course Image in the Details & Actions menu.

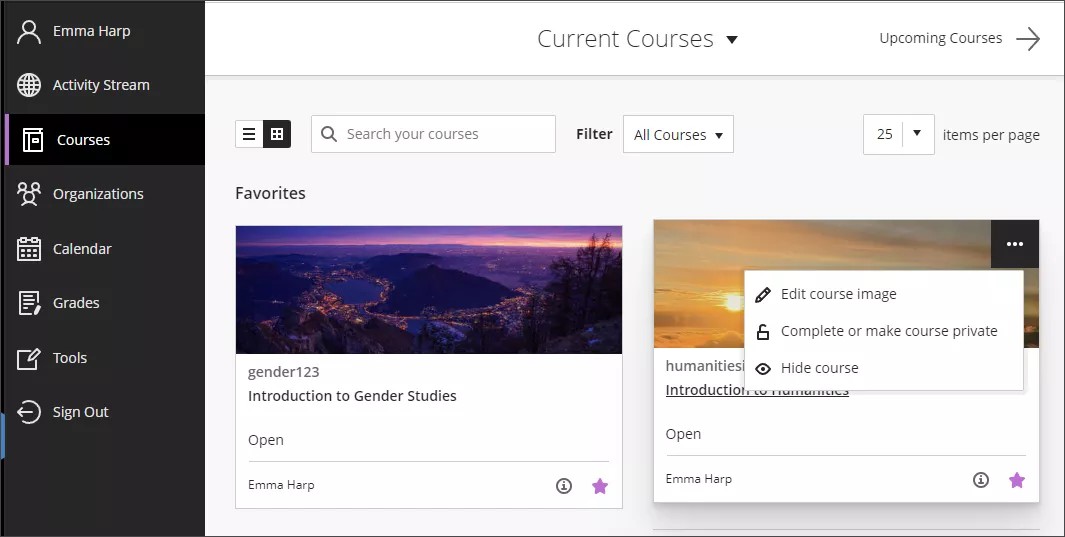
2. In the grid view of Learn’s base navigation, hover over the image and select the three dots that appear. You can now select Edit image from the menu.
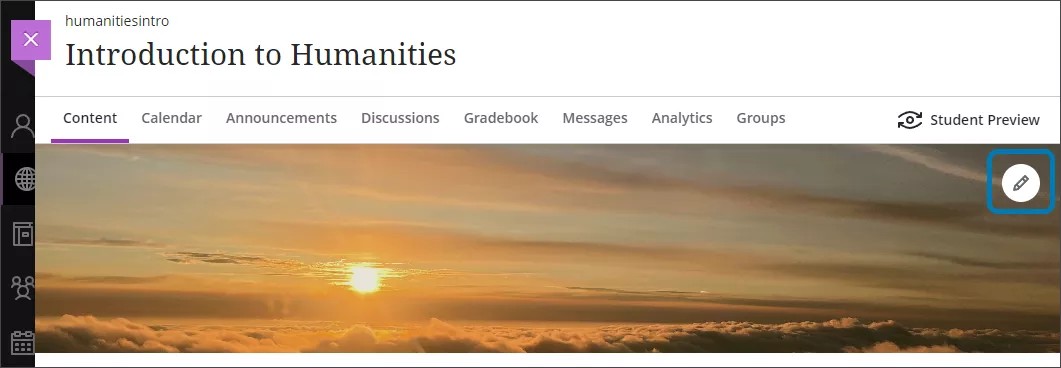
3. In the main page of your course, select the pencil icon on the banner.
Set up a banner for your course
1. Choose an appealing and meaningful image for your course. The minimum size for the banner image is 1200 x 240 pixels.
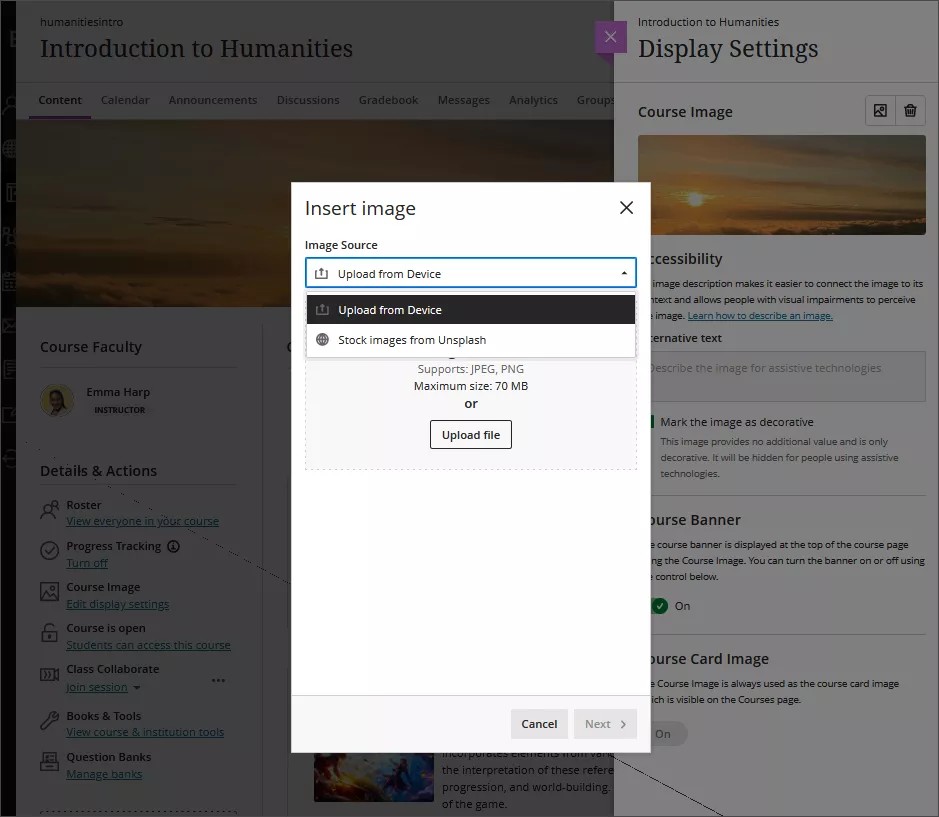
2. Select the image icon at the top of the course banner options panel. You can now upload an image. JPEG and PNG formats are supported.
If your institution has turned the feature on, you can also search for stock images from Unsplash. Enter keywords to search Unsplash’s catalog.
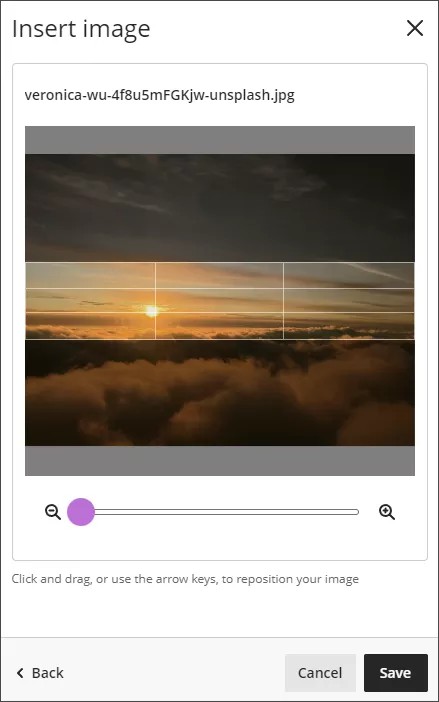
3. A preview of the image appears. Select Next to continue. You can select the trash icon if you want to cancel the upload instead.

4. Position the image. You can adjust the zoom of the image using a slider and select and drag what parts of the image become the course banner. Select Save to continue.
5. The image is uploaded to your course. The image might take a few seconds to load, depending on your internet connection.
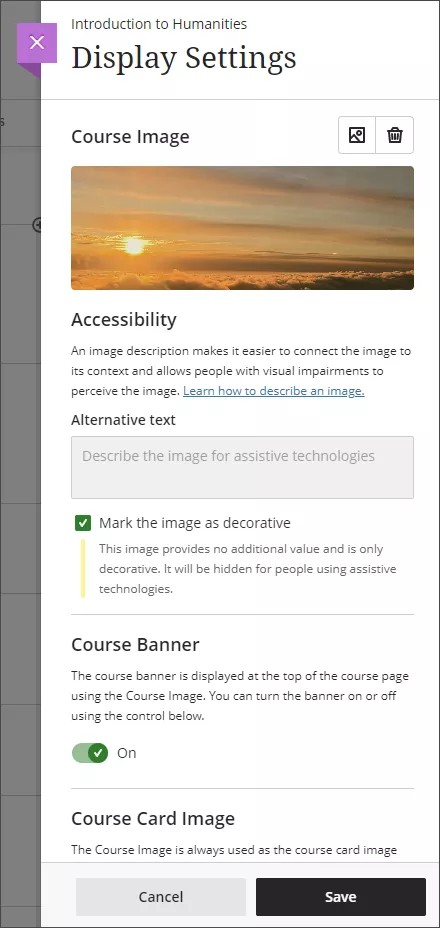
6. The course banner is automatically turned on for your course. If you want to turn off the course banner, select the Course Banner slider to turn it off.
7. Course banners are automatically marked as decorative, which hides the banner for students using assistive technologies. If you want all students to know the content of the image, deselect Mark the image as decorative. Enter a description of the image in the Alternative text field.
8. Select Save to turn the course banner on for your course.
Remove a course banner image
If you want to remove the course banner, select the slider beneath Course Banner in the panel for course banner options. The image will still be available to use for your course.
You can also select the trash icon to remove the image. When you remove the image, your course banner settings return to the default.
Size recommendations
- Images with text don't scale well.
- For banners, the recommended visible width ranges from 950 to 1200 pixels. The recommended visible height ranges from 150 to 240 pixels.
- For course cards, the recommended visible height is a constant 240 pixels. The visible width ranges from 550 to 1100 pixels.
- Keep the main content within the center, at 550 x 150 pixels of a 1200 x 240 pixels banner, to guarantee its visibility. Anything outside that 550 x 150 central pixel area may be cropped out at various screen sizes for either the course card or the banner.
- Abstract images or an image with a focus at the center work better for a banner, due to cropping variability.
*Kindly provided by Stephanie Richter, one of our Blackboard Community members.