This information applies only to the Original Course View. Your institution controls which tools are available.
You can create two content types that appear as links in your content list. Students select the links to view the materials. These content types save screen real estate and reduce the amount of scrolling.
Blank page: You can include files, images, and text together on one page. No description appears with the link.
File: You can upload a file or create an HTML file that students can open in a new window or tab. You can also upload a collection of files, including cascading style sheets (CSS) so that students can view them in the prescribed order and with your design.
Create a blank page
You can create a blank page and include files, images, and text as a link in the content list. You can't add a description with the link. Students select the link to view the materials.
You can also create a blank page directly on the course menu for critical information. For example, add a map image for an upcoming field trip, information about a guest speaker, or a study guide for the final test. Remove blank pages from the course menu as soon as the information is no longer needed.
Be sure Edit Mode is ON so you can access all of the instructor's options.
With the editor, you have creative control over how your content appears and the flexibility to change the order and appearance when you want.
- In a content area, learning module, lesson plan, or folder, select Build Content to access the menu and select Blank Page.
- Type a name and add your materials in the Content box. You can use the options in the editor to format text, attach files, embed multimedia, and insert equations, links, and tables. Files that you attach in the editor are visible to students only after they select the blank page link.
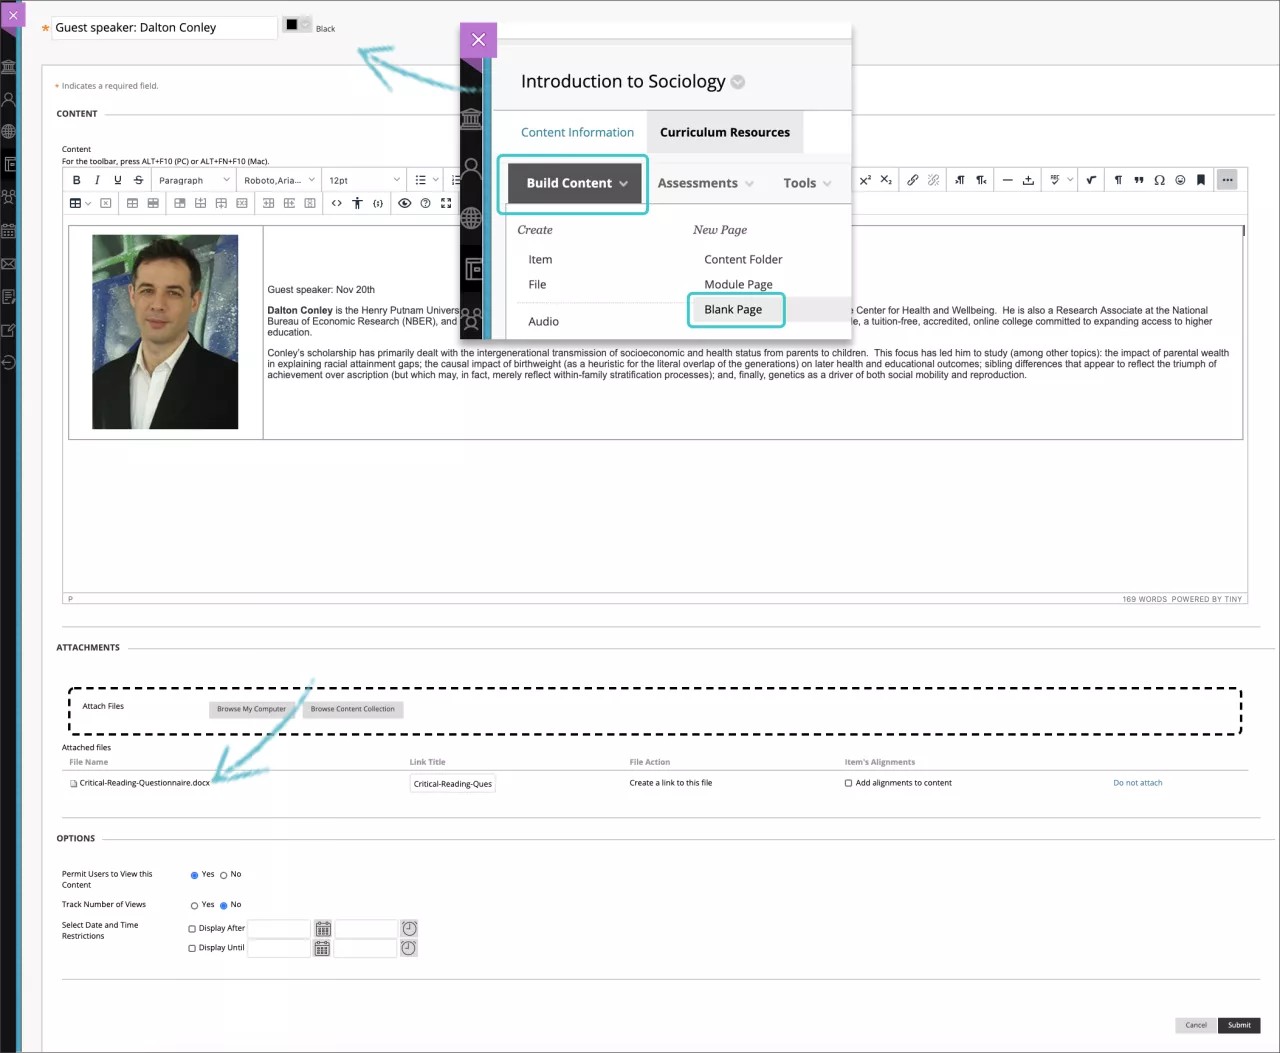
- In the Attachments section, select Browse My Computer to upload a file from your computer. The file is saved in the top-level folder in your course's file repository: Course Files or the Content Collection. You can also attach a file from the repository.
-OR-
Drag files from your computer to the "hot spot" in the Attach Files area. If your browser allows, you can also drag a folder of files. The files will upload individually. If the browser doesn't allow you to submit your blank page after you upload a folder, select Do not attach in the folder's row to remove it. You can drag the files individually and submit again.
You won't be able to drag files to upload if your institution uses an older version of Blackboard Learn.
You can use the file name or provide another name for the file.
- Select the appropriate options for availability, tracking, and display dates. Display dates don't affect an item's availability, only when it appears.
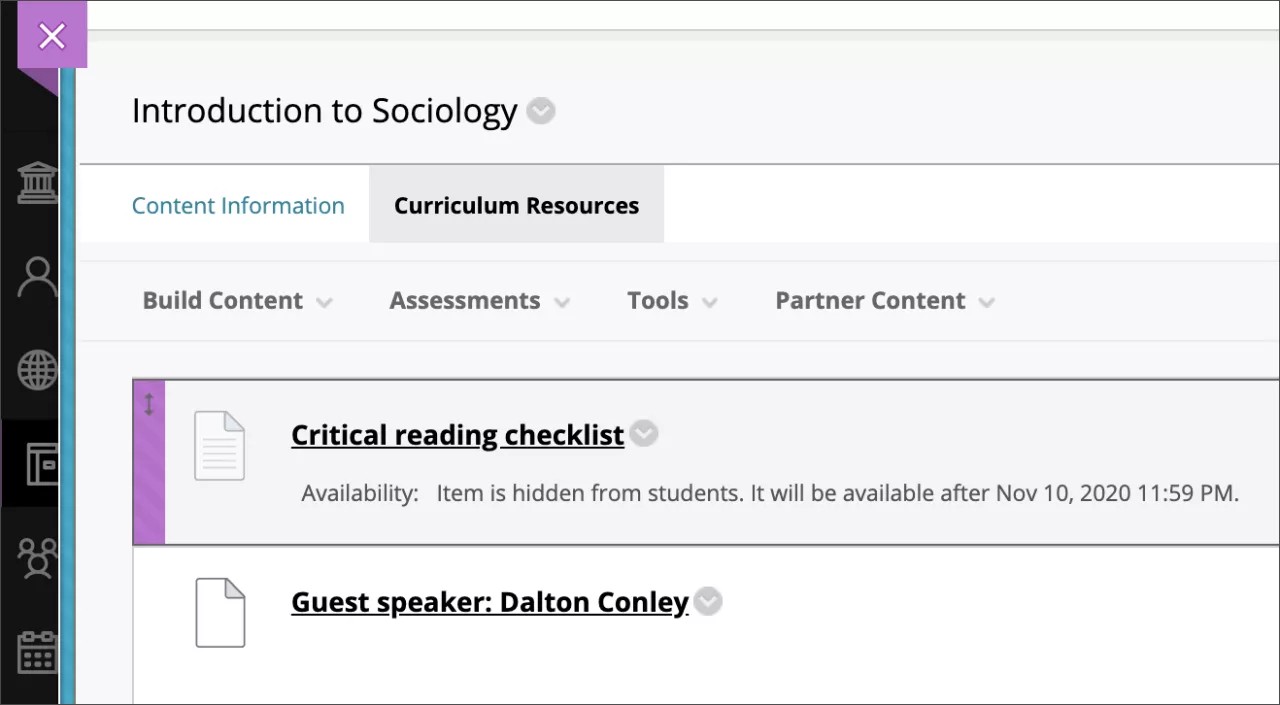
After you submit, the blank page appears in the content list. You can change the blank page's content at any time.
When Edit Mode is ON and you select the link to a blank page, you see the Edit page. To see the blank page as students do, change Edit Mode to OFF.
You can change where the blank page appears in the list with the drag-and-drop function or the keyboard accessible reordering tool.
Create a file
You can use the file content type to create a link to a file in the content list. You can't add a description with the link. You can choose whether users view the file as a page within the course or in a separate window or tab. Students need to download some file types such as Word docs to view the contents.
You can upload a single file or a single zipped package. For example, you can upload a zipped package to provide students with a group of images they need for a lab project.
Be sure Edit Mode is ON so you can access all of the instructor's options.

- In a content area, learning module, lesson plan, or folder, select Build Content to access the menu and select File.
- On the Create File page, type a name and browse for a file. Select Browse My Computer to upload a file from your computer. The file is saved in the top-level folder in your course's file repository: Course Files or the Content Collection. You can also attach a file from the repository. Use the Select a Different File option to delete the file you linked and replace it with another.
- Select Yes for Open in New Window to display the content in a new window or tab.
- Select the appropriate options for availability, tracking, and display dates. Display dates don't affect a file's availability, only when it appears.
After you submit, the file appears in the content list. You can change the file's content at any time. Access the file's menu and select Edit.
You can change where the file appears in the list with the drag-and-drop function or the keyboard accessible reordering tool.
Zipped content packages
You can create a lesson with several interrelated HTML pages with navigation, images, web links, and cascading style sheets (CSS). Then, you can create a zipped file and unzip the file in the course's file repository and choose the start page. Students can view the lesson contents in order with all the links intact. The start page will open in a new window or tab, and students can close the page to return to the content list. Learn more in the next section also.
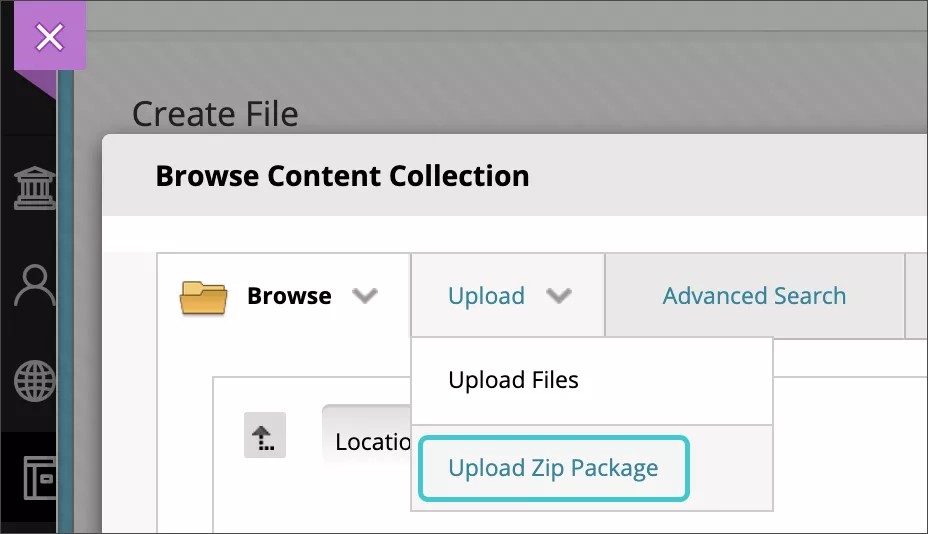
- Access Course Files or the Content Collection where you will upload your package. From the Upload menu, select Upload Package so that the package is unzipped automatically.
- Access the content area or folder where you will provide the link to your lesson. Select Build Content to access the menu and select File.
- On the Create File page, select Browse Course or Browse Content Collection to select the file that is the start page for your content package. The start page is the first page students see and should contain navigation to the other pages in your package.
- Select the appropriate options for availability, tracking, and display dates. Display dates don't affect the availability, only when it appears.
After you submit, the file appears in the content list. You can change the file's content at any time. Access the file's menu and select Edit.
If you want the packaged file to remain zipped, attach the zipped file in a content item with the attach options or use Insert File in the editor. Students select the link in the content list, download it, and unzip it. Use this method to provide students with several files to work with or edit on their computers.
Link to HTML files
You can use the file content type to embed HTML files for a website you have created. After uploading your HTML files to Course Files or the Content Collection, you select which file is the starting point, such as index.html or page_1.html. The file name appears in the Name box. Edit the name to help users access the content. For example, change the name to "Start Here" or "View Lesson 1."
When you select an HTML file, the Manage Access section appears. You can define the access you want to give students. You have three options:
- Give users access to all files and folders in the folder. Give users access to all files and sub-folders within the parent folder of the file you are linking. This option is appropriate for users who are linking to a website with a typical hierarchical structure with sub-folders for CSS, JavaScript, and images contained in the parent folder.
- Give users access to this file only. Link to one HTML file that has all the formatting within the page itself and doesn't reference other files or images.
- Give users access to selected files in folder. Embed a website with a more complicated structure. If some of the content exists outside of the parent folder in other folders in the course's file repository, browse for and select the parent folder and the additional files and folders. You can ensure users have access to all the content in your website.