This information applies only to the Ultra Course View.
This information applies only to the Ultra experience.
Add text
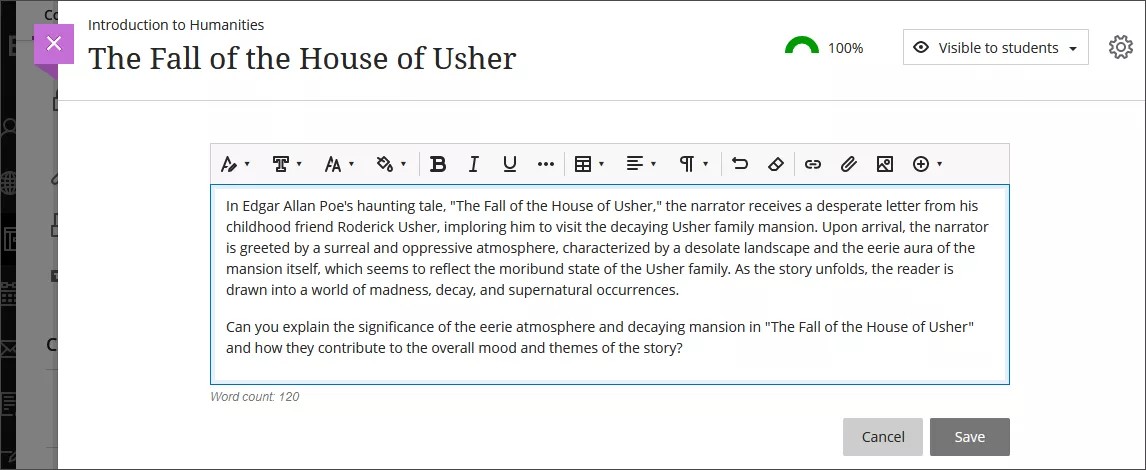
The editor appears in most places you can add text. You can use the editor to add and format text, embed images, attach files, and insert equations, links, and tables.
The options that are available in the editor vary with where you are adding text.
When you open the editor on a small screen, the options condense into menus or second line menus that will remain open until you select the menu again or select a different option menu, for easy access:
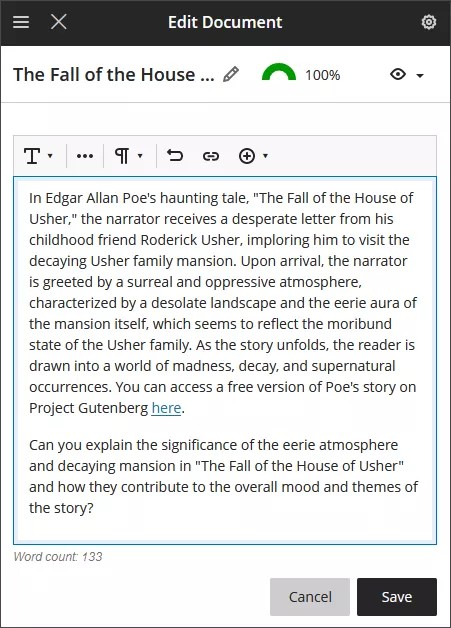
Among many other options in the editor, you can add bulleted and numbered lists, and bold and italicized text. Use the Text style menu to add headings.
You can also launch the math editor to embed mathematical formulas in your text. The WIRIS editor opens in a new window.
To use your keyboard to jump to the editor toolbar, press ALT + F10. On a Mac, press Fn + ALT + F10. Use the arrow keys to select an option, such as a numbered list.
Topics on this page include:
Watch a video about How to use the content editor
The following narrated video provides a visual and auditory representation of some of the information included on this page. For a detailed description of what is portrayed in the video, open the video on YouTube, navigate to More actions, and select Open transcript.
Video: How to use the content editor
Add links
You can add links to your text as you work in the editor. To add a link, select the Link icon, represented by a chain symbol. Enter or paste the Link URL.
You can optionally add link text, which will replace the URL in your text. The link must include http:// or https:// at the beginning. Select Insert to include the link in your text.
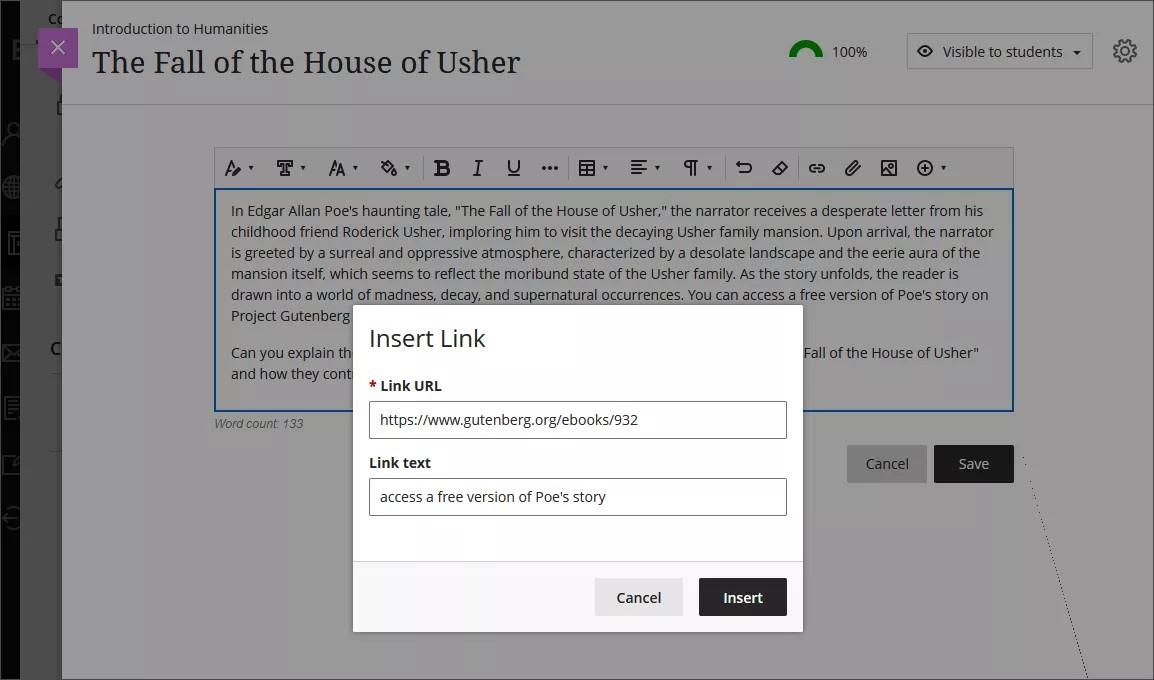
You can also add a link to text you've already entered by selecting the section of text that you want to turn into a link. The link text is automatically added based on the text that you've selected in the editor.
Insert Content Market files
Your institution controls which tools are available.
The Content Market is your gateway to valuable learning materials from trusted content providers. You can also access tools and links your administrator has made available across your institution. You can add content from the Content Market directly to the editor in your course's assignments, tests, and documents.
Select the Insert Content button, which is a plus sign within a circle. Next, select Content Market from the dropdown menu.
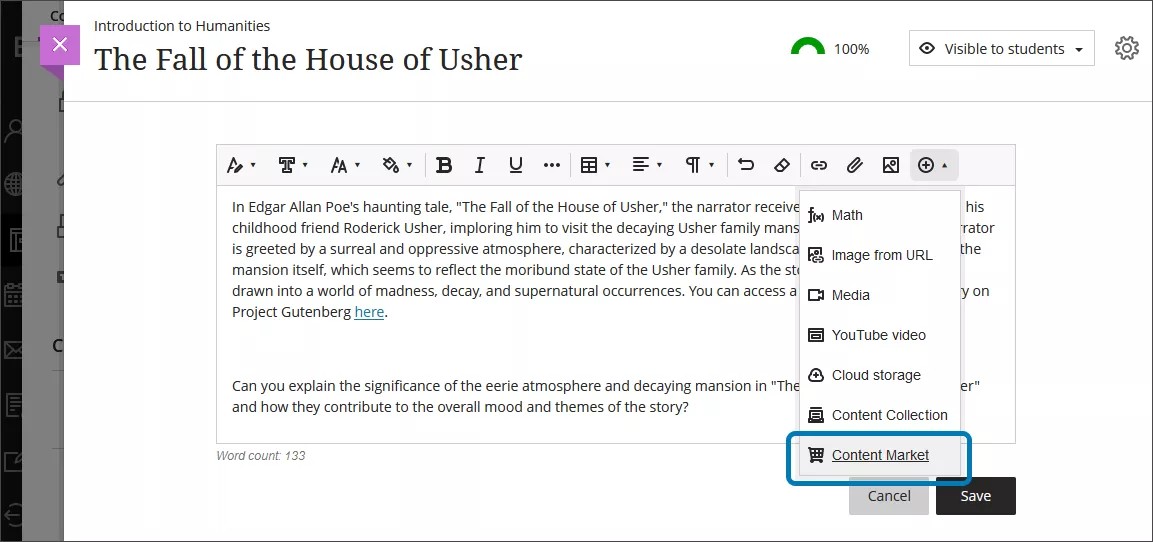
Select a tool to launch and browse for content to add. Or, select the plus sign on the Institution Tool's card to add the entire tool in the editor. When you add a tool or a piece of content to the editor, it appears as a link.
Insert or generate images
You can directly insert images into the text editor by selecting the Image button. Only JPEG and PNG files can be uploaded into the text editor.
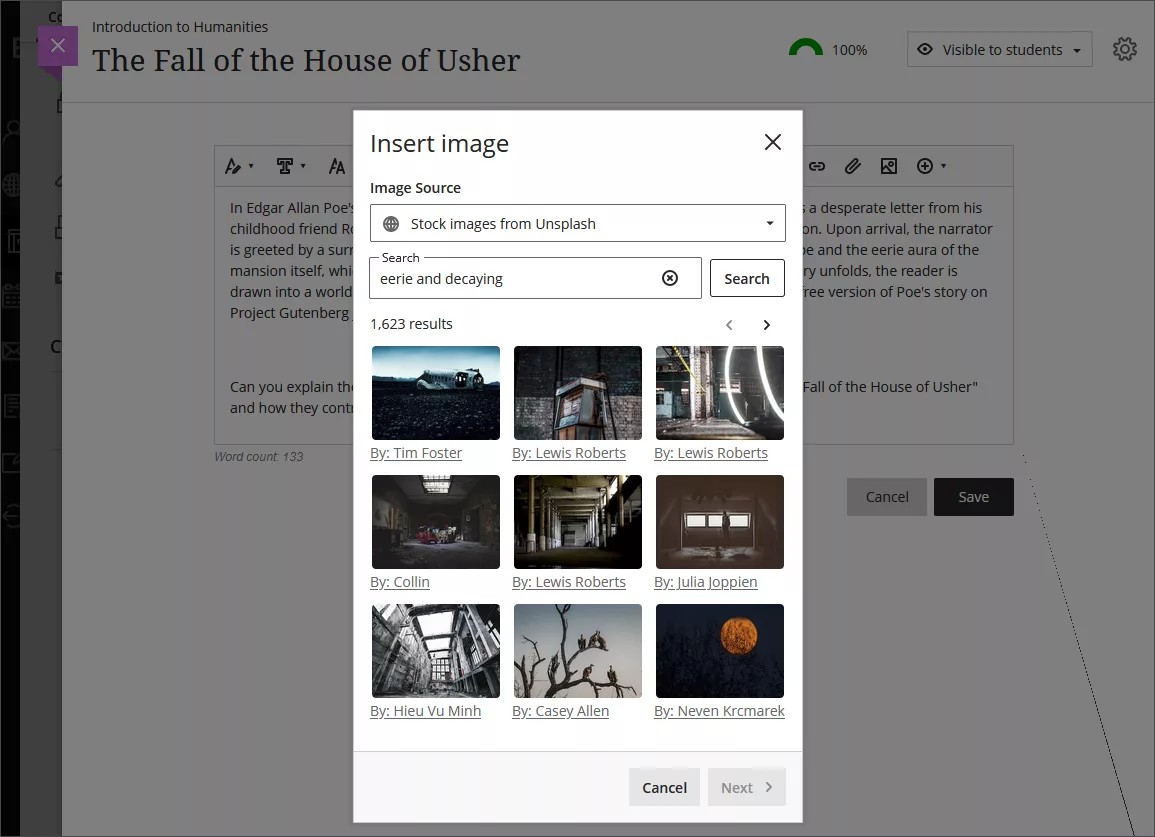
The default option is to upload images from your device. If your institution uses Unsplash, you can insert stock images into your text. The search terms will be autopopulated from your text, but you can select the X button and use your own search terms if you’d prefer.
If your institution uses the AI Design Assistant, you can generate an image to insert into your text. Enter a description for your image and then select Generate.
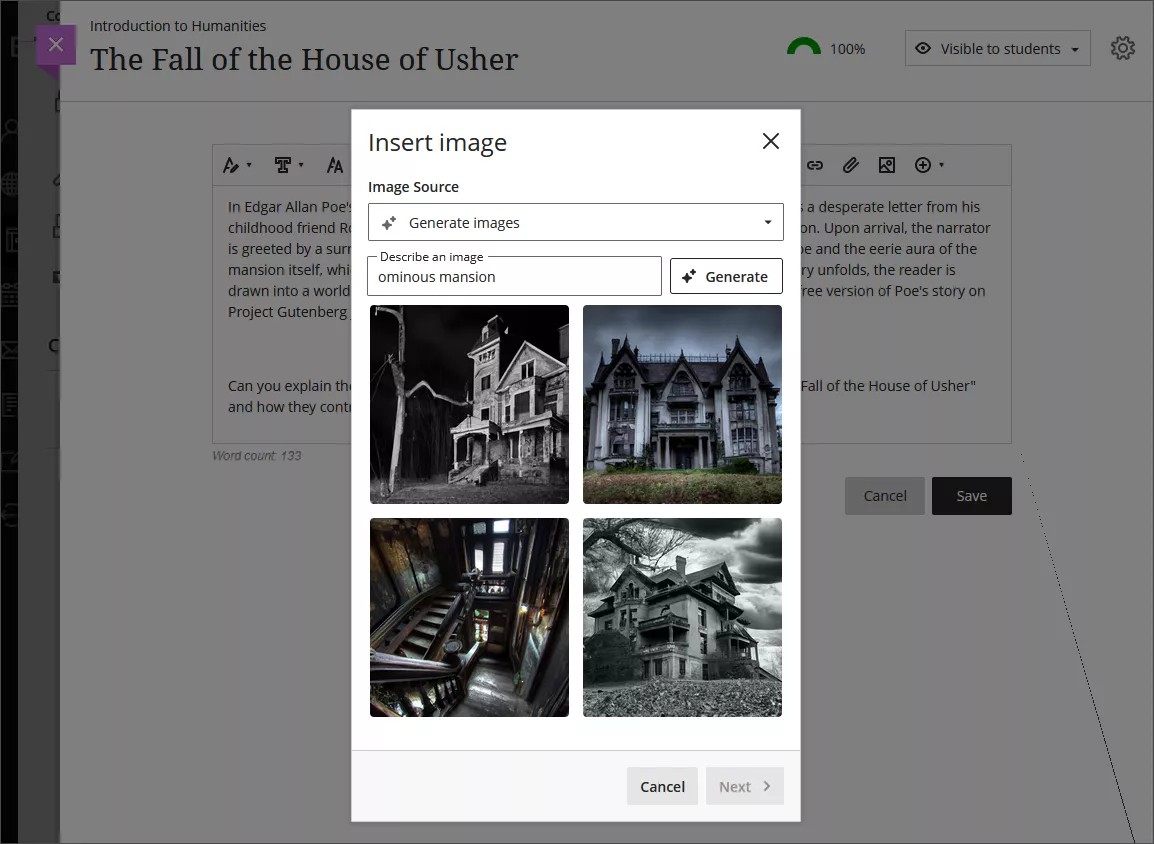
More about the AI Design Assistant
Students can only upload images and can’t generate images or use Unsplash.
Adjust image appearance
After you’ve chosen an image to insert, select Next. You can now customize how the image appears in the text.
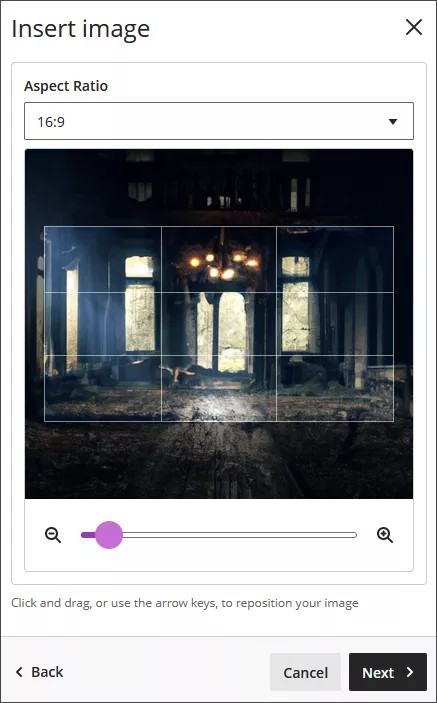
You can choose an aspect ratio for the image. You can keep the original aspect ratio, or convert it to a landscape or portrait display. The white grid lines show you what part of the original image will be displayed on screens.
You also have the option to adjust the slider to zoom in or out, and you can select and drag the grid lines to change the focus.
Select Next when you’re ready to insert the image.
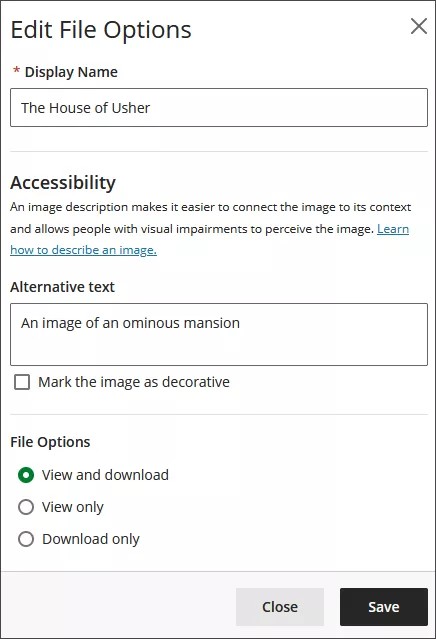
You’re required to enter a display name. We recommend also adding alt text, to make the image accessible to users with screen readers.
By default, users can view and download the image. If you select Download only for the image, a placeholder will display on user screens until users download the image.
