This information applies only to the Ultra Course View.
This information applies only to the Ultra experience.
In Learn Ultra, you have a variety of ways to add files and media to your course. You can add files directly to the Course Content page, as well as in the Rich Content Editor in Ultra Documents, assessments, and anywhere else that includes the Rich Content Editor function.
Learn more about:
- adding files, images, audio, and video directly to the Course Content page.-
- editing, replacing, or deleting files on the Course Content page.
- adding content using the content editor (video).
- inserting files in the editor.
- inserting images in the editor.
- inserting media in the editor.
- inserting YouTube video.
- inserting Content Market files.
- adding files from the Content Collection.
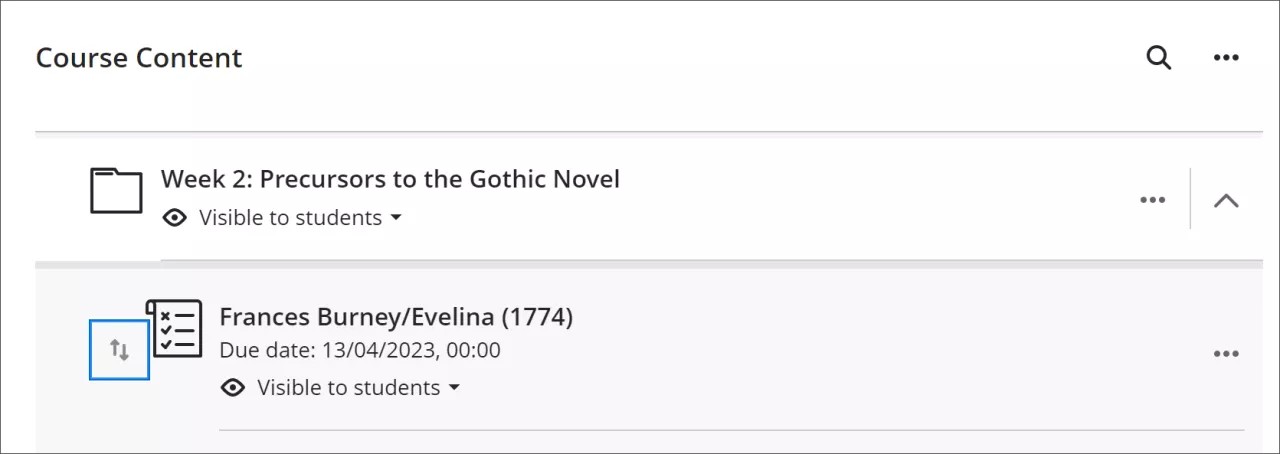
Add files, images, audio, and video to the Course Content page
There are multiple ways to add files and media to the Course Content page. You can browse and add files from your own computer, from cloud storage, from the Content Collection, or from the Content Market.
You have the option to give students viewing and downloading privileges when you upload files and media. Students are notified in their activity streams when you add content.
Supported file types include DOC, DOCX, HTM, HTML, MP4, MPG, PDF, PPT, PPTX, XLS, XLSX, RTF, TXT, ZIP, and most image types.
Drag and drop files and folders. You can upload files, and folders containing files, from your own computer to the Course Content page. Simply locate the folder or file(s) you want to add, and then drag and drop it to the location of your choosing on the Course Content page.
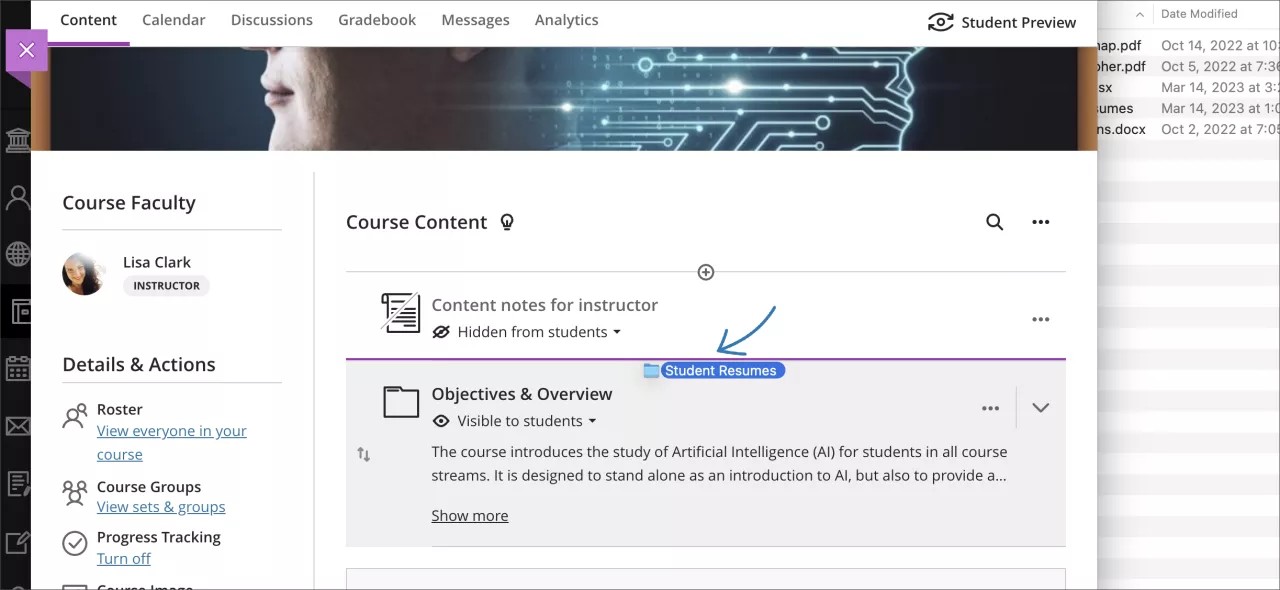
Once uploaded, you’ll see your new item listed. If you have uploaded a folder, you can expand it to see the individual files inside.
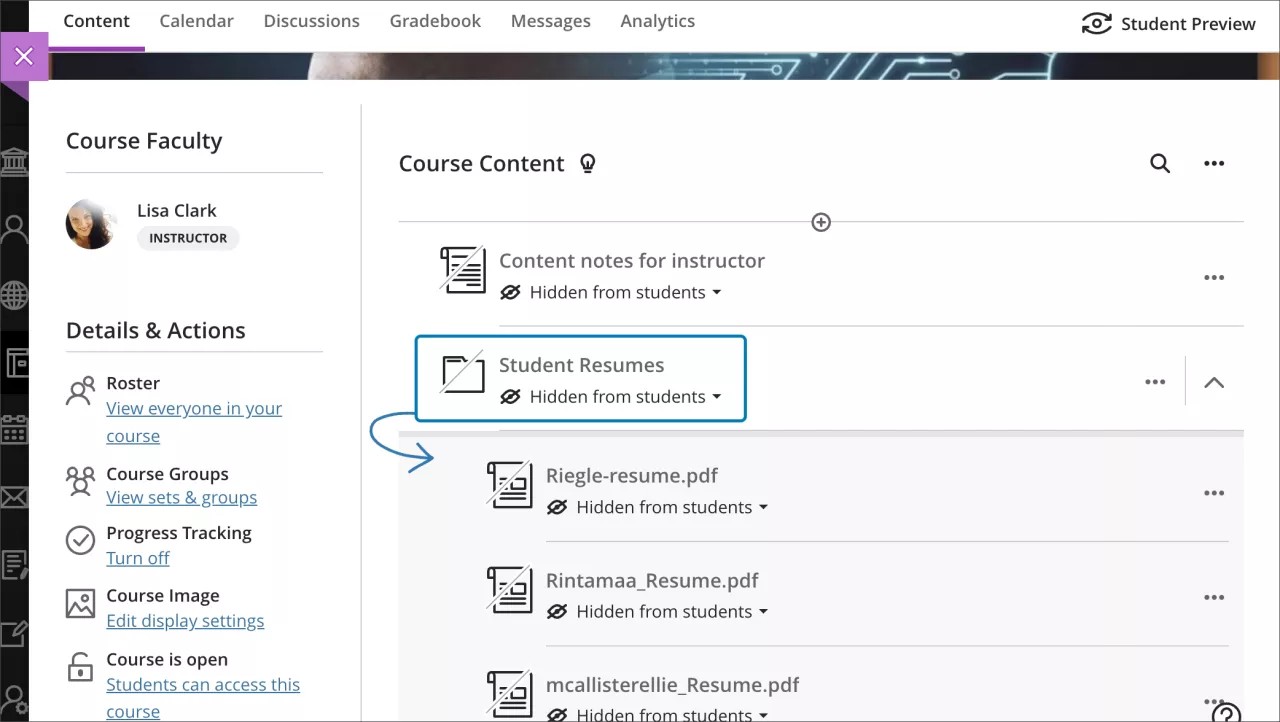
When files and folders are added to the page, they are hidden from students by default. You can edit student visibility by selecting the visibility menu beneath the item’s display name.
You can make other edits by selecting the ellipsis button on the right-hand side of the item. Opening this menu allows you to:
- edit the display name
- align with goals
- replace the file
- add a description
- edit students’ ability to view or download the file
If you drag and drop more than 25 files at the same time, a warning message informs you that it may take a few minutes to complete. During the upload process, you can cancel at any time. If the upload is canceled, the files are deleted from the Course Content page.
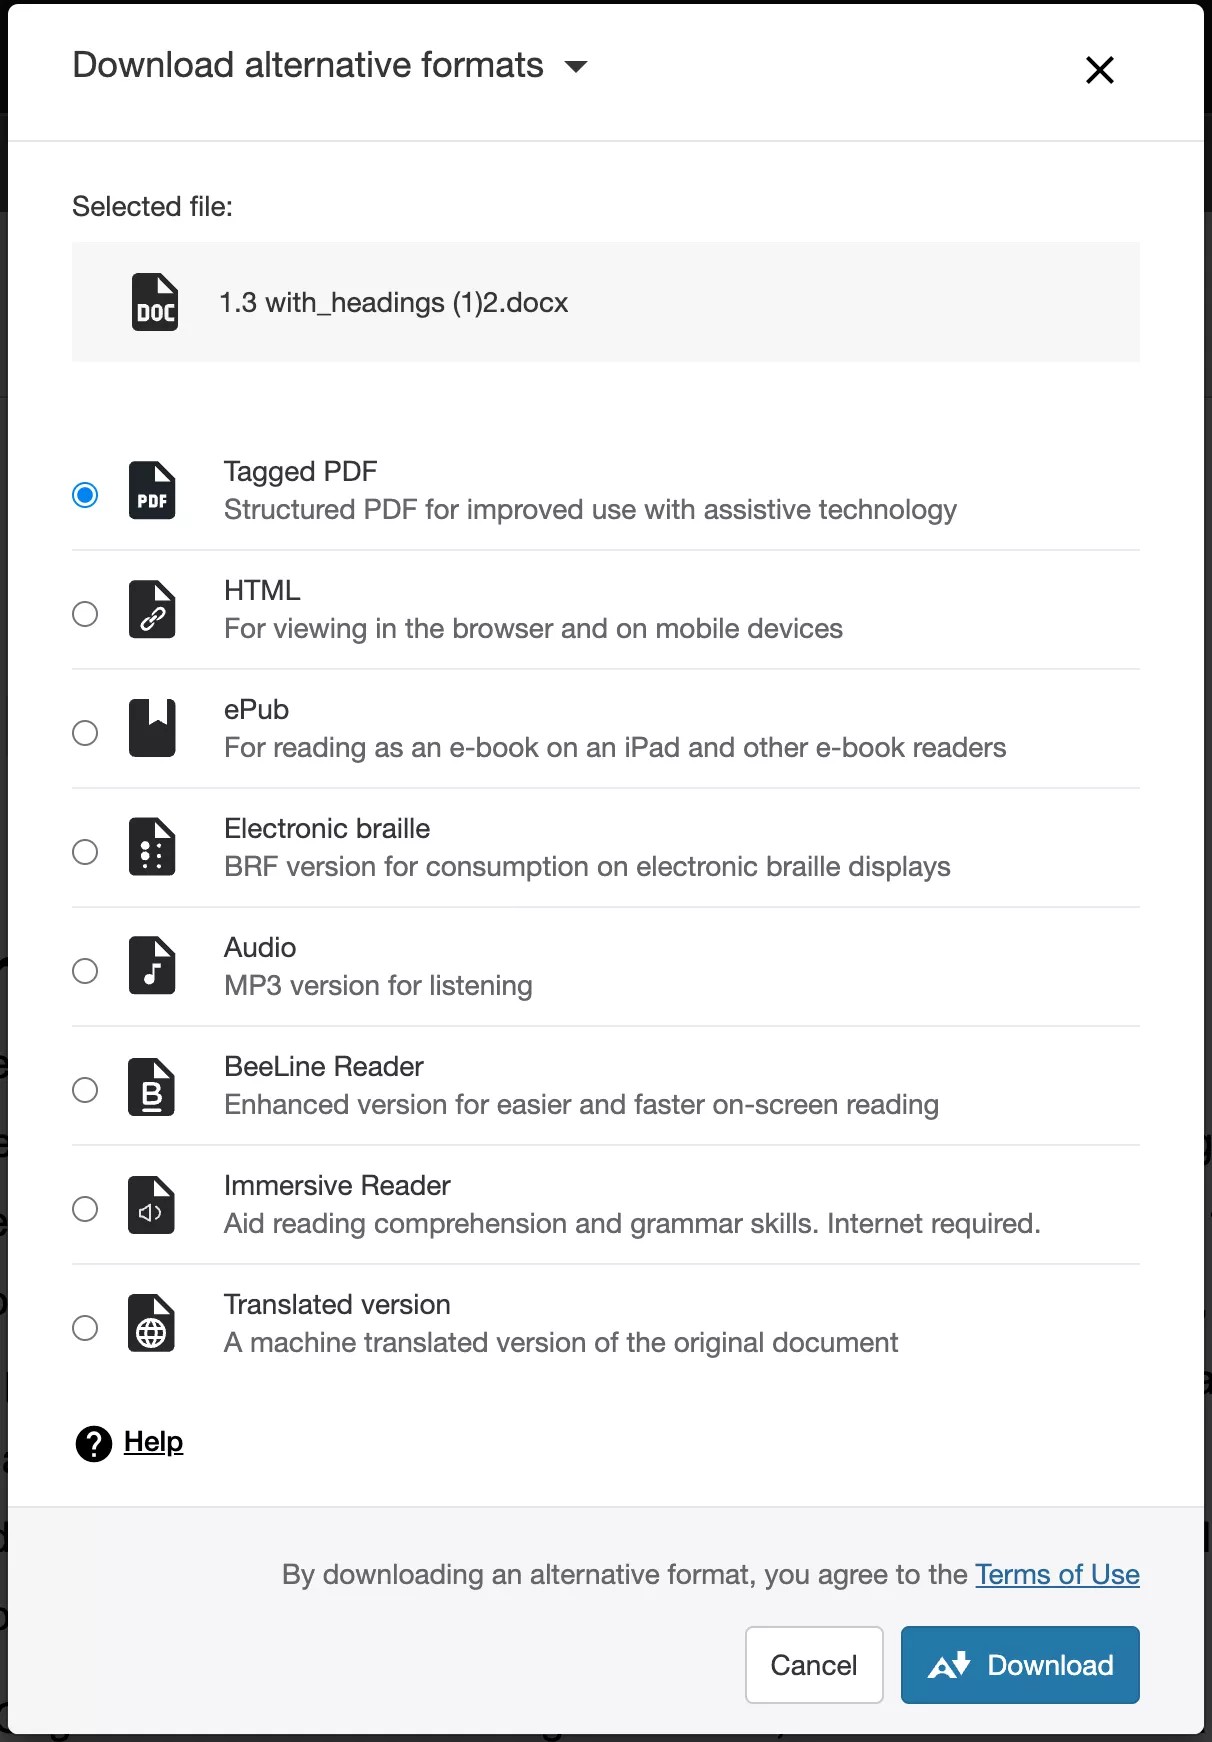
If your institution uses Blackboard Ally, you can use the tool to ensure your course content is accessible to every student. Accessibility score indicators and alternative formats appear next to files. Learn more about Ally later in this topic.
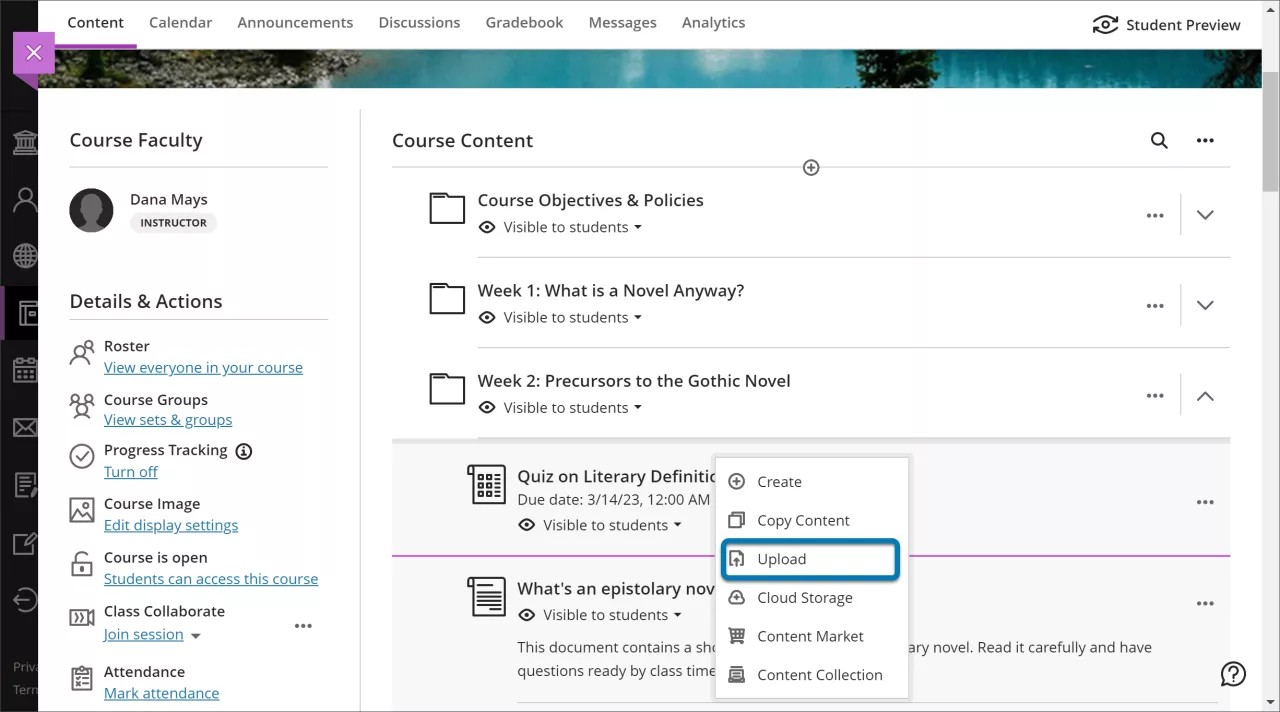
Alternatively, you can upload a file by selecting the plus sign wherever you want to add your file. In the menu that opens, select Upload to browse for files on your computer. This method only supports uploading individual files, not folders.
Add files from cloud storage. If you already have files stored in the cloud, such as in OneDrive® or Google Drive™, you can add them to your course. Select the plus sign where you want to upload files. You may choose multiple files from cloud storage to add to your Course Content page in one action. The files you add are copies. If you make a change to a file in cloud storage, you need to upload a new copy in your course.
Add files from the Content Market. You can add files from the Content Market directly to the Course Content page. Select the plus sign where you want to upload files and then select Content Market. This will open to a page with content providers and institution tools. Select the third-party tool you want to launch and browse for content to add.
Add files from the Content Collection. If you already have files stored in the Content Collection, you can add to them in your course. Select the plus sign where you want to upload files and then select Content Collection. This opens a page allowing you to browse your files in the Content Collection and other files from your institution.
Links to images, pdfs, and other files copied and pasted from the URL bar in the Content Collection will not work. These URLs are temporary.
More on adding files from the Content Collection
Control what students see. All content is hidden from students until you decide to show it. Each item listed on the Course Content page indicates if it's visible or hidden from students. Edit student visibility by selecting the visibility menu beneath the item’s display name.
You can also edit student visibility with just your keyboard. Tab to the visibility menu and press Enter to open the menu. Use Alt/Option + the up and down arrows to select an option.
Edit, replace, or delete files on the Course Content page
Edit or replace files. To edit or replace files, select the ellipsis button on the right-hand side of the item you wish to work with. This opens a panel that allows you to edit:
- Display name. Select the display name at the top of the panel to edit the name that appears on the Course Content page for your item.
- Add goals and standards. You and your institution can use goals to measure student achievement across programs and curricula. After you successfully upload a file to your course, you can align one or multiple goals. Select the ellipsis button on the right-hand side of the item you wish to work with and select Edit. In the panel, select Align with goals to search for available goals to align with the file.
Students can't see the goals you align with a file.
- Replace the file. Use this option to substitute one file in place of another. For example, you may find a higher resolution version of an image you've uploaded. If the file in question is being displayed in multiple locations in the course, a prompt asks if you wish to replace the file in all instances or this single instance. The old file is not retained when replaced by the new version, unless you are replacing it in one instance only. This frees up storage space for your institution.
- Add a description. The description appears beneath the display name on the Course Content page. This is where you can provide students with more information about the item. The maximum length of a description is 750 characters. A warning will appear below the description field when 75 characters or less remain.
- Edit student access to file. You can edit students' ability to download or view the file.
Delete files. You can delete a file from your course or hide it from students to preserve the information. Students can't access hidden items on the Course Content page. If you delete a folder or learning module that has content, the content is also removed from the Course Content page.
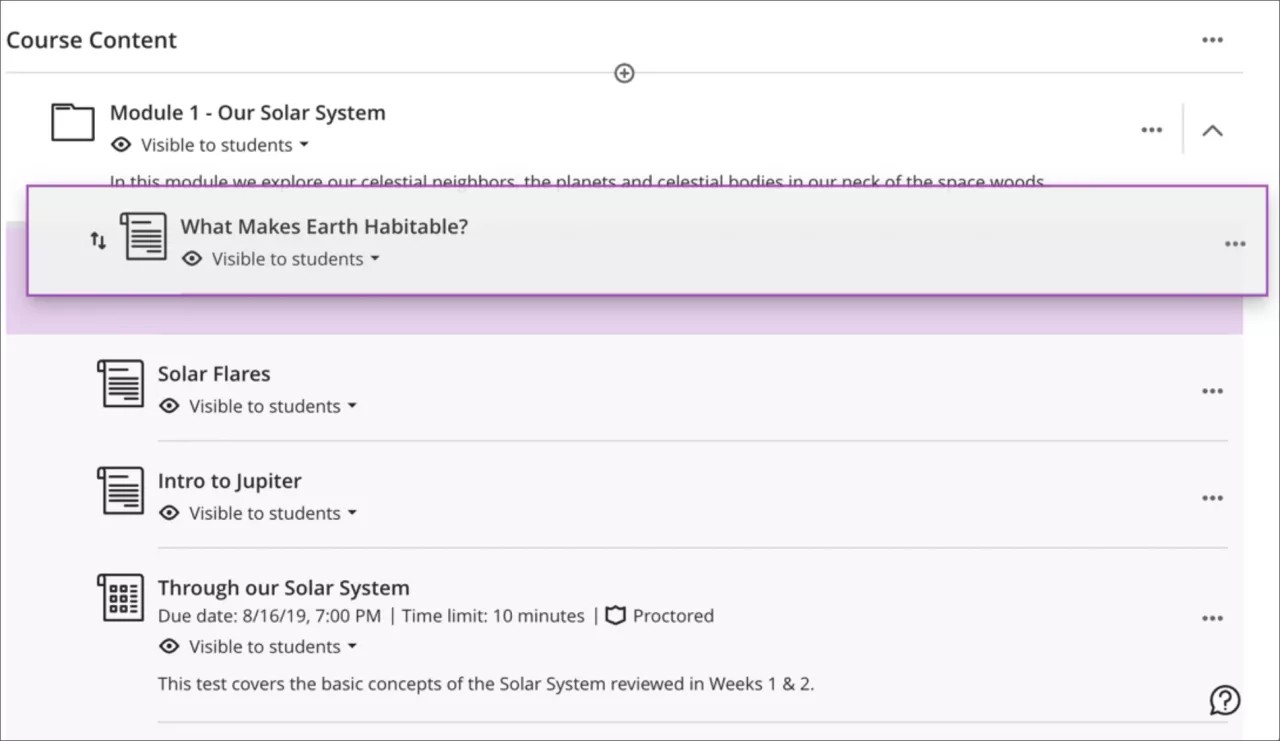
Reorder items. You can easily reorder the sequence of your course materials on the Course Content page by dragging and dropping items. You can also move an item into an expanded folder in the same way. Select the row of the item you wish to move and drag it to the desired location.
You can also move and reorder items on the Course Content page with only your keyboard.
- Tab to an item's move icon.
- Press Enter to activate move mode.
- Use the arrow keys to choose a location.
- Press Enter to drop the item in the new location.
Ally in Learn - Instructor
View and improve content accessibility
Your institution controls which tools are available.
Your class is full of diverse students with unique learning abilities. Providing students with more accessible content means each individual can choose formats that work best for them. If your institution uses Blackboard Ally, you can use the tool to help ensure your course content is accessible to every student.
Accessibility score indicators and alternative formats appear next to course documents and tests.
- Find the content you want to improve.
- Next to the content is an icon that shows the accessibility score.
- Select the score icon to learn how to improve the accessibility score.
- Ally opens and shows you steps on how to edit your content for improved accessibility and optimize it for alternative formats.
How to improve accessibility in course content

Students don’t see the content's accessibility score. Instead, students can choose from the alternative formats Ally generates for the content. You can help Ally create better alternative formats by following best practices for creating accessible content.
View alternative formats
After you add content to a course, Ally creates alternative formats of the content based on the original. For example, if the original content is a PDF, Ally creates audio, electronic braille, and ePub formats of the same content. These formats are made available with the original file so everything is in one convenient location.
The alternative formats created depend on the original content type. If you don't see an option to download alternative formats, Ally isn’t enabled for that course or the content isn't a supported content type.
Find content in your course. Select the menu beside it and select Alternative Formats. Choose the version that is best for your needs! Select Download to save the alternative format to your device.
Watch a video about adding content using the content editor
The following narrated video provides a visual and auditory representation of some of the information included on this page. For a detailed description of what is portrayed in the video, open the video on YouTube, navigate to More actions, and select Open transcript.
Video: Add content to the Course Content page using the content editor explains how to insert images, YouTube videos, and online media using the content editor in Blackboard Learn Ultra.
Insert files in the editor
You can upload files in the editor in certain areas of an Ultra course. For example, you can include an image or a document to help students understand your instructions or initial prompt.
The editor only supports inline viewing for videos in MP4 format. You may need to download videos that use other file types, such as MOV or MPEG. You can't add attachments in the editor in calendar items.
Select the Attachment button (which is shaped like a paperclip). Browse for a file from your computer. A status window displays to show the progress of the file upload. You can also add files from cloud storage by selecting the plus icon. You can also simply drag and drop a file from your computer into the editor:
- Select and hold the mouse button over the file you wish to move.
- Move the file with the mouse or touchpad into the editor.
- Release the mouse button, and the file will have been moved.
You can edit the file's settings, including:
- display name
- alternative text
- display behavior (whether the file appears as a link or viewable inline with other content in the editor)
Insert images in the editor
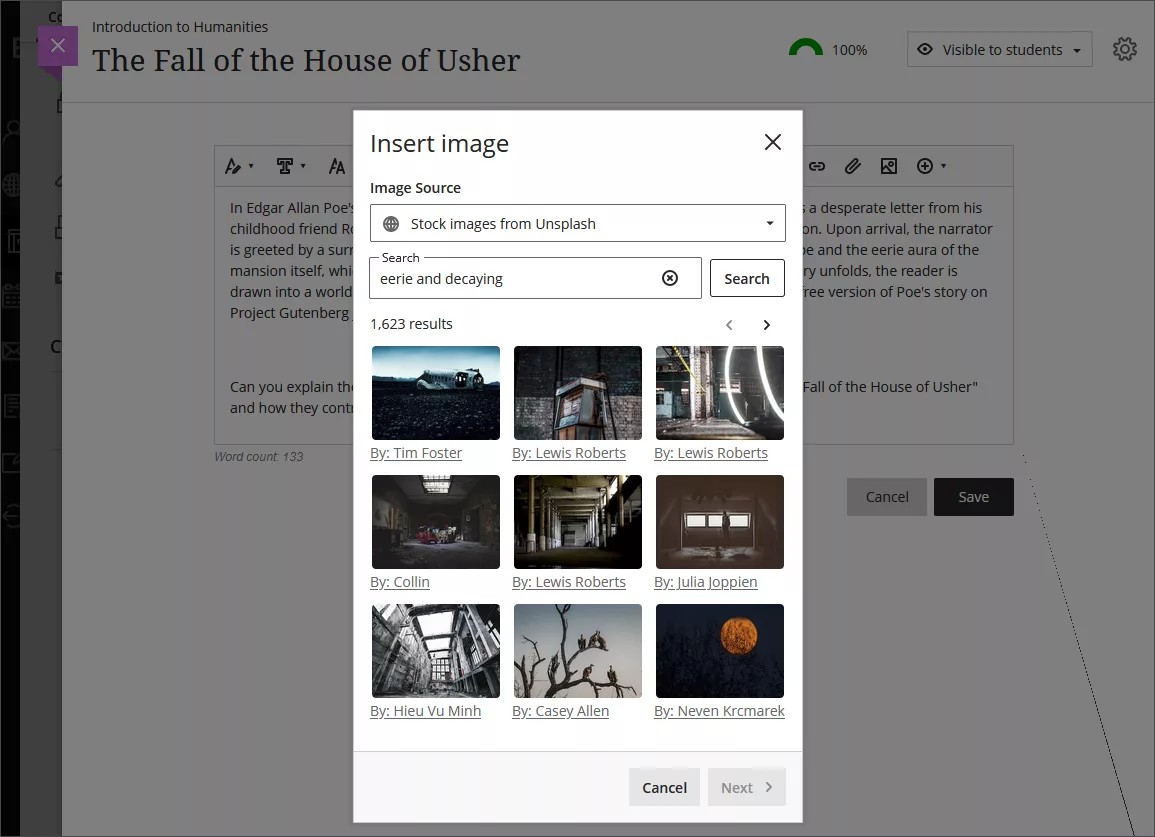
In some areas of an Ultra course, you can use the editor functions to add images along with text content. You can add images that are hosted online or you can upload an image from your local drive.
You can directly insert images into the text editor by selecting the Image button. Only JPEG and PNG files can be uploaded into the text editor.
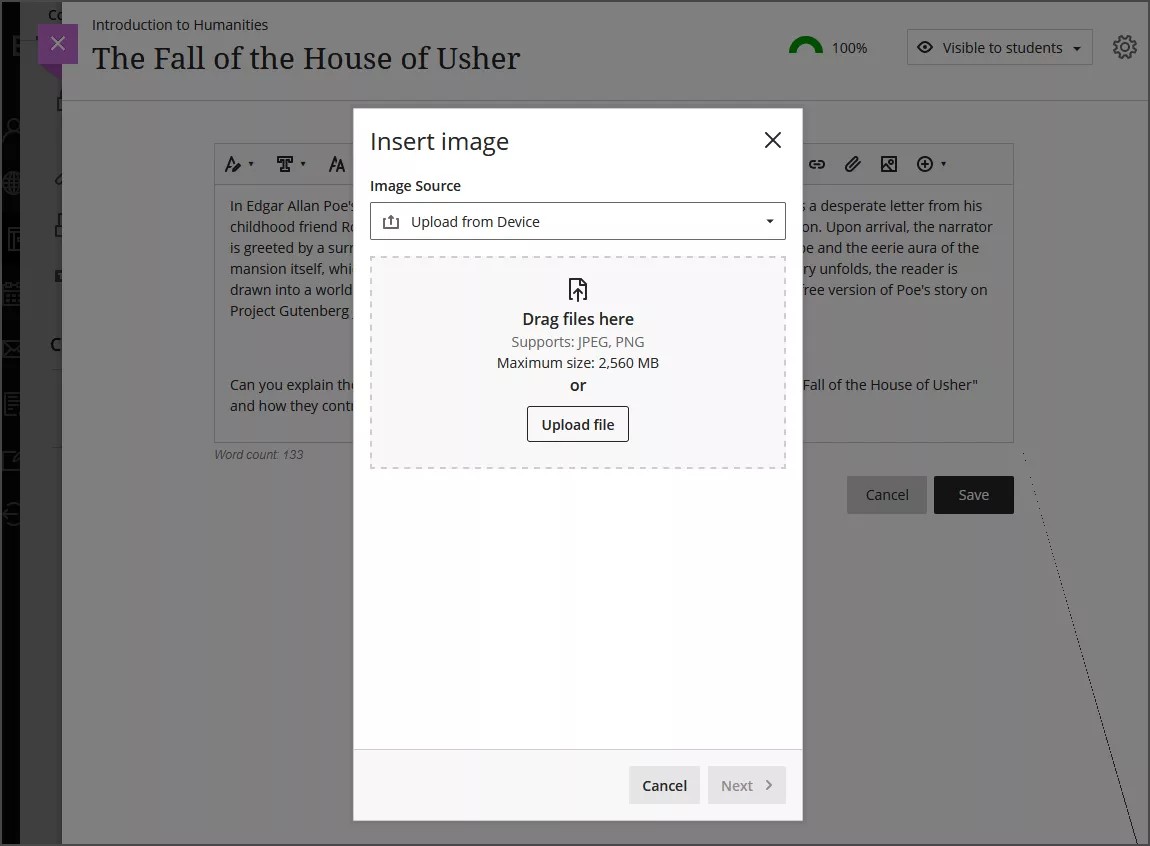
The default option is to upload images from your device. If your institution uses Unsplash, you can insert stock images into your text. The search terms will be autopopulated from your text, but you can select the X button and use your own search terms if you’d prefer.
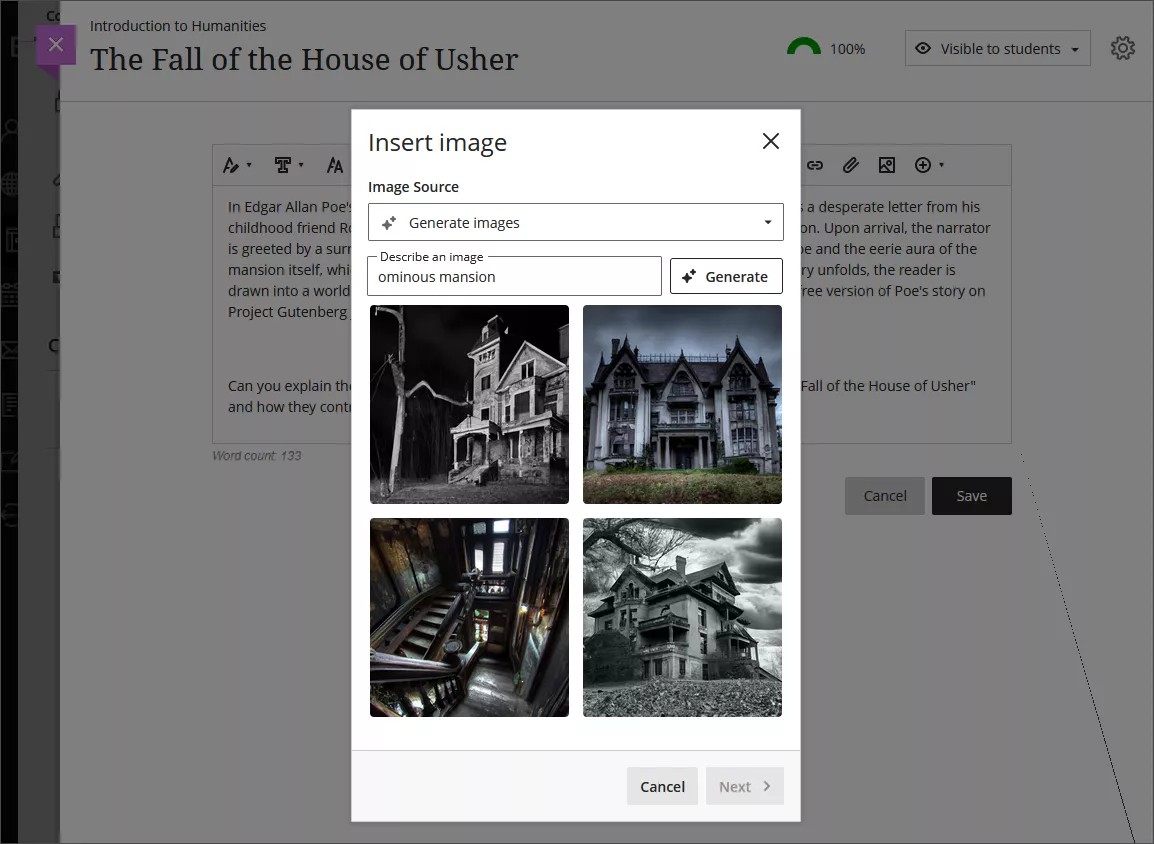
If your institution uses the AI Design Assistant, you can generate an image to insert into your text. Enter a description for your image and then select Generate.
More about the AI Design Assistant
Students can only upload images and can’t generate images or use Unsplash.
After you’ve chosen an image to insert, select Next. You can now customize how the image appears in the text.
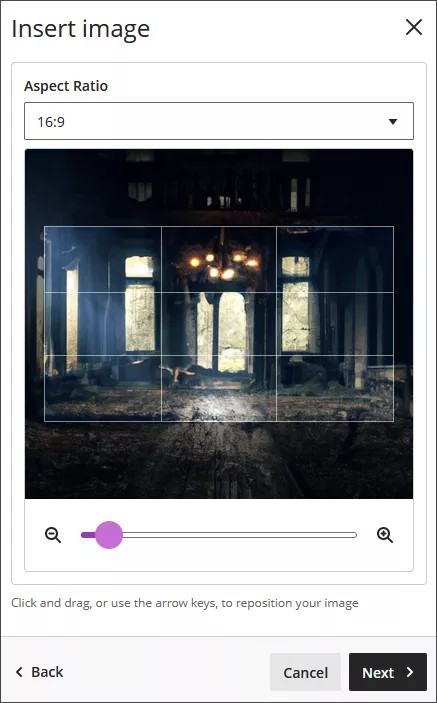
You can choose an aspect ratio for the image. You can keep the original aspect ratio, or convert it to a landscape or portrait display. The white grid lines show you what part of the original image will be displayed on screens.
You also have the option to adjust the slider to zoom in or out, and you can select and drag the grid lines to change the focus.
Select Next when you’re ready to insert the image.
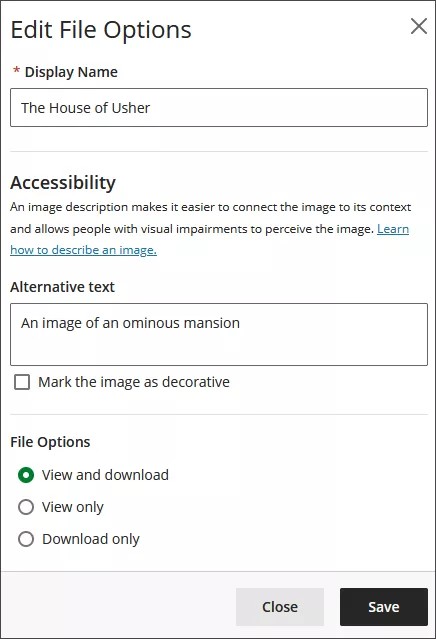
You’re required to enter a display name. We recommend also adding alt text, to make the image accessible to users with screen readers.
By default, users can view and download the image. If you select Download only for the image, a placeholder will display on user screens until users download the image.
GovCloud users can only use the Download only option.

You can also add images from the web. Select Insert Content and then select Image from URL. Type or paste an image URL to embed an image hosted online. You must use the http://protocol. Include a description of the image in the Alternative text box for screen readers and users who can't view the image.
Resizing and deleting images
Resizing media is not supported on mobile devices.
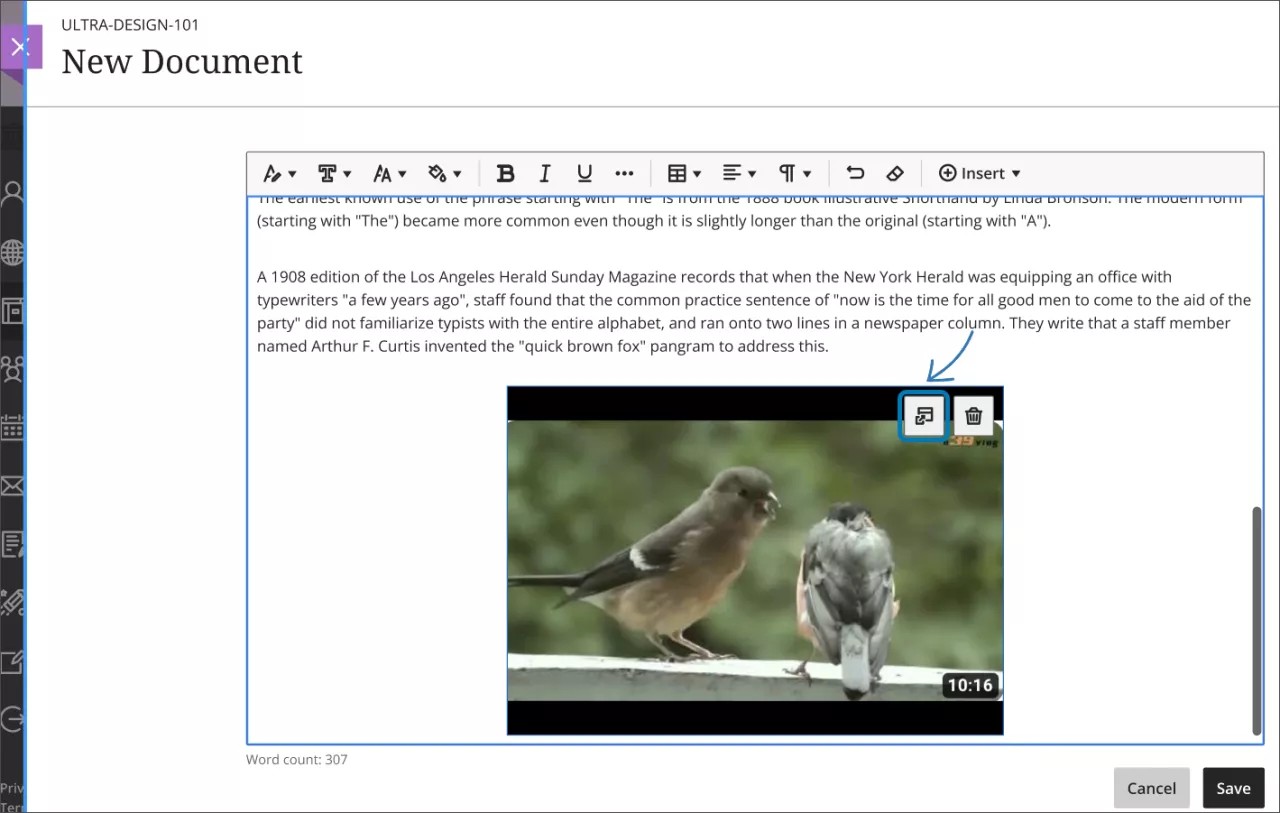
You can easily resize images in the editor. Media types available for resizing also include videos and other media inserted via URL.
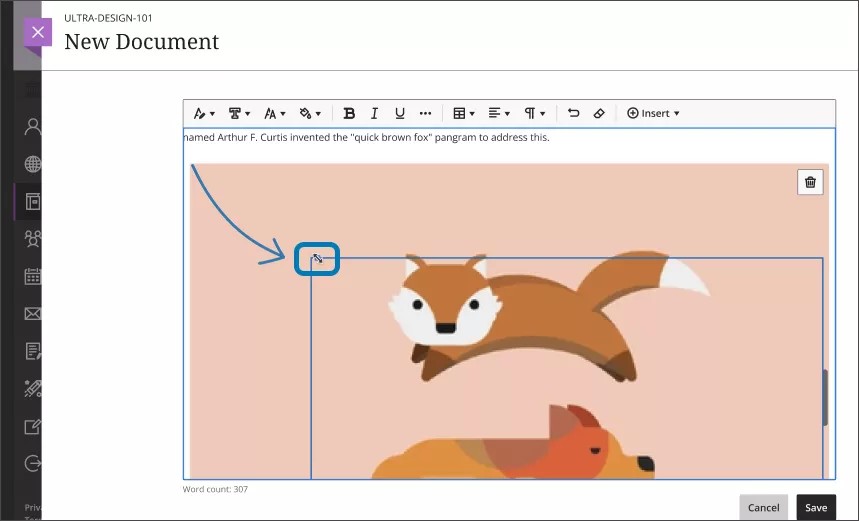
- Once an image is added to the editor, select that image with your cursor. The selected image will display four corner handles.
- Select one of the handles and hold down the mouse button while dragging it to enlarge or reduce the image size.
- When you are happy with the size, release the mouse button and select Save.
You can also resize an image via keyboard navigation:
- Make sure your cursor is active on the Learn Ultra screen.
- Select the tab key until you highlight the image you wish to resize.
- Hold down the shift key and use the arrow keys to enlarge or reduce the image.
- When the image is your desired size, release the shift key.
When resizing, keep in mind these specifications for resizing media:
- All media attached or inserted via URL maintains aspect ratio.
- All media is center aligned.
- The maximum size of the media (100%) is the maximum width allowed by the content editor.
- The minimum size limit for all media is 200 pixels.
Delete an image. Select the image with your cursor and the delete icon will appear at the top right corner of the image. Select that icon to delete the image. You can also simply highlight the image with your cursor and select the backspace key.
Insert media in the editor
You can use the Insert Media option to insert media and enterprise Office365 files directly into the editor. The editor automatically embeds the media with the other content you include. Students can view the media, such as a video, within the same window—no need to navigate to the media's site.
You can embed content from these sites:
- VidGrid
- Panopto™
- FlipGrid
- SlideShare
- Prezi
- VoiceThread
- Khan Academy
- Kaltura
- SoundCloud
- Spotify®
- Genial.ly
- NearPod
- Quizlet
- EdPuzzle
- H5P
- Vimeo®
- YouTube™
- Office365
To add media:
- In the editor, select Insert Content (the plus button) > Media.
- Paste the source URL from the site.
- Add alternative text that describes the item for people who use screen readers or may not be able to load the content.
- Select Insert. The item automatically embeds in the editor.
Resize media. See instructions in “Insert images in the editor.”
Embed enterprise Office365 files. Select Share in your Office365 file to create a link to the file. Choose which permissions you want the user to have and select Copy Link. This copies the link to your clipboard. To embed the content, select Insert Content > Media from the editor. Paste the link in Media URL. Select Insert.
Insert YouTube video
Select Insert YouTube Video to browse and add YouTube videos directly in the editor. You do not need to leave your course to find a link. You can choose to display the video as a link or to embed the video alongside the other content you include. Students can watch the video within the same window—no need to navigate to YouTube.
When inserting a video in edit mode, a preview icon displays in the top right corner to play the video in another window while in edit mode. This allows you to preview the video before you save it. The preview icon appears regardless of how media is inserted.
Resize video. See instructions in “Insert images in the editor.”
Delete a video. Select the video with your cursor and the delete icon will appear at the top right corner of the video. Select that icon to delete the video. You can also simply highlight the video with your cursor and select the backspace key.
More on inserting YouTube videos
Insert a feedback recording in the editor
You can embed audio and video recordings of your feedback in the editor as you grade submissions. The recording option appears in the feedback editor for most graded items in your course. Students watch or listen to your feedback alongside any text you include.
This function isn't supported on all browsers. For the best experience, use Chrome or Firefox.

Insert Content Market files
Your institution controls which tools are available.
The Content Market is your gateway to valuable learning materials from trusted content providers. You can also access tools and links your administrator has made available across your institution.
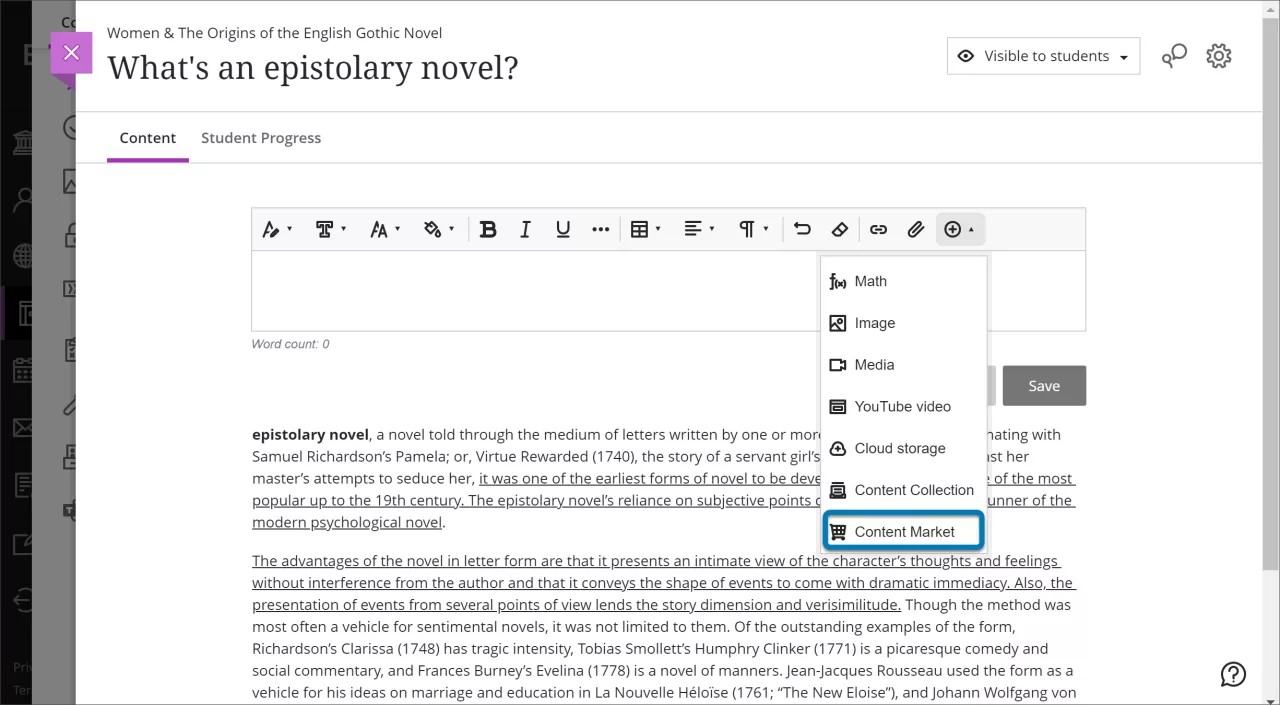
You can add content from the Content Market directly to the editor in your course's assignments, tests, and documents. In the editor, select Insert Content (the plus button) > Content Market.
Select a tool to launch and browse for content to add. Alternatively, you can select the plus sign on the Institution Tool's card to add the entire tool in the editor. When you add a tool or a piece of content to the editor, it appears as a link.
Add files from the Content Collection
You can use the Content Collection to organize, share, and reuse files in your courses and those files shared across the institution. You can add files from the Content Collection right on the Course Content page. Select the plus sign wherever you want to add files. In the menu, select Content Collection to browse the files available to you and add them to your course.
You can also find the Content Collection in the Import Content panel. Select Content Collection to browse the files available to you and add them to your course. To speed up the process, you can select multiple files to add at one time.
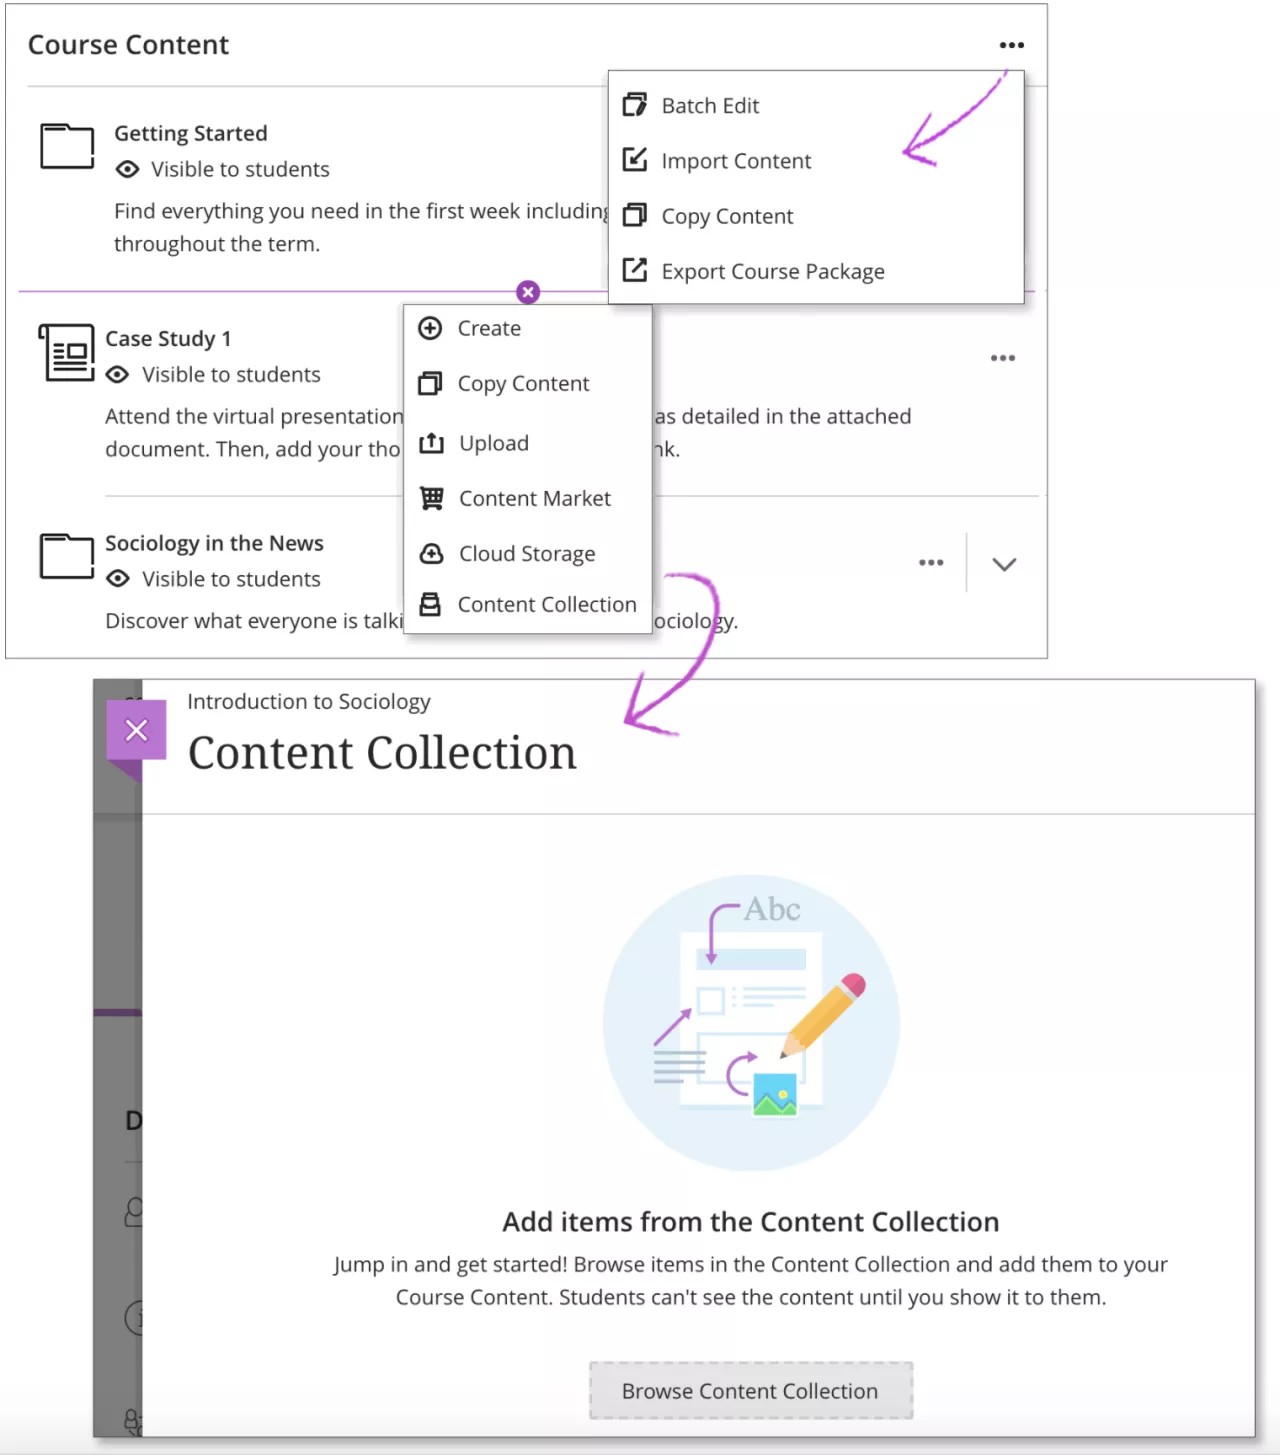
Select Browse Content Collection to get started. You're brought to the Content Collection system, where you can find files stored from your other courses. You'll also have access to files your institution has added and shared. Use the browse functions to explore.
The first time you open the Content Collection in your Ultra course, you can open it in the current window or in a new window. Select the option that works best for you. You can change the setting later. Select the Browser Settings icon at the top of the window.
When you find a file you want to add to your course, select the check box next to the file name. You can continue to browse and select files. The system shows how many files you've selected at the bottom of the window. When ready to add, select Submit to review your list of selected items.
If you want to browse the Content Collection but not add a file to your course, you can access the Content Collection on the Tools page. You can also add links to items in the Content Collection.
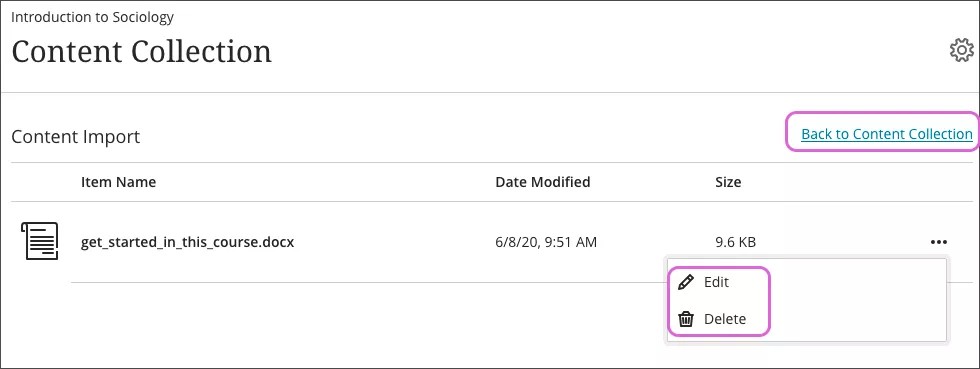
Review the list
You can review the list of selected files before you import into your course. Review the Item Name, Date Modified, and Size to confirm that these are the correct files. If you forgot something, you can add more items to the list. Select Back to Content Collection to continue browsing.
To remove or edit a file from the list, open the menu for the item. Select Delete if you no longer want to copy the file to your course. Select Edit to change the file's name or description.
Select Save to add the content to your course. The files are hidden from students by default so you can continue building course content.
How Content Collection files behave
When you add a file from the Content Collection to your Ultra course, the file in your course maintains a link to the original location. Keep these characteristics in mind when adding Content Collection files to your course:
- File permissions in the Content Collection don't impact whether a student can view a file in your course. You control visibility settings for these files the same way as all other content in your course.
- If a file you added to your course is updated or overwritten in the Content Collection, the file in your course reflects that change as well.
- If a file you added to your course is deleted in the Content Collection, the file is no longer accessible in your course. The file still appears in the Course Content page, but an error appears when a user opens it.
- When you delete a course file that you added from the Content Collection, the file remains in the Content Collection. The only file removed is the one within your course.