This information applies only to the Original experience. Your institution controls which tools are available.
You can create Course Files folders and sub-folders to organize your files. Creating a logical filing system makes it easy to locate and link to files when creating content in your course. The folder structure in Course Files is separate from folders in a content area of your course and has no impact on the presentation of the content.
Folders can also make it much easier to manage permissions for your content. If you want to allow certain users the ability to read, write, or remove items, you can group them in one folder and edit permission for the folder rather than on individual items.
Create a folder
You can create folders in the top-level folder of Course Files or inside another folder.
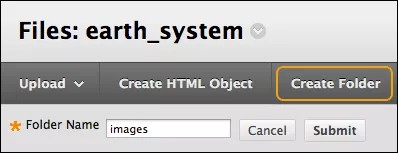
- Go to the area of Course Files where you want to create a new folder.
- Select Create Folder and type a name.
- Select the folder's title to create one or more sub-folders to further organize content.
Edit folder settings
You can edit the name of any folder except the top-level course ID folder. Changing a folder's name does not break any links to content in your course. Open a folder's menu and select Edit Settings.
Delete a folder
You can delete any folder except the top-level course ID folder. If you delete a folder, the contents of the folder are permanently deleted and the links to that content in your course are broken. The system notifies you that the Delete action will result in broken links. In your course, the broken links appear with an "Invalid File" statement next to them.
- Open a folder's menu and select Delete. You can also select a folder's check box and select Delete.
- A warning appears. Select OK to verify the deletion.
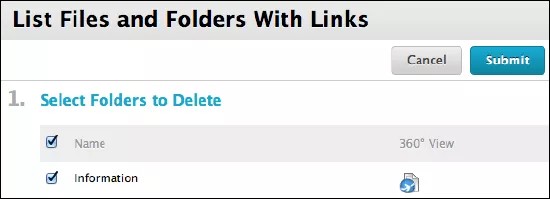
- On the List Files and Folders With Links page, the system informs you if the folder or any files in the folder are linked in a course. You can clear the check boxes for items you do not want to delete. You can also view the 360° view report to see exactly where the items appear in your course.
- Select Submit.