Payment codes are used to discount items based on users, courses, or timeframe. Administrators can create, update, or delete payment codes, and learners can use those codes to pay for courses. Codes can be designed to apply as a percentage of the total cost of an offering or as a specific amount.
The Payment Settings screen
- Sign in to TDM.
- Select Administration.
- Select Settings.
- Select Payment.

Create payment codes
- Navigate to the Payment Settings screen.
- Select Codes.
- Select Add Payment Code.
- Select a Language from the menu.
- Type a Name for the Payment Code and an optional Description.
- Select Create.
- Repeat steps 4-6 for any additional languages you want to add.
- Type the Code.
- Select the Enable Payment Code toggle to enable the payment code.
- Choose either Percentage or Amount, then type the appropriate value in the box.
- Type a Max Usage Count if you want to limit the number of times the code can be used.
- Enter usernames, separated by commas, if you want to limit the code's use to specific Users.
- Click the User Search box to search for users.
- You can search using Username, Student ID, or Email.
- Select each user you want to add to the list and select Submit to add those users to the list.
- Enter Course IDs, separated by commas, if you want to limit the code's use to specific Items.
- Choose a Start Date and End Date if you want to limit the date range when the code can be used.
- Select Save to create your code.
Create access codes
- Navigate to the Payment Settings screen.
- Select Codes.
- Select Add Access Code.
- Select a Language from the menu.
- Type a Name for the Payment Code and an optional Description.
- Select Create.
- Repeat steps 4-6 for any additional languages you want to add.
- Type the Code.
- Select the Enable Access Code toggle to enable the payment code.
- Type a Max Usage Count if you want to limit the number of times the code can be used.
- Enter usernames, separated by commas, if you want to limit the code's use to specific Users.
- Click the User Search box to search for users.
- You can search using Username, Student ID, or Email.
- Select each user you want to add to the list and select Submit to add those users to the list.
- Enter Course IDs, separated by commas, if you want to limit the code's use to specific Items.
- Choose a Start Date and End Date if you want to limit the date range when the code can be used.
- Select Save to create your code.
Edit a code
- Navigate to the Manage Codes screen.
- Select the ellipsis icon on the code row.
- Choose Edit.
- Make the appropriate changes to the code characteristics and select Save.
Delete a code
- Navigate to the Manage Codes screen.
- Select the ellipsis icon on the code row.
- Choose Delete.
Search for payments
Administrators can search through the payment history for specific payments using the Transaction ID provided by the merchant or the username of the learner who made the transaction.
Search by Transaction ID
- Navigate to the Payment Settings screen.
- Select Search for Payments.
- Select Search By Transaction ID.
- Type the Transaction ID.
- Select Search.
Search by username
- Navigate to the Payment Settings screen.
- Select Search for Payments.
- Select Search by Username.
- Type the Username of the person who made the transaction.
- Select Search.
Search result actions
You can do several things with the search results that are returned when you search by Username.
- Order search results by column.

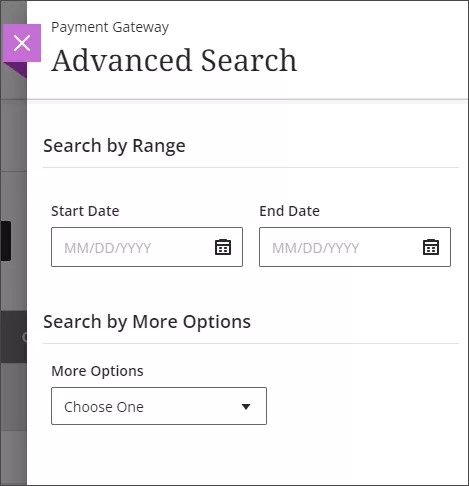
- Filter the search results by date.
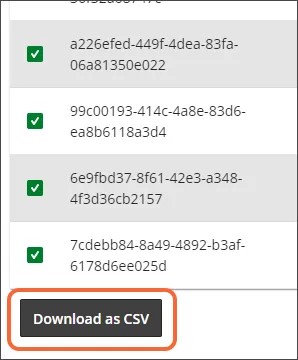
- Download the payment search results as a CSV file.
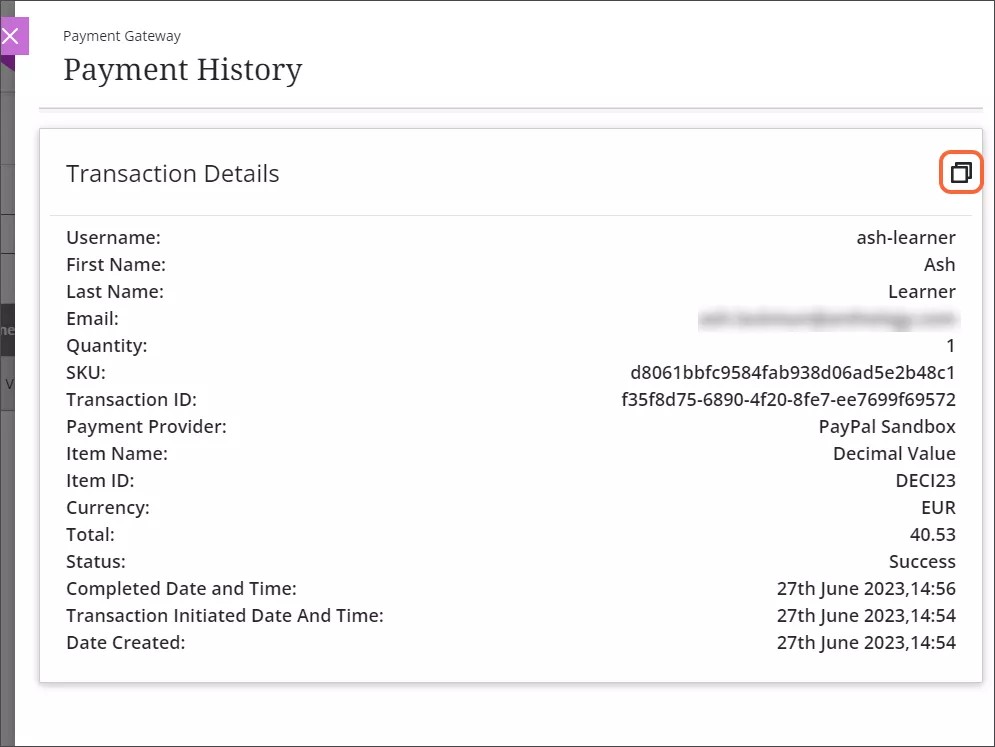
- Copy and paste the data from an individual transaction.