Where do I start grading?
You can start grading from multiple locations accessed from the navigation bar:
Grades — Select Grades to access all your grading tasks you need to take action on, such as tests that are ready to grade or the number of tests still missing for students. You can quickly scan your progress, set priorities across the board, and begin grading.
Courses —Select Courses to access a list of your courses. Open a course, and then select Gradebook on the navigation bar. You can see who made submissions and start grading.
Activity Stream — Select Activity Stream to view alerts for student submissions that are ready for grading.
For more information about navigating the gradebook, see Ultra Gradebook.
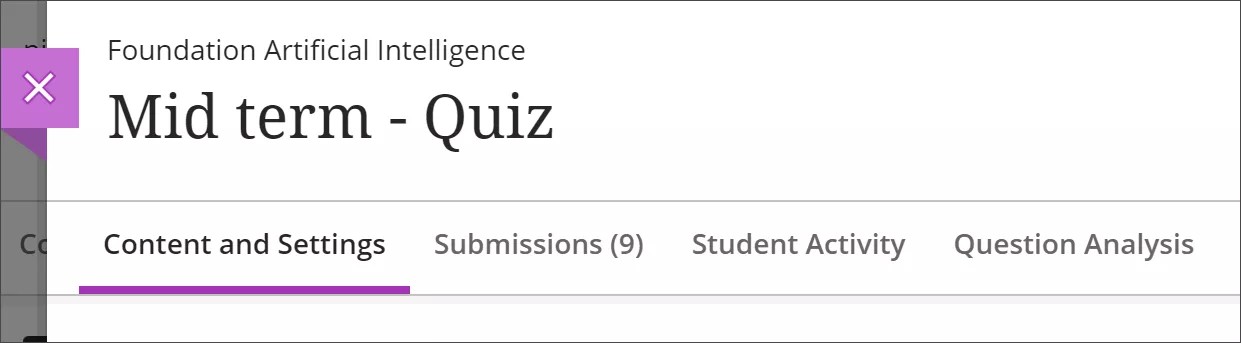
When you access a test, you can move between the tabs at the top of the page — Content and Settings, Submissions, Student Activity, and Question Analysis — to access different information and tasks.
Update test content and settings
The Content and Settings tab displays the test’s questions and settings, such as the due date and maximum score.
Group tests are graded the same as group assignments.
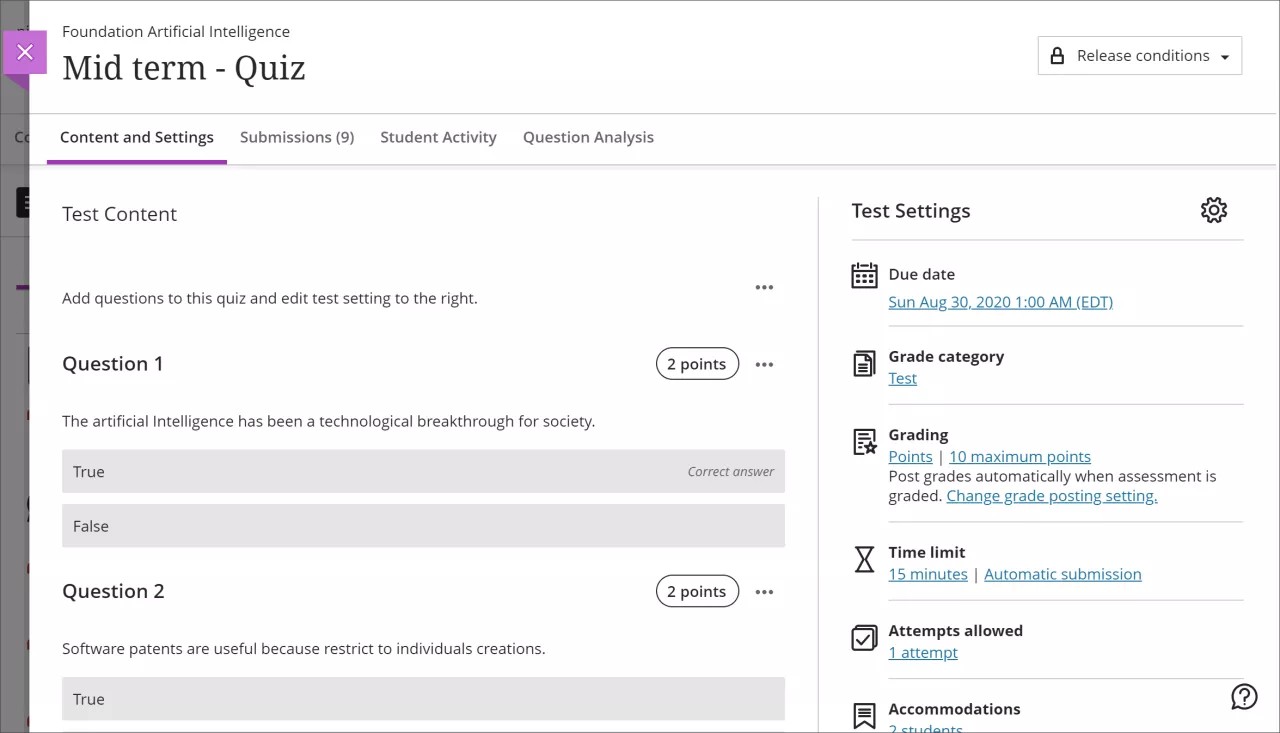
- Test settings. Select the test settings button to make changes. For example, you can change the grading schema at any time and the change will show to students and in your gradebook.
- Conversations. If you allowed students to discuss the test with you and their classmates while the test is available, select the Open class conversation button to view the conversations. Students can contribute to the conversation before, during, and after the test. A purple circle appears over the conversations button to indicate new activity.
- Refine questions. To make corrections to questions after students have opened a test or group test, select Edit from the question's menu. For example, you may have chosen the wrong answer, found a typo, or want to adjust points or scoring options. Grades update even if students have already made attempts, but the new grade may not appear immediately. For more information, see Edit Tests and Questions.
Manage test submissions
On the Submissions tab, you can quickly view the number of submissions received, ready to grade, and ready to post. From the student list, you can view the submission and grading status for each enrolled student. You can filter the list to show only the information you need, and the system remembers your selections for your next session. For example, you can filter the list to display only those submissions that need grading. NOTE: The filter menus don't appear for group and discussion items at this time
Grade a test
Select a student's name to open their submission.
- Review student work. Student answers appear for each question. Students can also add comments and files to the end of their tests. You can't change the points an individual student earned for an automatically graded question.
- Navigate to other submissions. Use the arrows to move to another submission ready for grading.
- View the rubric. If you associated a rubric with this test, select the rubric button in the empty grade pill to view the criteria. The screen adjusts so you can view the student's submission alongside the rubric.
- Enter a grade. Assign points for each question. You can use up to two decimal places. Click anywhere outside the grade pill to save. The grade total appears at the top of the test. A test's score consists of the sum total of all the questions' points.
- Provide feedback. From the menu next to the grade pill, select the feedback button to add a note with suggestions, encouragement, and overall feedback about the submission.
- Grade multiple attempts. If you allowed multiple attempts, a panel appears that displays each attempt, along with the dates they were submitted. Select an attempt to view the submission.
- Post grades. The Post button appears next to each grade that you haven't released yet. You can choose which grades to post and when. You can also grade all submissions for an item in succession and then select Post all grades to release all grades in one action. Once posted, grades are labelled Posted in the column.
- Delete the submission or provide an exception. You can also give the student an exception on this test. An exception includes additional attempts or extended access, even if the test is hidden from other students.
- Edit or regrade. From a student's submission, you can open a question's menu and select Edit/Regrade to make changes or give full credit to everyone. These edits affect everyone's tests. If students have already made submissions, you receive a warning that these will be regraded.
Students will receive a grade change notification if an assessment grade changes. A grade may change when: 1) the assessment posts grades automatically, but then the instructor changes the points earned on a question 2) the instructor removes an overridden grade so that changes to points earned reflect on the assessment grade.
More about submissions
- Late submissions. Student profile pictures appear with a red circle when they have late submissions, or the due date has passed with no attempt submitted.
- Accommodations. Indicators appear next to the names of students with accommodations.
- Timestamps. Hover over a submission timestamp to view when the student made the submission and when you posted the grade. The timestamp appears in red with a "late" label after the due date passes. To access the timestamp for multiple attempts, select a student's name to open the attempts panel.
- Override grades. You can also manually override grades as needed. An override label appears next to the grade. After you assign a value, click anywhere outside the grade area to save.
- Exceptions. To add an assessment exception for the test, select the menu next to the grade pill. An exception includes additional attempts or extended access, even if the test is hidden from other students. You can also add exceptions after you post grades.
- Anonymous grading. If you enabled anonymous grading on the test the submissions list only includes students who've made a submission. Those students are assigned “Anonymous Student” and a number, such as Anonymous Student 244260, and their names and profile pictures are hidden. Submissions also appear in random order rather than by submission date.
- Show correct answers. If you chose not to show correct answers for automatically scored questions, return to the assessment settings panel and select Show correct answers.
What do students see?
After you grade tests and post the results, students can view their scores on their grades pages or in the activity stream. They can also access the test, their submissions, your feedback, and their grades from the Course Content page.
Grade with BB Annotate
You can use BB Annotate for inline grading in your courses. Bb Annotate offers a more robust feature set to provide customizable feedback to students. Features include a sidebar summary view, freehand drawing tools, various color selections, and much more.
Grade with SafeAssign
When you grade assessments with SafeAssign enabled, you can view an Originality Report to see how much of a student's submitted content overlaps with other published materials.
You can't use SafeAssign on tests in the Original Course View.