Correct language set makes documents and presentations easier for all
For students with visual impairments, a document with the correct language set is crucial for their learning enabling audio or screen readers to read the text in the correct language and accent.
For all students, a proper language set can suggest grammatical and spelling corrections following the rules of a specific language making the content easier to read.
What language issues a file could have?
A document or presentation could have a language wrongly set or have no language set:
- Wrong language set: The document has a different language than the one the text is written in, which could create trouble for screen readers when identifying the language to read. Or, when software recognizes grammar and spelling mistakes incorrectly.
- No language set: the document doesn’t have a recognizable language to check the content against.
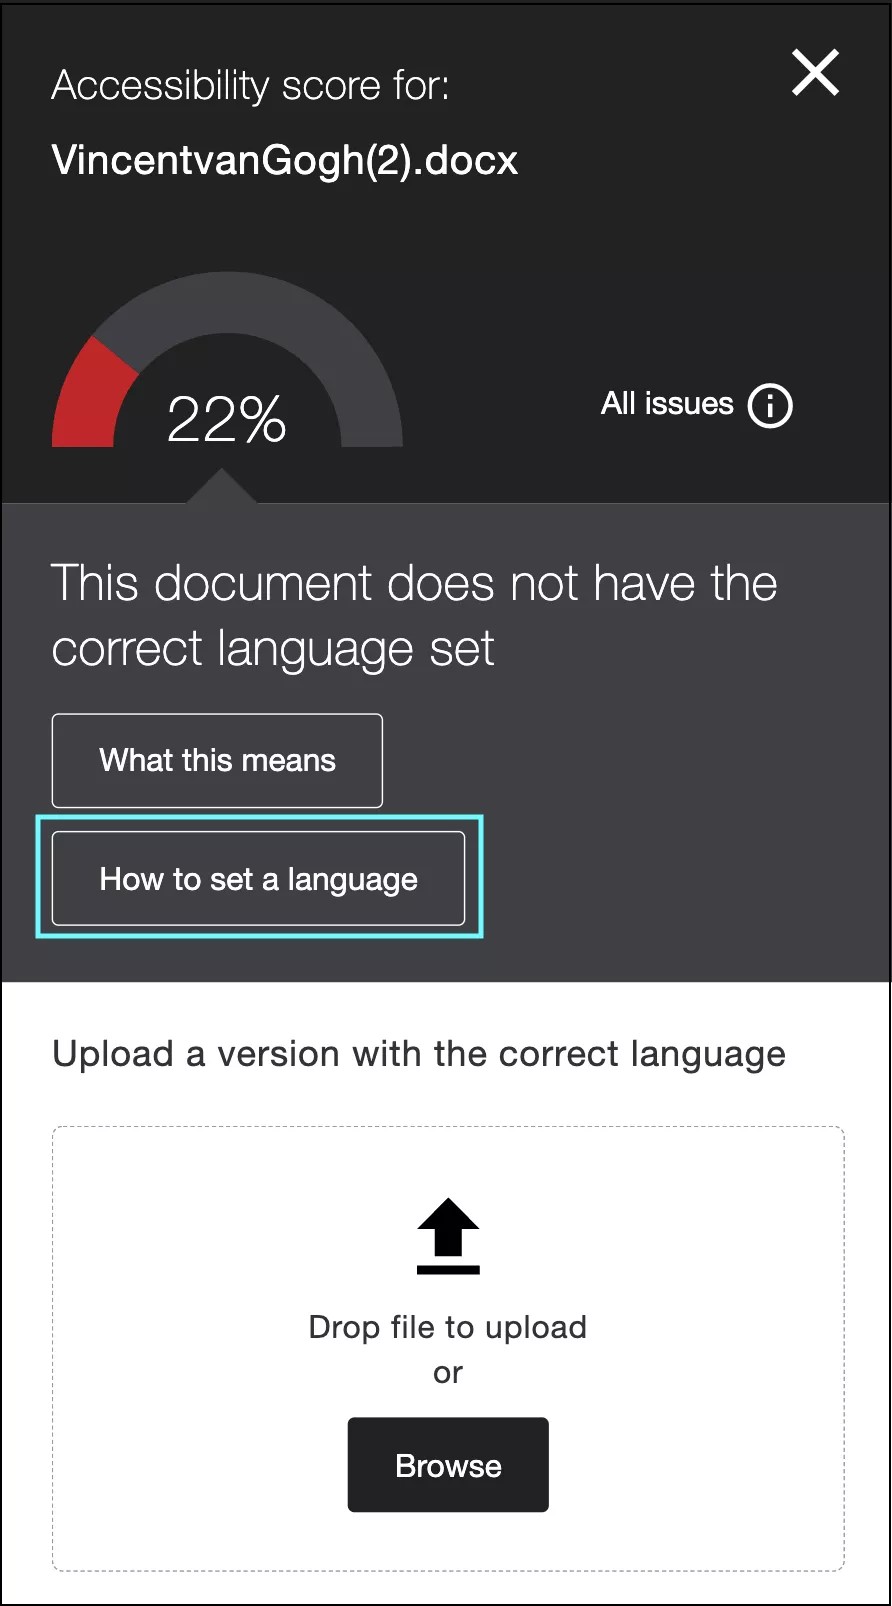
To set the correct language in your document or presentation, select the Accessibility score indicator to open the Instructor Feedback panel and follow the guided steps.
Set the language in your document
You need to fix this issue in the original source file. For example, Microsoft Word, PowerPoint, or LibreOffice. Upload the file to Ally when you’re ready.
From the Instructor Feedback panel, select How to set a language for step-by-step guidance on how to do this.
- Select How to set a language.
- Locate the file on your computer or select download the original directly from Ally.
- Set the language the text is written in:
- For documents:
- Microsoft® Office 365: Select the text. Go to the Review tab, select Language (in PC, additionally, select Set Proofing Language) and choose the language from the dialog box.
- LibreOffice: Select the text. Go to the Format tab on the main menu, select Character, and choose the language from the dialog box.
- For presentations:
- Microsoft® Office 365: Go to the View tab, choose Outline view, and select all the text on the left side. Next, from the top menu, go to Tools, select Language, and choose the language from the dialog box.
- LibreOffice: Go to the View tab, select Outline, and select all the text on the left side. Go to the Format tab, select Character, and choose the language from the dialog box.
-
If your presentation doesn’t have proper headings applied, we recommend you fix the headings before fixing the language. When a presentation does not have headings applied, you will have to set the language for each text element which can be time-consuming.
-
If certain sentences or paragraphs are written in a different language, select those individually and repeat the steps.
- For documents:
- Save the file.
- Upload the updated file in Ally to replace the previous one.
- See the new score for your document. Great work!
If you don't have the Instructor Feedback panel open to upload the fixed file, select the Accessibility score indicator in your course and select Browse to upload your file.
Why is setting a language important?
- Helps identify language mistakes: Setting the language in a document allows the spelling and grammar of the text to be checked in that specific language.
- Helpful for students with visual impairments: Students who use screen readers need a correctly set language to be able to hear the document read out in the correct language and accent.