Additional settings
You can also update additional information in your event:
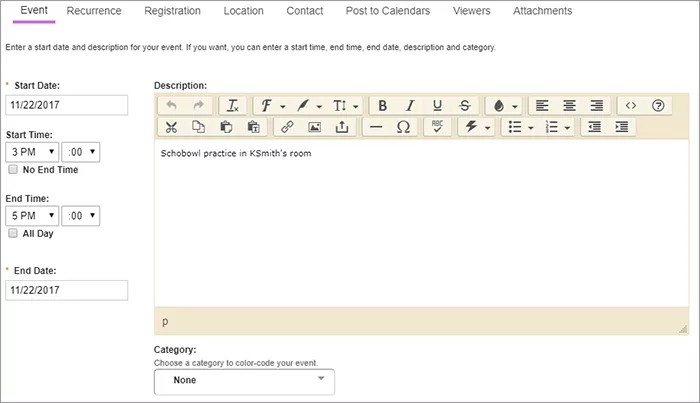
- Set the Location details, including the address, of the event. You can also Add a map of this location to your event.
- Set your Contact options for the event.
- Post the event to other calendars available through the Post to Calendars settings.
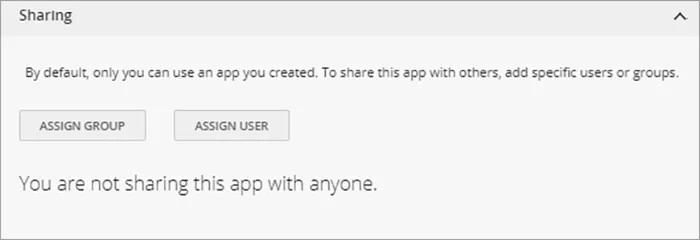
- Set the Viewers options to select specific groups or users to view.
Select Save
You can also create an e-alert for your event.
More calendar options
Did another member of your school or district recommend an event for your calendar? Use the Event Queue to approve or deny any events to be added to your calendar.
Want to update the categories available for your calendar? Select Event Categories and select which categories you want to add.
Did you create a registration calendar event? Manage all the registered users on the Rosters tab.
Third-party calendar integrations
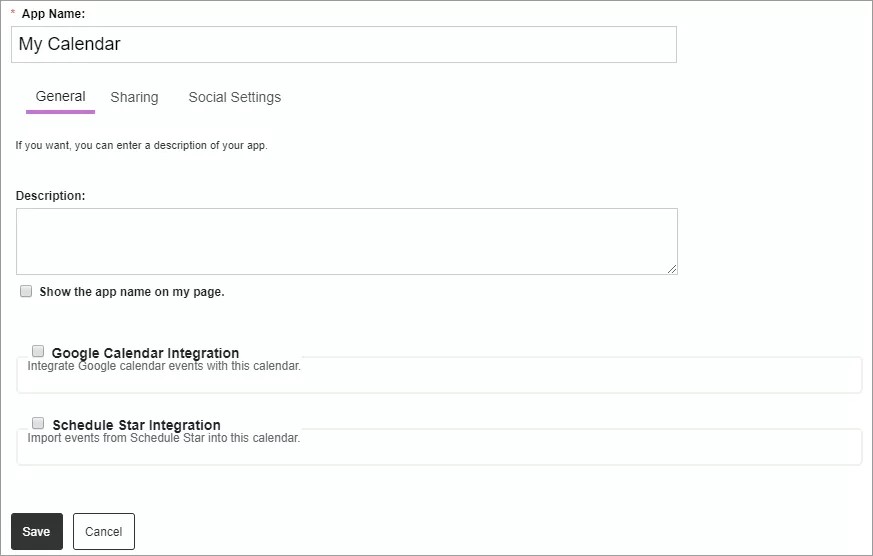
- Select App Options
- Type the App Name, the Description, and select Show the app name on my page.
- Select Google Calendar Integration to integrate and sync with an existing Google calendar.
- Select Schedule Star Integration to integrate with your Schedule Star calendar.
- Select Save.
Add attachments
Attach files to a calendar event
- From Site Manager, find the calendar.
- Create and save an event on the calendar, if necessary.
- Position the cursor on a calendar event and select Edit.
- Select Attachments.
- Select Add Attachments.
- Select the file or files you wish to attach.
You can also drag-and-drop the files that you wish to attach.
- Select Upload.
- Select Save.