Caller Tab Overview
The Caller Tab will appear as a selectable tab when authenticating to SmartView and selecting the Advisor Desktop interface. The Caller Tab is used to search for and select a contact, create a contact, or edit an existing contact.
The main areas of the Caller tab are:
- The Caller Search As section
- The Caller Search Results section
- The Caller Information section
- The Case Search Results section
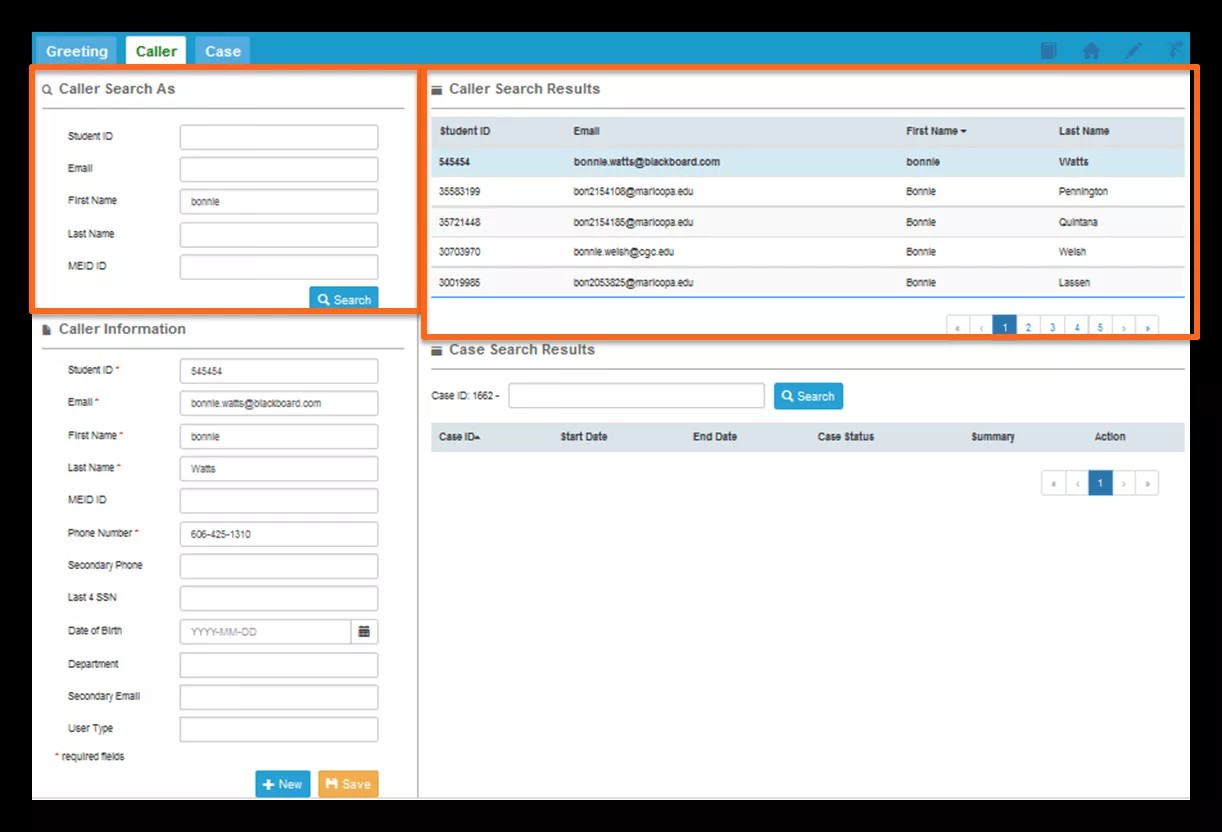
Caller Search As Section
Use this section to enter search criteria information to find the Contact that you are interacting with. Enter information in one or more fields and select Search.
Caller Search Results Section
This section lists matching results to the search criteria entered in the Caller Search As section. Only a few information items will list in this section.
If one of the listed Contacts is the person that you are interacting with, select that Contact by clicking anywhere in the row. Your selected Contact will highlight in blue.
Caller Information Section
Once a Contact has been selected in the Caller Search Results section, the full profile will populate in the Caller Information section, with the profile information of the selected Contact.
The Contact profile information may be edited in this section: enter the updated information and select Save.
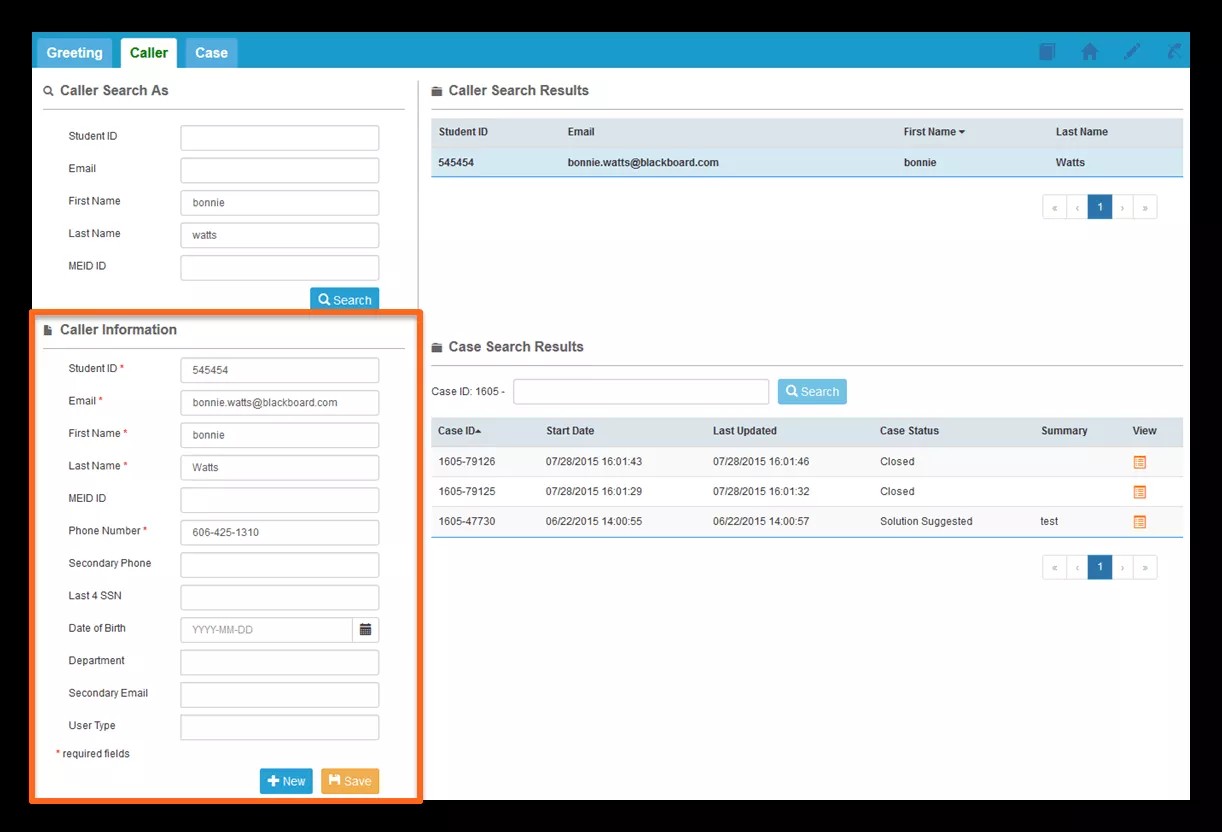
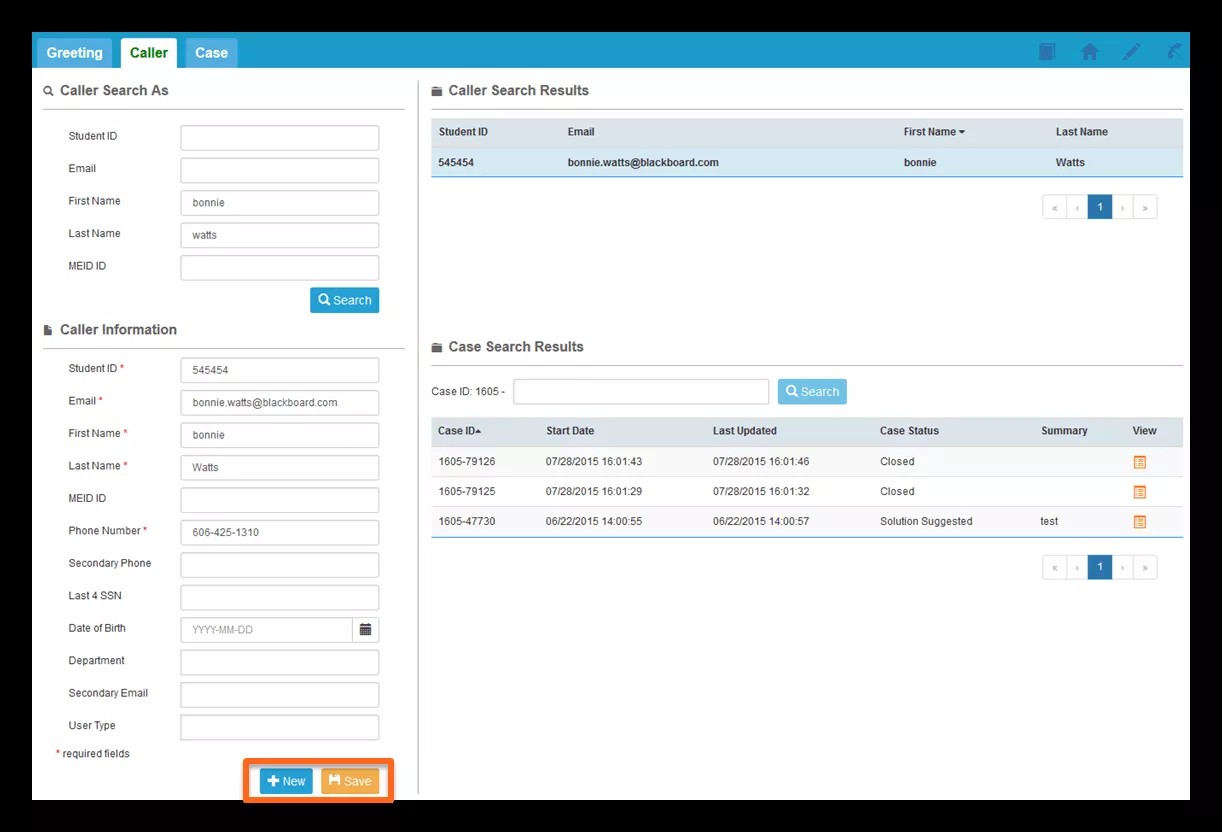
If you are unable to locate the desired profile for a user, click the New Profile button at the bottom of the Caller Information section. The Contact fields will display and you can type in the new Contact's information.
Enter all required information and select the Save button to create and store the user's profile. If successful, the Contact will now be select-able.
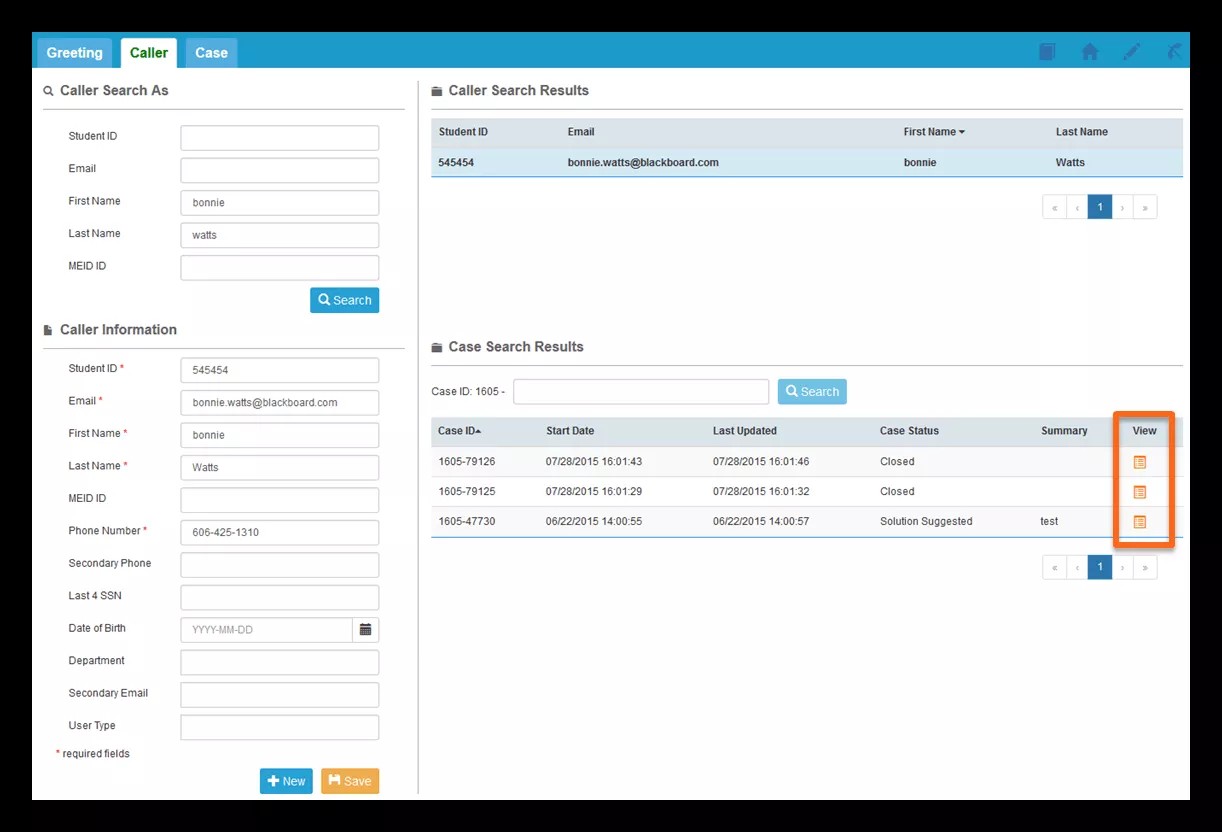
Case Search Results Section
This section will display a list of all cases that have been opened on behalf of the selected Contact. The listing will by default include cases created in the past 30 days. The number of days may be configured to your desired timeframe.
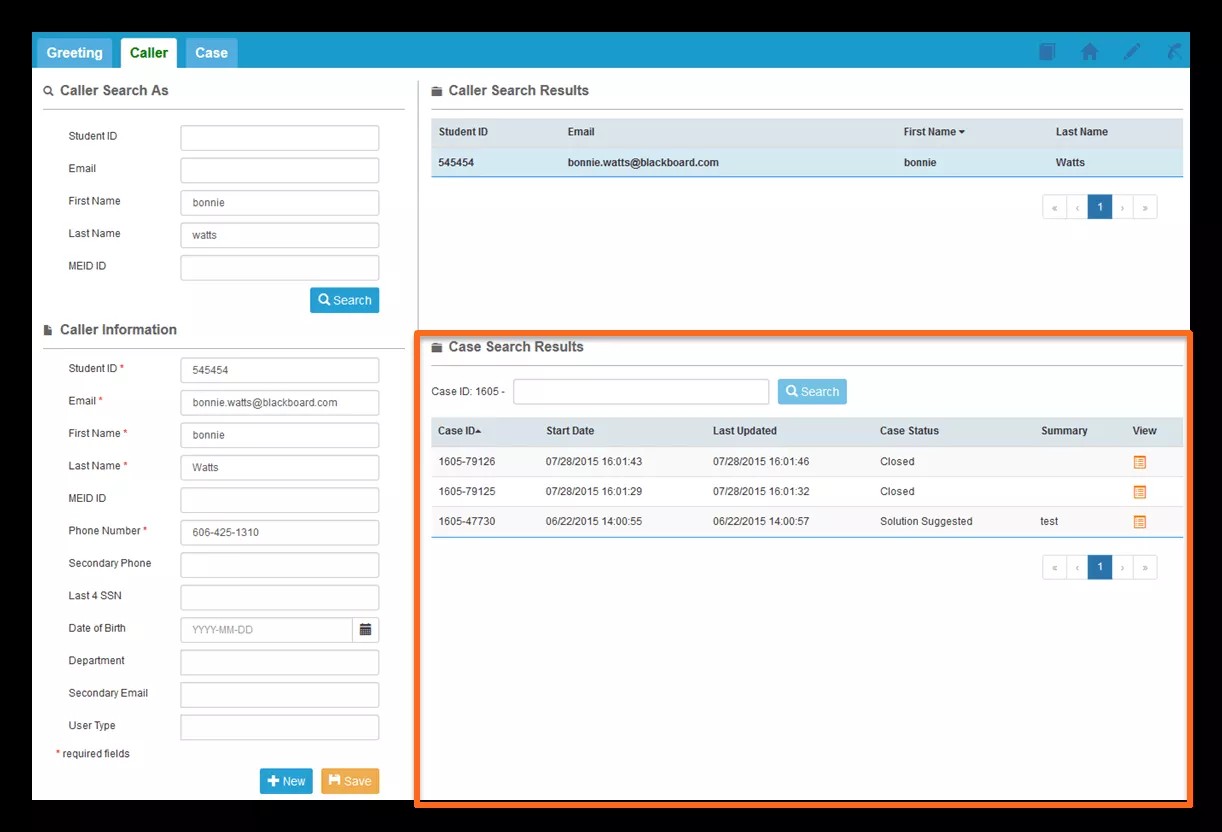
You may also search for a specific Case number in this section. The matching case will populate in the Case Search Results list.
Note: If any Contact search result information remains in any other section of the Caller tab, that information will still appear even though it may not be the Contact that the Case listed in the Case Search Results was created on behalf of.
Selecting a Contact
Select an existing or newly created Contact in order to:
- Create a new Detailed Case on behalf of the selected Contact
- Creating a Detailed Case will necessitate identifying the Contact that you are working with.
- Selecting the Detailed Case button on the Greeting tab will redirect you to the Caller tab where you can search for and select the Contact that you would like to create the case on behalf of.
- Once a Contact is selected, the Case tab will appear and may be selected.
- Navigate to other tabs in order to view the 360 degree information of the selected Contact
- A Contact will need to be selected on the Caller tab in order to activate other Advisor Desktop tabs that may appear if SmartView is integrated with your school's SIS.
- The other tabs may be: Integration, LMS, and Password Reset. Use these tabs to access the 360 degree view of the student.
- View the Case History of the selected Contact so that you may view previously created cases.
- Select the View icon of the case you wish to view and you will be redirected to the Case tab, which will display the selected case.