Ally for Websites crawler
The Ally for Websites crawler incorporates the Disallow statements in a website’s robots.txt file. These statements help prevent the crawler from getting stuck in infinite crawling loops on specific types of content such as search pages, calendar applications, and so on.
The Ally for Websites crawler adheres to the Robots exclusion standard. The specific user agent Ally uses is: blackboardally
Disable alternative formats
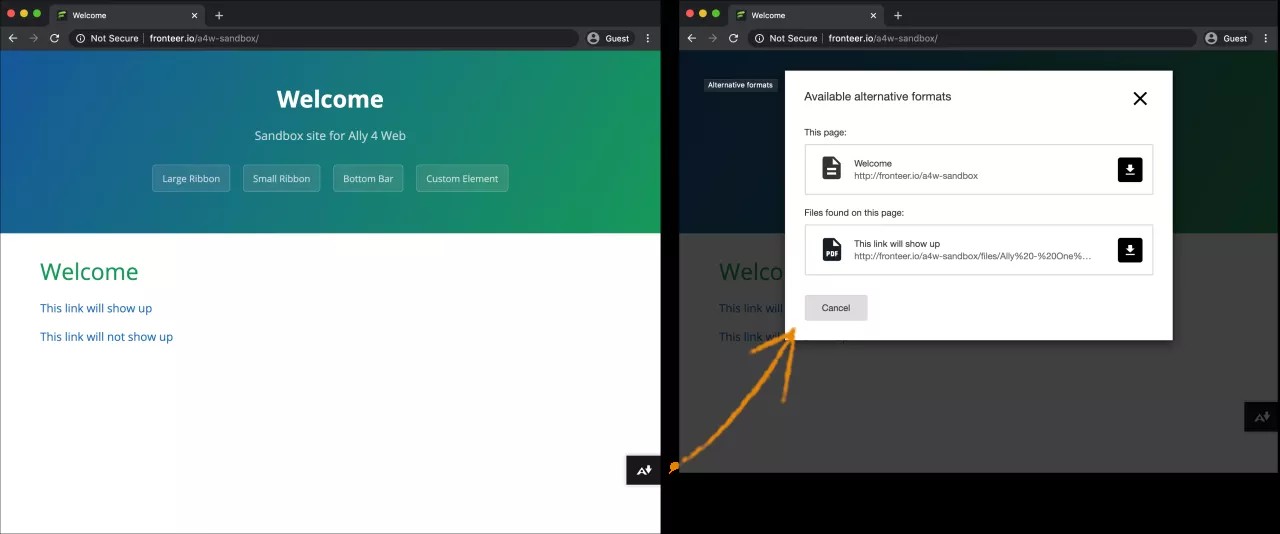
You can turn off alternative formats for individual content items, if you want. Add the data-ally-af-disabled attribute to the linked file in your HTML. This attribute keeps the file from appearing in the Alternative formats panel.
For example, if you add it to a linked file, that linked file won't appear in the list: <a data-ally-af-disabled href:"https://filename.pdf">PDF file</a>.
Remove the attribute any time, if you want the content item to appear in the Alternative formats panel.
Example:
<!doctype html>
<html lang="en">
<head></head>
<body>
<p><a href="/example1.pdf">This link will show up</a></p>
<p><a data-ally-af-disabled href="/example2.pdf">This link will not show up</a></p>
</body>
</html>
Exclude parts of a web page
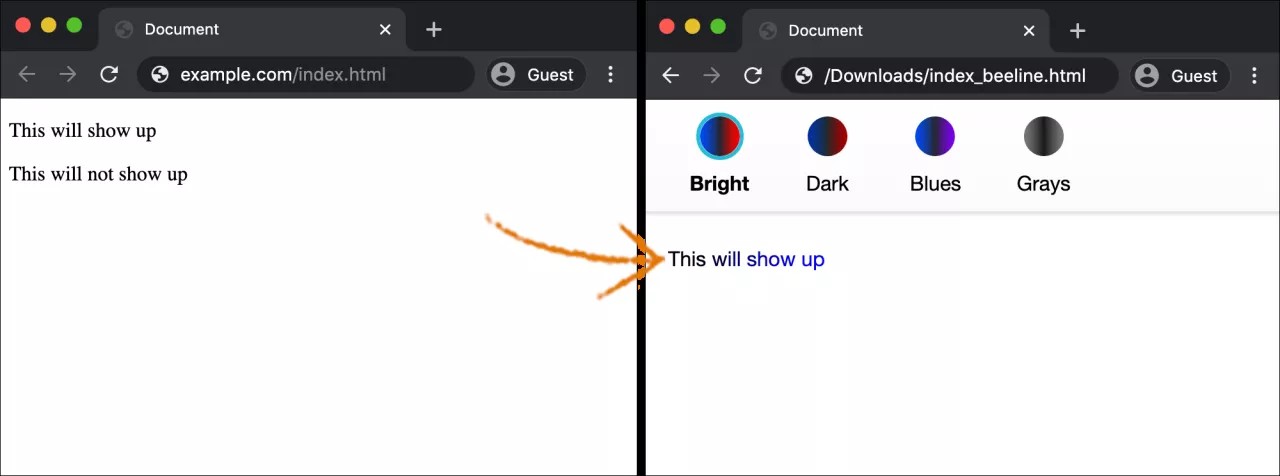
You can exclude specific parts of a web page from the alternative format content. Add the data-ally-exclude attribute to the content element in your HTML. This attribute keeps the content from appearing in the alternative format selected.
For example, if you add the attribute to an image on the page, that image won't appear in the BeeLine Reader alternative format when you open it.
If there is a <main> element on the website, only what is inside that main element appears in the alternative format content. Anything outside of the main element is automatically excluded. You can still use the data-ally-exclude attribute exclude elements inside that main element.
Example:
<!doctype html>
<html lang="en">
<head></head>
<body>
<p>This will show up</p>
<p data-ally-exclude>This will not show up</p>
</body>
</html>
Configure alternative formats download icon
Decide how you want the alternative formats download icon to look. Choose one of these options:
- Small icon on the right of the page: data-ally-af-style="flag_small"
- Large icon on the right of the page: data-ally-af-style="flag_large"
- Bar along the bottom of the page: data-ally-af-style="bar_bottom"
Use this script to customize the look and feel.
<!--
Ally Website Integration Script.
"data-ally-af-style" can be one of the following values to customize the look and feel:
- flag_small
- flag_large
- bar_bottom
-->
<script
data-ally-loader
data-ally-platform-name="web"
data-ally-client-id="[ClientID]"
data-ally-af-style="flag_small"
src="https://[AllyRegionURL]/integration/api/ally.ui.js">
</script>
The URL may vary depending on the region.
[ClientID]: is the client identification provided by the Ally team when a new instance is created.
[AllyRegionURL]: is the Ally environment data center. For example:
- US data center: prod.ally.ac
- Canadian data center: prod-ca-central-1.ally.ac
- European data center: prod-eu-central-1.ally.ac
- Singapore data center: prod-ap-southeast-1.ally.ac
- Australian data center: prod-ap-southeast-2.ally.ac
Configure content editor feedback
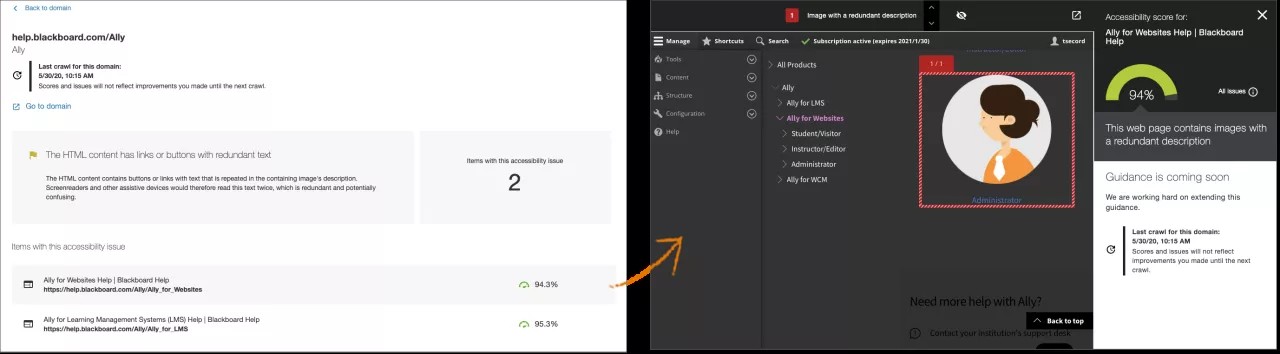
Configure your site to see exactly where your accessibility issues are. After you configure pages on your site, go to your accessibility report and find a domain with an issue. Select the score indicator on the item with the accessibility issue to open the editor content feedback panel. See the issues highlighted on your page in the preview window.
Pages on your site need to have these settings, if you want your page content to appear in the preview window.
- Support HTTPS
- Add the AllyJS script
This script is also required for alternative formats. If you want to see the issues highlighted in the preview window, but don't want to add the alternative formats to your site, use the data-ally-af-style=none property.
- Allow the page to be embedded in an iframe by the Ally domain
- Allow scripts, styles, images, and child iframes hosted by the Ally domain
Allow Ally to embed your pages in an iframe
If you want to take full advantage of the content editor feedback panel, as a trusted partner, Ally needs permission to embed your content in an iframe. This permission allows Ally to show your content in the preview window of the content editor feedback panel. The panel can only be accessed from your Accessibility report.
If you restrict your webpage from being embedded in iframes (for example, with the X-Frame-Options or Content-Security-Policy headers), you'll need to add or change your Content-Security-Policy header to add https://*.ally.ac to the frame-ancestors directive.
Examples
| Current configuration | Add or update frame-ancestors directive |
|---|---|
| X-Frame-Options header with value DENY | Content-Security-Policy: frame-ancestors https://*.ally.ac; |
| X-Frame-Options header with value SAMEORIGIN | Content-Security-Policy: frame-ancestors 'self' https://*.ally.ac; |
| Content-Security-Policy with a frame-ancestors directive of 'none' | Content-Security-Policy: frame-ancestors https://*.ally.ac; |
| Content-Security-Policy with a frame-ancestors directive with a list of domains | Content-Security-Policy: frame-ancestors 'self' https://*.anothersite.com https://*.ally.ac; |
Create domain group users
Domain group users have permission to view the accessibility report for the domains they are assigned. To create domain group users and groups of domains, Ally for Web super administrators need to sign into the Ally for Web configuration dashboard.
The link to the dashboard was provided during your implementation. It will look like /launchclientconfig/yourclientID. Use your existing administrator credentials to sign in.
From the Ally for Web configuration dashboard the original super administrator can configure domain groups and add new users before assigning specific domain groups to those users.
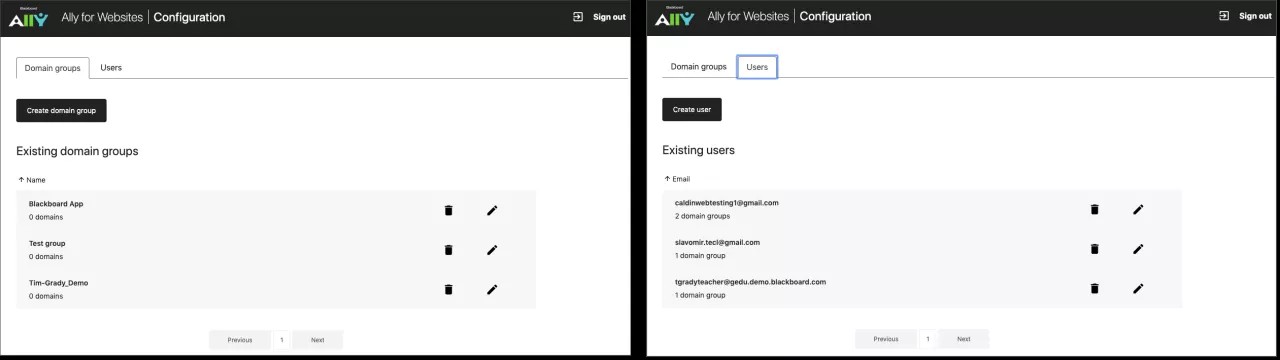
As an administrator, you can assign a new user access to everything, including the ability to configure. Or you can assign partial access to specific domain groups. Users may have more than one domain group added to their access.
If many domains are assigned by the super administrator, the user chooses which domain group report to view when they sign in. If only one domain group is assigned, the user goes directly into the report for that group.
After you create users and assign them to domain groups, you need to let the users know they have an account.
You can use our email templates to tell your users they have accounts.
Google user email template
Hello [name],
An Ally account has been created for you with your email address: [emailUsed@inSignUp]
With this account you can access [Ally for Web - Reporting] / [Ally for LMS - Config]/...
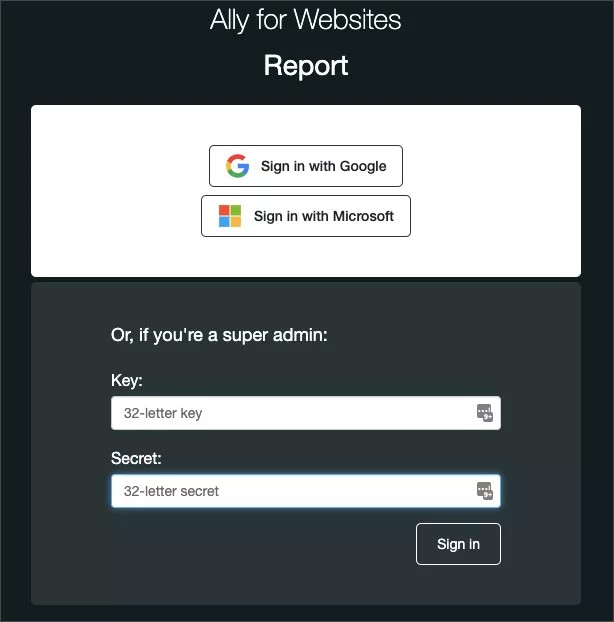
Before you can access the site, you need to link this email address to a GoogleTM account. A Google account is required to sign in. Only super or root administrators can use the Super Admin sign in on the page.
If your email address is already linked, you don't need to do anything. If your email is not linked, follow these steps.
- Go to Create your Google Account.
- Complete the fields. Use [emailUsed@inSignUp] in the Your email address field.
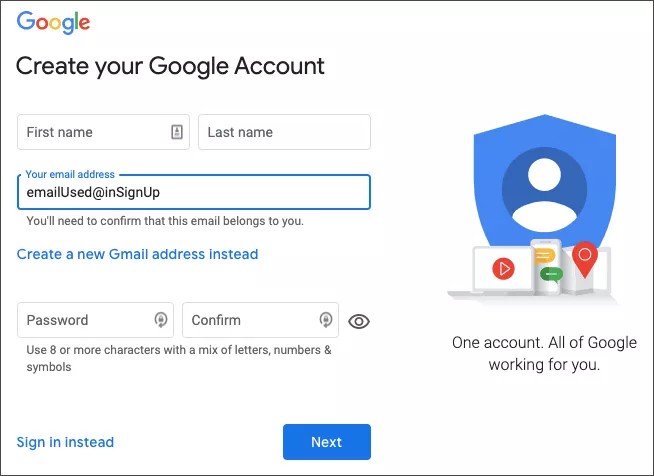
- After you complete the information, Google sends you an email to your email address to verify it. Complete the verification process in the email to link it to the Google account you just created.
After you link your email address, you can use the Google sign in on [Ally for Web - Reporting] / [Ally for LMS - Config]/... to access your reports.
Visit Blackboard's help content for editors to learn more about the report and how to fix accessibility issues.
Microsoft® Office user email template
Hello [name],
An Ally account has been created for you with your email address: [emailUsed@inSignUp]
With this account you can access [Ally for Web - Reporting] / [Ally for LMS - Config]/...
- Select the link and Sign in with Microsoft. Only super or root administrators can use the Super Admin sign in on the page.
- Give Microsoft permission to view your profile and to maintain data it has access to. Select Accept.
- Sign in with your Microsoft email and password.
- After you sign in, you are asked to verify your email. Ally sends you an email with a code. Enter the code to verify your email. You only need to verify your email the first time you sign in.
Note: If you don't see the email from Ally right away, you may need to check your junk folder. - You can now access your report.
Close the report tab or window to sign out from the report.
Visit Blackboard's help content for editors to learn more about the report and how to fix accessibility issues.