Each site or subsite layout contains a Channel Bar. The Channel Bar is a dynamic menu created using terms which have been defined by a site administrator during site configuration. Each of those terms are referred to as a channel. Channels represent the highest level of content organization on the site. Visitors to the site might refer to the Channel Bar as the navigation bar.
Add channels to a site
Before channels can be added to the channel bar they must exist in the Channel Library. The Channel Library is a comprehensive list of available channel names. The available channel names are added and edited by a site administrator or other users who have been assigned the appropriate passport privileges. Using the Channel Library ensures consistency across all sites.
- In Site Manager, find the site or subsite you want to add new channels to.
- Select Channels.
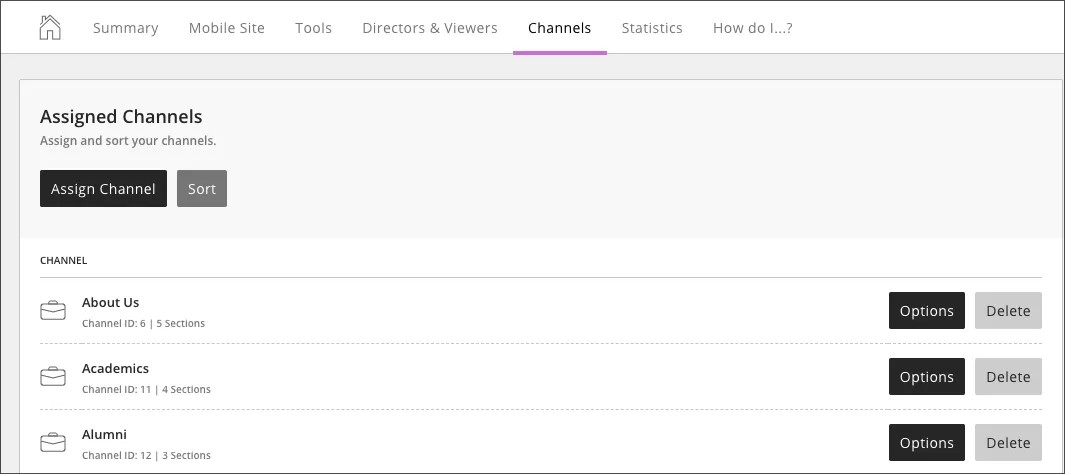
- Select Assign Channel.
- Select a channel from the Channel Name menu.
- Optionally, provide contact information.
Users see this information in general messages from the channel.
- Optionally, type a Calendar Notification Email address.
Notifications are sent to this address when other calendars submit requests to push events to this calendar.
- Select Save.
New channels don't appear in the Channel Bar on the end-user website until you add Sections or activate the Channel Homepage. Activating the Channel Homepage also activates a Channel Calendar. Enter the email address of the person responsible for this Calendar in the Calendar Notification Email field so they are alerted to calendar event requests.
Sort, edit and delete channels
Select Options beside a channel name to edit it and delete it. Select Sort to drag-and-drop the channels in the order you want. Select Delete beside a channel name to delete it.
Hide or display a channel
You can choose to hide or show a channel in the channel bar.
- In Site Manager find the site or a subsite workspace.
- Select Channels.
- Find the channel you want to hide or show and select Options.
- Select Advanced.
- Select the Hide from Channel Navigation checkbox to hide the channel. Unselect the checkbox to show it.
- Select Save.
Use a friendly web address for your channel
Use a web address that is easy to read and remember.
- In Site Manager find the site or subsite with the channel you want to edit.
- Select Channels.
- Find the channel you want to edit and select Options.
- Select Advanced.
- Type your Friendly Web Address without spaces. For example, Athletics.
- Select Save.
Activate channel homepage
New channels don't appear in the Channel Bar on the end-user website until you add Sections or activate the Channel Homepage.
- In Site Manager find the site or subsite with the channel you want to edit.
- Select Channels.
- Find the channel you want to edit and select Options.
- Select Advanced.
- Select Activate Channel Homepage.
- Select Save.