Let your SIS work for you!

While you can manually add, update, and remove accounts, best practice is to manage the account in the Student Information System (SIS), and have the accounts updated during your district nightly updates. With hundreds of students and parents, the SIS will create the majority of accounts for your Blackboard Community Engagement solution.
You may still need to manually add accounts that are most likely not available in the uploads to your SIS - these accounts include coaches, administrative personnel, and guidance counselors.
You can also upload accounts using a .CSV file!
Add an account
Any account manually created will not be automatically updated by your district updates, so any changes to a user's email address, phone number, and other personal information will not be added.
- From the Blackboard Communications HQ interface menu, select Accounts > Manage Accounts.
- Select Create New.
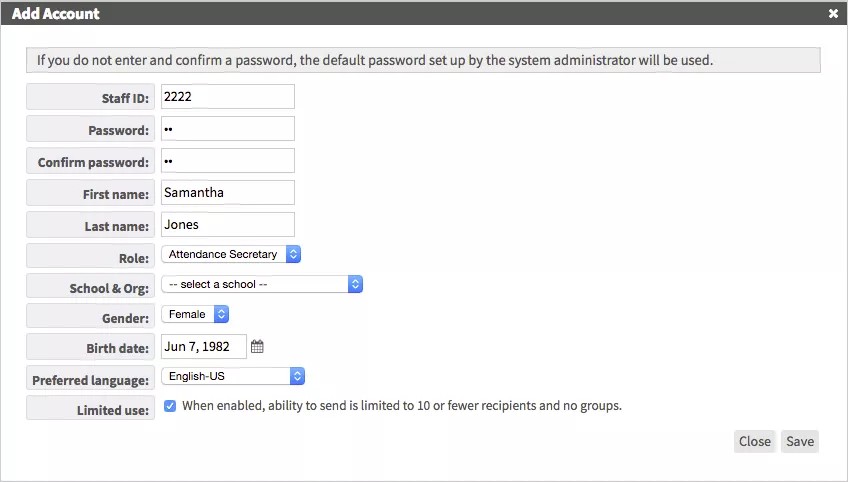
- Add the basic new user information:
- Type the Staff ID or Student ID.
- Type the Password and Confirm password.
- Type the user's First name and Last name.
- Select the Role for the user.
- Select the School for the user.
- Select the user's Gender.
- Add the user's Birth date.
- Select the user's Preferred language.
- For staff members, you can select Limited use to set the user to a limited number of email respondents, so the user cannot send out a mass message.
Check out how to disable this setting for several users at once!
- Select Save when finished. The Personal File page will appear with more account details you can edit.
- Select Save.
Remove an account
When you need to permanently delete an account, you will also need to remove the account in the Student Information System (SIS). If you only remove the account from the Blackboard Community Engagement solution, it will be re-added during your nightly updates. Complete the following steps if you need to remove a user immediately from your tools.
- From the Blackboard Communications HQ interface menu, select Accounts > Manage Accounts.
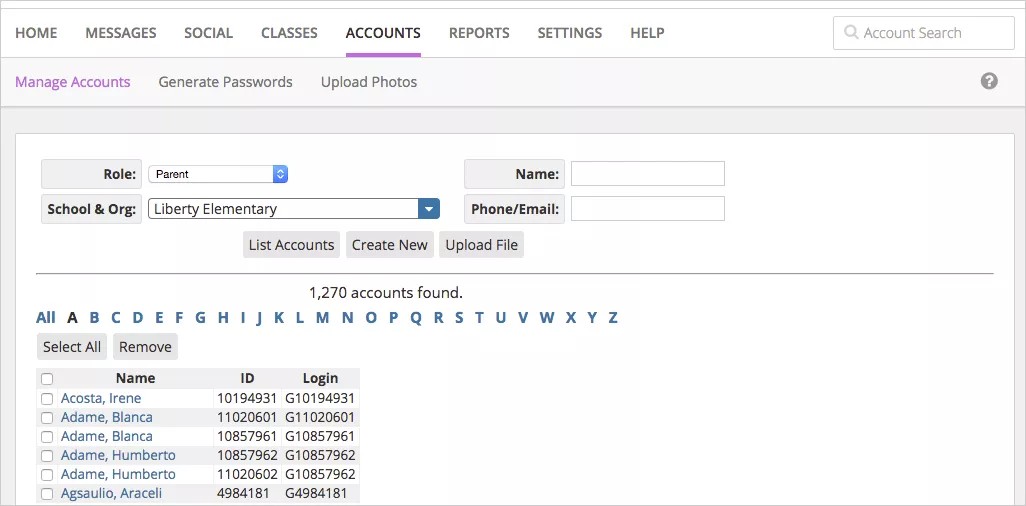
- Search for the user to delete. You can search by Role, School, Name, or Phone/Email.
- Select List Accounts.
- Select the account and then select Remove.
- Select OK on the warning. The user will be removed.