This information applies only to the Original experience.
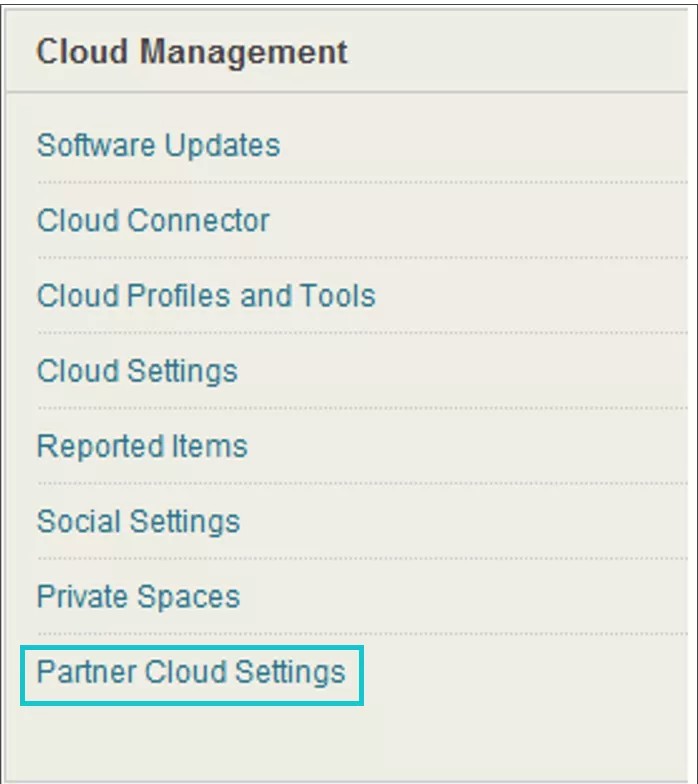
The Partner Cloud Building Block settings are available directly at the Administrator Panel > Cloud Management module. Select the Partner Cloud Settings option.
Configure Partner Cloud specific integrations
New partners that appear in the Partner Cloud are noted through a number indicator on the Administrator Panel in the Cloud Management Module.
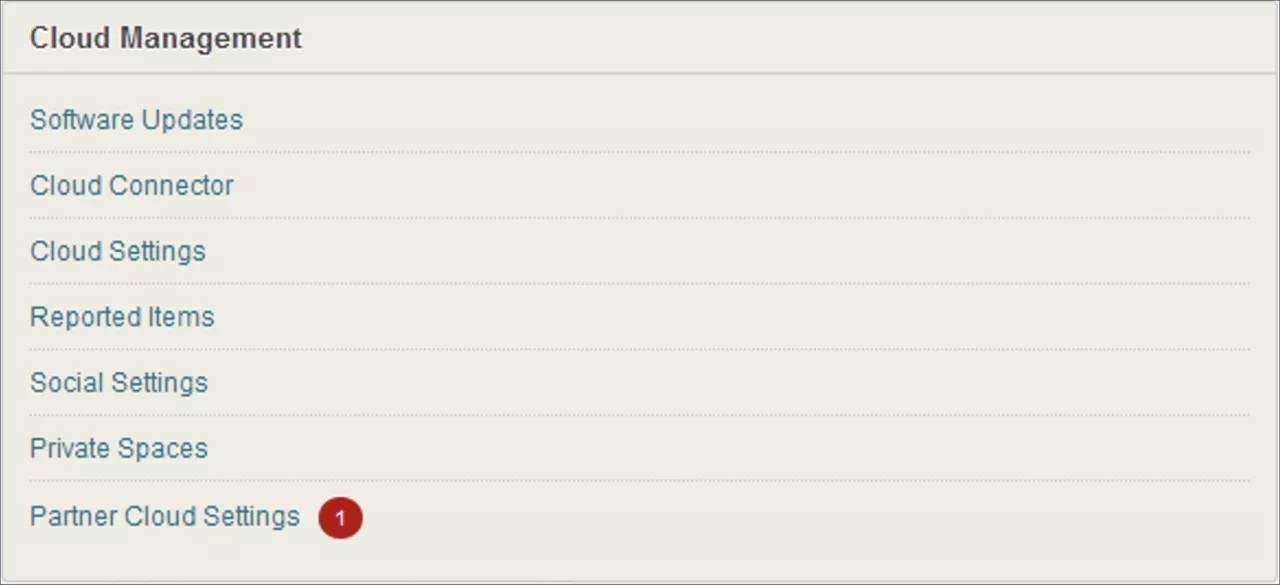
When you select the Partner Cloud Settings, a green star symbol will appear next to each new partner(s) name.

To configure a specific partner:
- In the Administrator Panel > Cloud Management module, select the Partner Cloud Settings option:
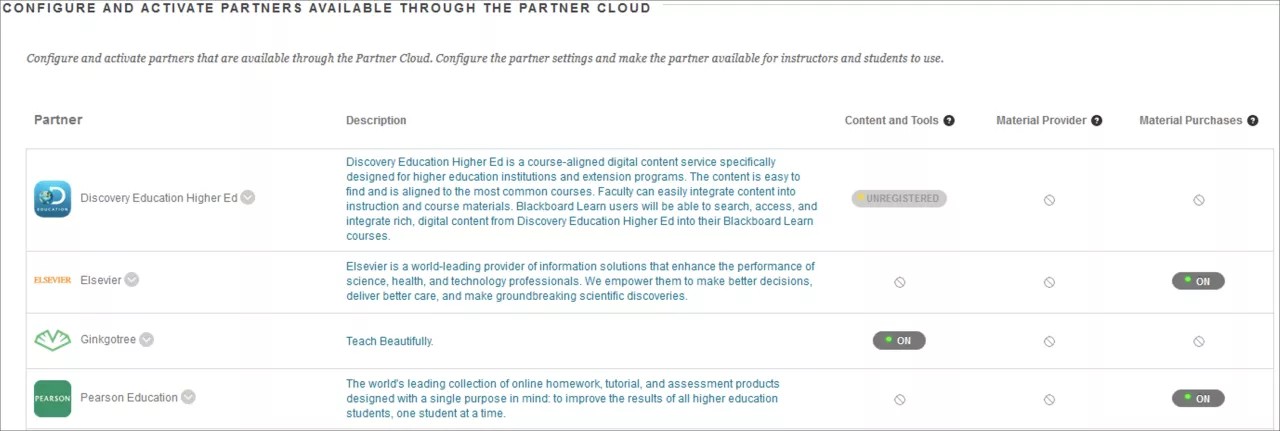
- Go to Configure and Activate Partners Available Through the Partner Cloud > Partner section. Select Settings in the contextual menu to open to the configuration page.
Each partner listed may have 1 or more options available:
- Select the Create Module(s) to access configuration of 1 or more of the partner’s modules.

- You also have options that allow the system administrator to include all partners for instructors during the partner content selection process. For partners to be fully accessible to an instructor, they need to be both configured and running on the minimum support version of the Partner Cloud Building Block.
- Show All Supported Partners allows system administrators to provide access to all content and tools from partners that are both available for site configuration in the Partner Cloud, and supported with the installed Partner Cloud Building Block. The default option is 'Yes'. If the partner is not yet configured/enabled in Partner Cloud Settings, instructors will receive a message to contact their system administrator. If you choose 'No', only partners configured and ON, will appear to instructors.
- Show All Unsupported Partners allows system administrators to grant access to all content and tools from partners that are available for site configuration in the Partner Cloud, even if they are unsupported with the installed Partner Cloud Building Block. The default option is 'Yes'. If instructors select an unsupported partner, they will receive a message to contact their system administrator, because a Partner Cloud Building Block update will be required. If you select 'No', instructors will only see in the available partners table the supported content and tools from partners based on the Show All Supported Partners setting.
- Select the Create Module(s) to access configuration of 1 or more of the partner’s modules.
- Select Settings to launch the partner-specific setting page.
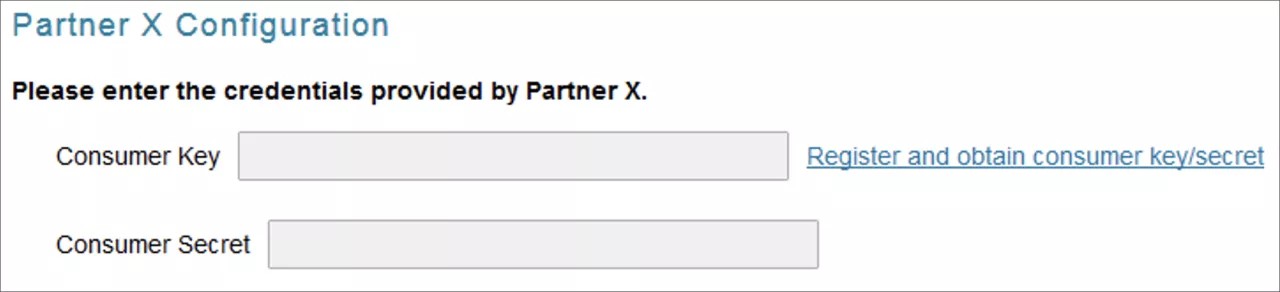
- To register a partner integration, locate the partner configuration section. The partner will either have the ability to use the cloud credentials managed by Blackboard or enter the credentials provided by the partner.
If credentials are required, select the link provided to gain partner-specific key/secret details or to get additional information from the partner.
If Blackboard Cloud Profiles are enabled, and the administrator hasn't set up yet their profile, they will need to complete the setup to continue. You can find more information on how to configure profiles on the Blackboard Help site.
- With Cloud Credentials:

- With partner provided credentials:
- With Cloud Credentials:
- In the partner-specific settings page, you have the options to specify how specific partner links are launched.
The option to open the partner links in new window determines if the partner content will always open in the Blackboard Learn window.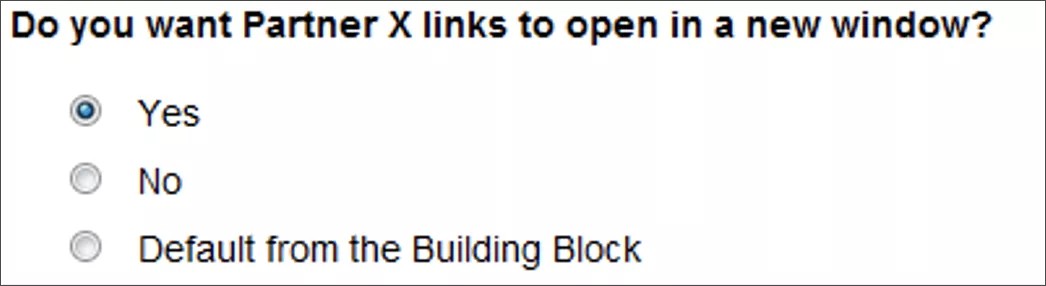
- Select the Share User Information option to specify how information should be shared between the Blackboard Learn and partner servers.

- Select 'Yes' to indicate that user information will be shared for this specific partner. This includes the user first name, last name and email address.
- Select 'No' to indicate that user information won't be shared for this specific partner.
- Select User Choice to indicate that each individual user will need to decide how their information should be sent upon their first launch of any partner link.
- Select Default from Building Block to indicate that the Building Block option will be used.
- The Share Course Information option specifies how course information should be shared between the Blackboard Learn and partner servers.

- Select 'Yes' to indicate that course information will be shared for this specific partner.
- Select 'No' to indicate course information won't be shared for this specific partner.
- Select Default from Building Block to indicate that the Building Block option will be used.
- The option to Share Extended User and Course Information allows to extend any existing Learn SIS Integration metadata to a trusted Partner. This provides partners additional course and user information. This option is partner-specific. If the partner does not support the extended data, the option will default to 'No' and will appear as non-editable.
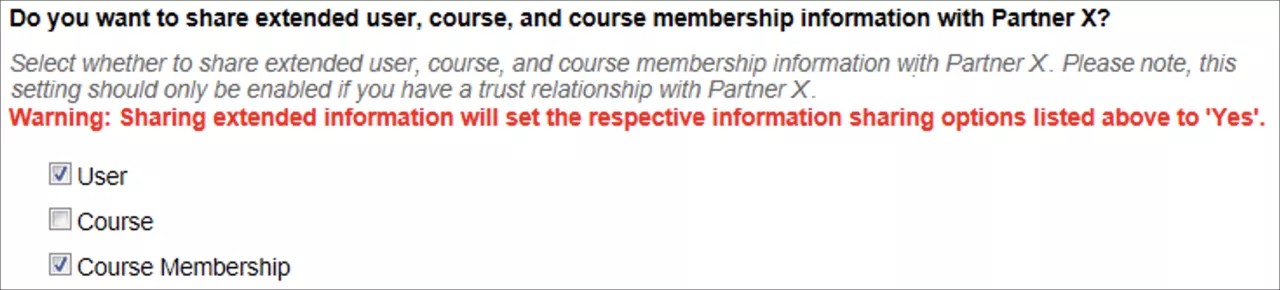
If a partner does support the extended data, 3 additional options will be provided.Selecting these options will set related options such as Share User Information and Share Course Information to 'Yes'.
- Select User to share extended user data.
- Select Course to share extended course data.
- Select Course Membership to share course roster data.
- The option to display the partner tools to Learn in courses that are not associated with the partner, allows limiting access based on whether the instructor has associated the course to the partner system or not.

- The option to Accept Grade Notifications from a partner, specifies whether to accept scores for the Blackboard Learn Grade Center.
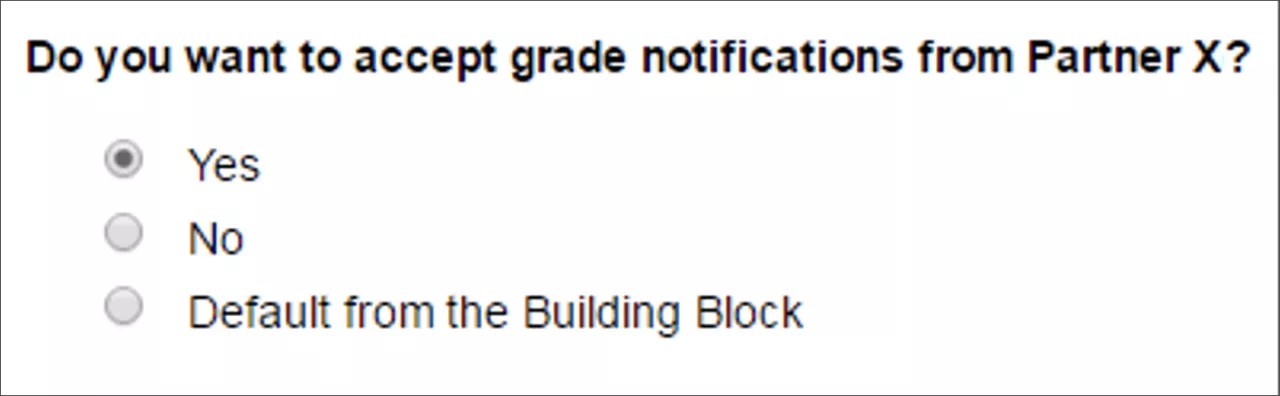
- Select 'Yes' to accept grade notifications.
- Select 'No' to decline all grade notifications.
- Select Default from Building Block to indicate that the Building Block option will be used rather than the partner specific setting.
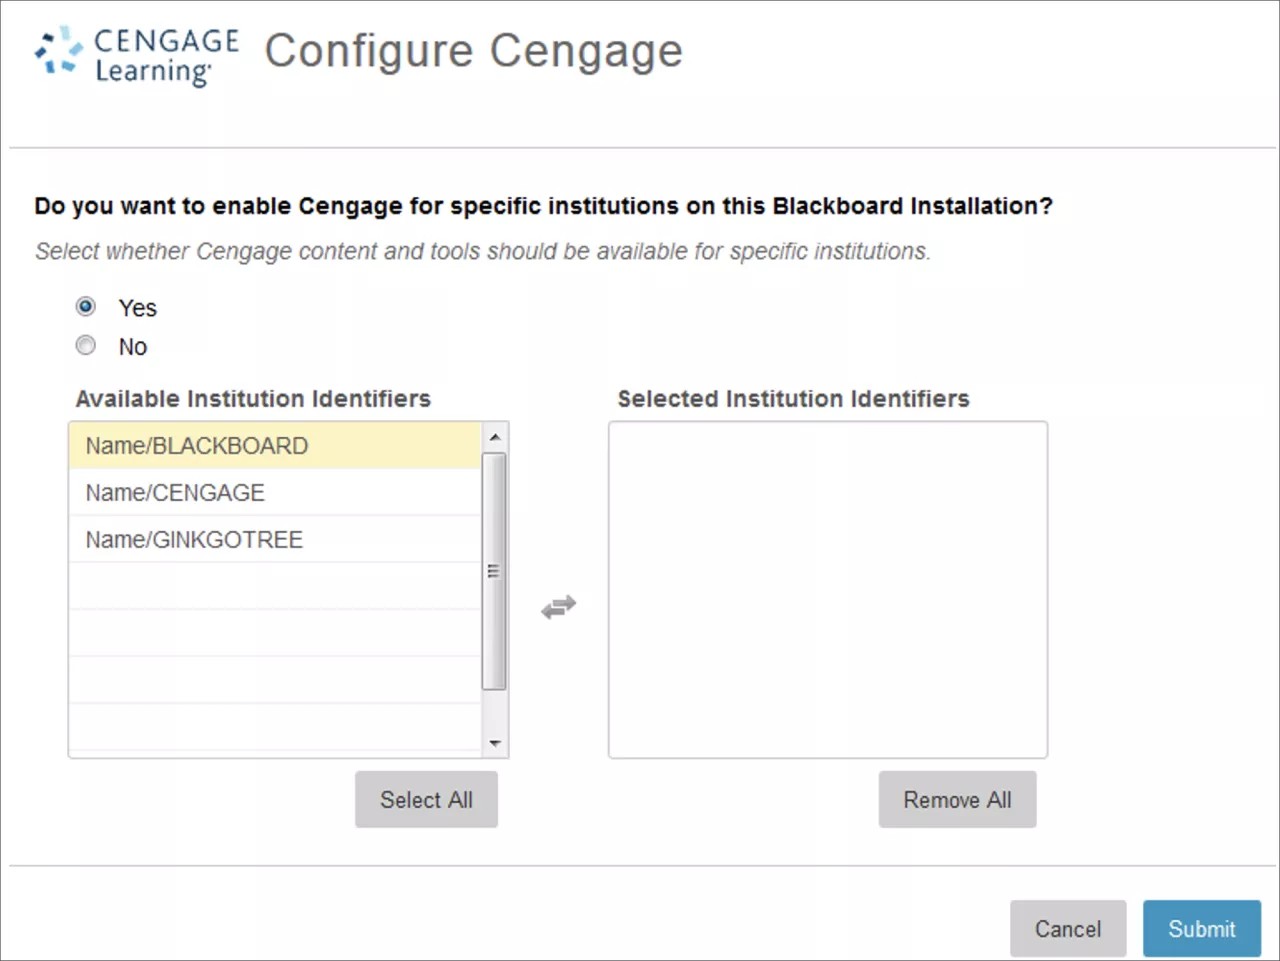
- The option for Specific Institutions allows to extend any multi-institution configuration which will permit only a subset of applicable courses to access the partner integration. If you select 'Yes', you can move an integration from the Available Institution Identifies list to the Selected Institution Identifiers one. The Selected list will receive access to the partner integration.
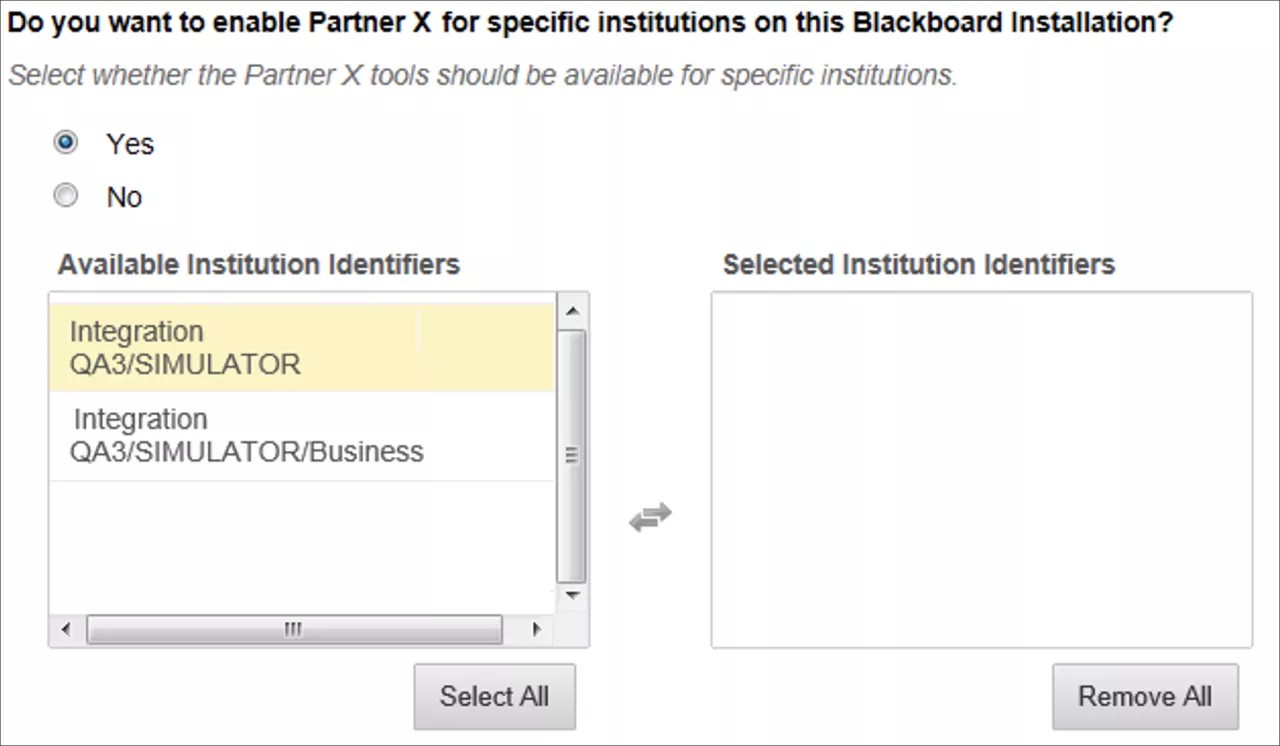
If you select 'Yes', you must select at least one institution identifier.
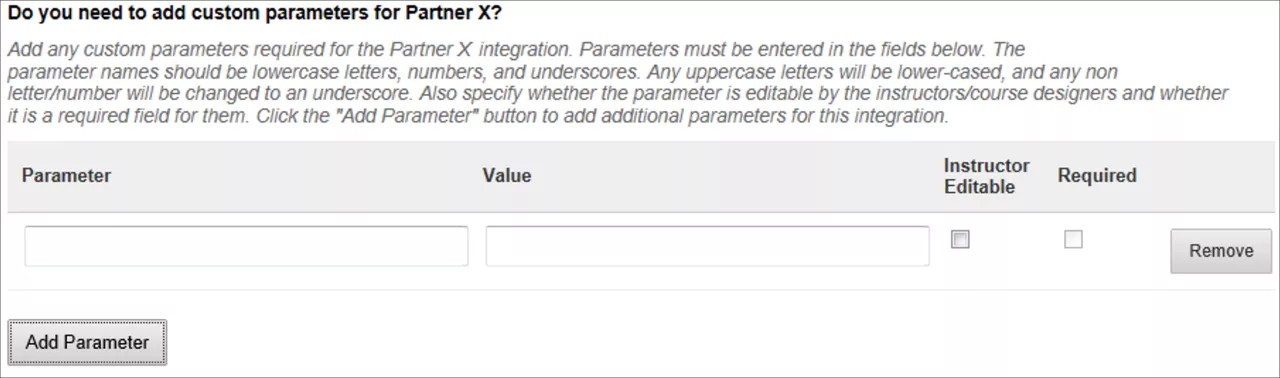
- The option for Do you need to add custom parameters for Partner X? allows to pass additional information to the partner, if custom parameters are required by the partner for your institution. For additional information, refer to the administrators guide for each partner integration.
- Select Submit to save all changes.
- Upon submission, you'll receive a Registration Status to indicate either a successful or failed registration.

- If you register a partner integration using the LTI 1.3 protocol, an error could appear if an existing LTI 1.1 domain exists for this partner. To fix the error, you can first add the LTI 1.3 domain using the standard product functionality, accept the prompt to migrate the existing links, and then return to the partner settings and submit again.
Learn more details on how to add the LTI 1.3 domain at the Learning Tools Interoperability page.
- Upon a successful registration, you can make the partner integration available to the instructor in the Configure Partner Cloud.
Locate the Configure and Activate Partners section and select the desired partner option. Within the columns Content and Tools and Material Provider, toggle the corresponding option to ON, and the partner will be available.
- For partners who provide the Academic Materials Settings, Materials Purchase options can be enabled. Select the Academic Materials Settings to launch partner-specific settings for purchasing options.
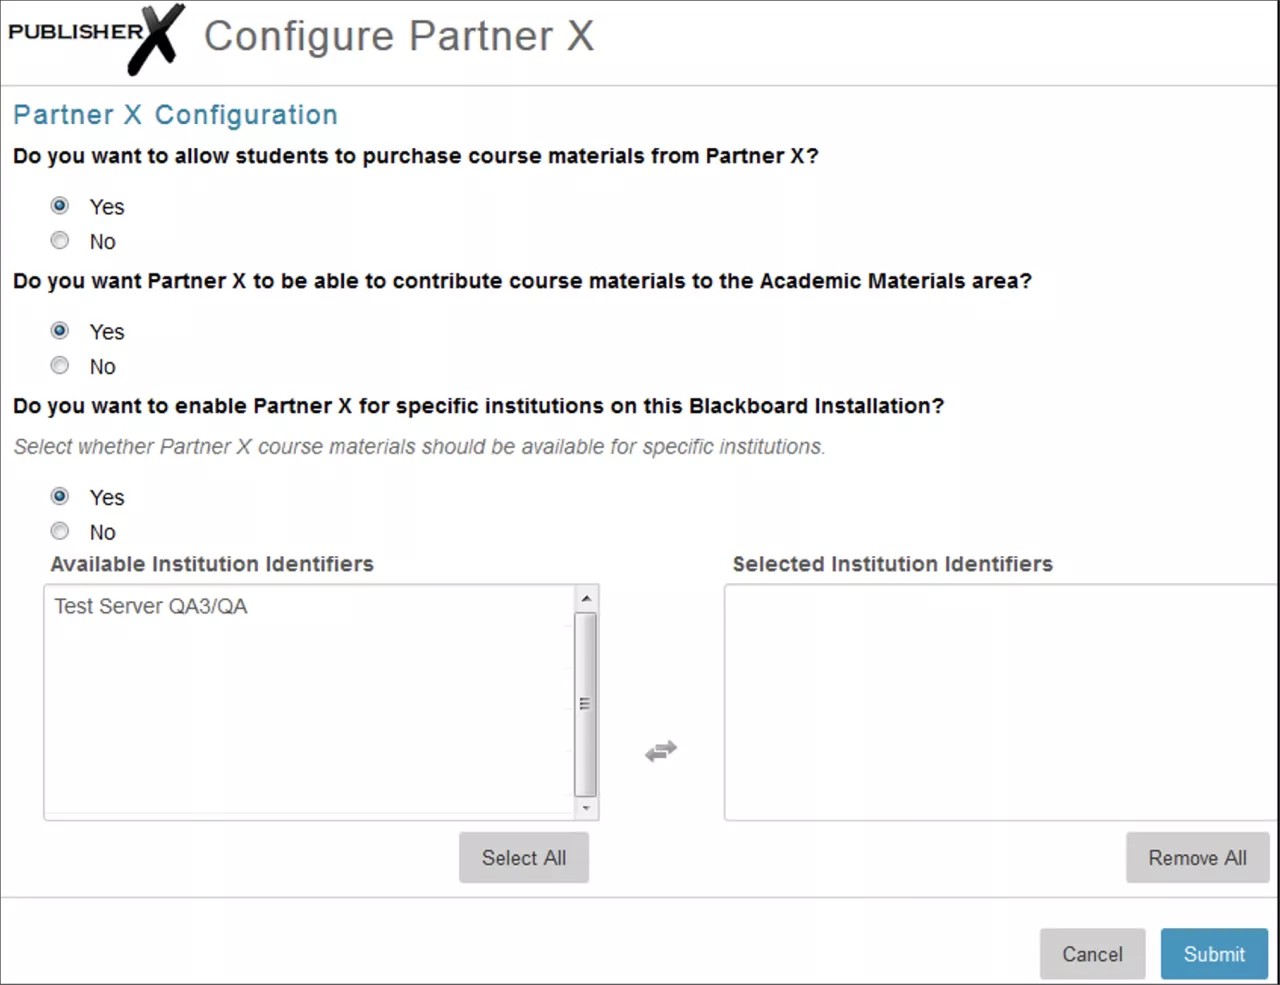
- The option to allow student to purchase course materials from the partner permits the system administrator to control visibility for individual partners within the Academic Materials Tools.
- The option to allow a partner to contribute course materials to the Academic Materials area permits students to view updated material and price information from the partner in the Academic Material view.
- The option to enable a partner for specific institutions on this Blackboard Installation allows to configure visibility of the individual partner within the Academic Materials tools by value, with Institutional Identifiers within the Learn site institutional hierarchy.
Learn more in the section Enabling Academic Materials Access.
- Select the Create Module(s) option to create each module specific for the selected partner, for partners who provide that selection. Upon creation, a success message appears at the top of the Partner Cloud Settings page.
The module(s) will be set as available by default, but won't be added to any system page or course page. Module availability and properties can be updated under 'Tabs and Modules' on the Administrator Panel.

Learn more in the section Configure a Partner-Specific Module.
Configure and register Partner Cloud settings
- Go to the Administrator Panel > Cloud Management module. Select the Partner Cloud Settings option. In the Configure and Activate Partners Available Through Individual Building Blocks section displays each partner configured in the Partner Cloud to allow access to their existing Building Block:
Select the Partner-specific contextual menu to configure the corresponding Building Block.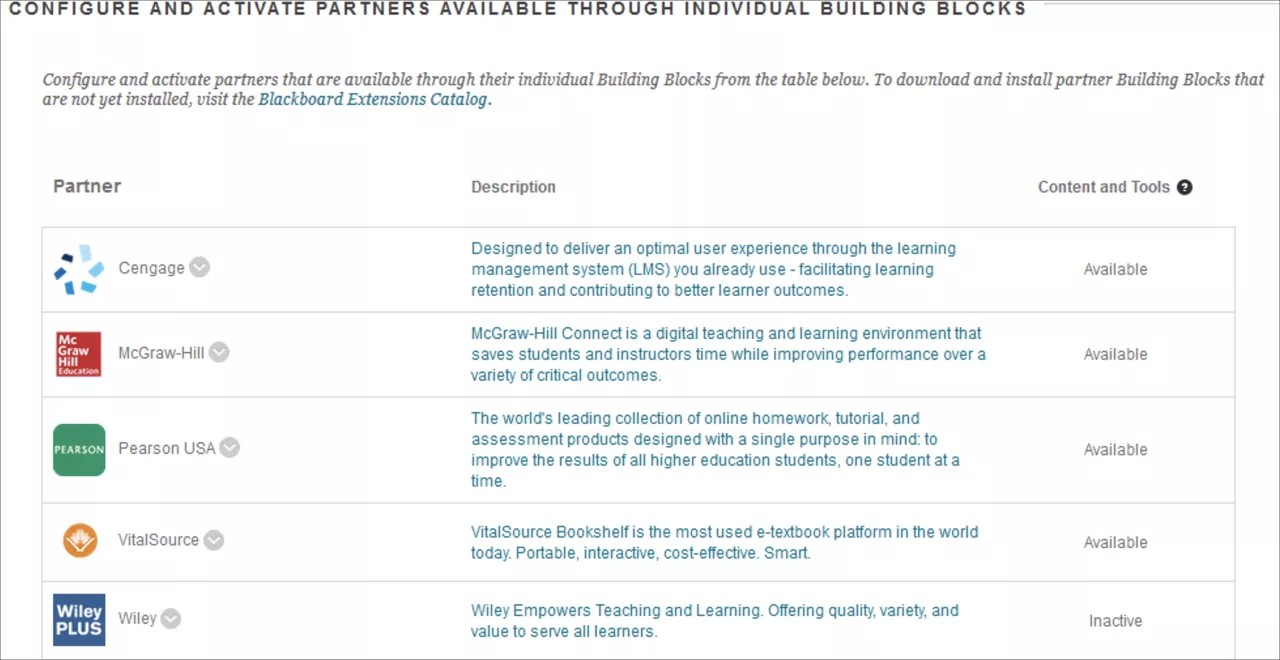
- Select Settings to launch the configuration page for the partner Building Block.
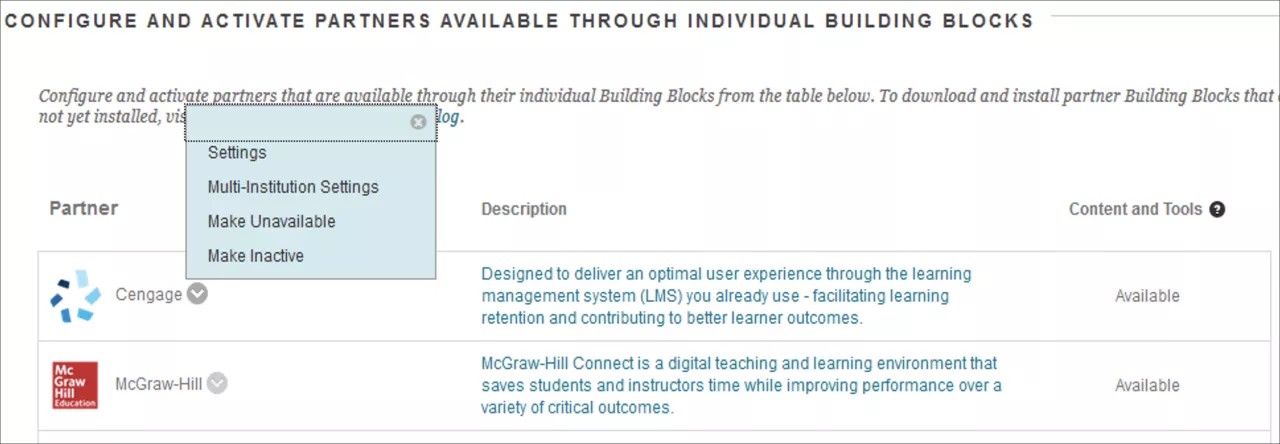
- Select Multi-Institution Settings to launch the configuration page for the partner-specific building block. By selecting 'Yes' or 'No', you control the availability by specific institutions within the multi-institutional hierarchy.
- Make Unavailable will disable the partner option in the Content Market selection page.
- Make Available will enable the partner option in the Content Market selection page.
- Make Inactive will make the partner integration inaccessible with Blackboard Learn. Links to partner content and features deployed inside courses will remain visible, but they won't function.
- Show Only Installed And Configured Partners will allow a configuration that overrides the Available and Unavailable setting. By default the setting is 'Yes', which allows instructors to see all Building Blocks listed. The 'No' selection will override it, and will only allow to display the Building Blocks made available.

- Select Settings to launch the configuration page for the partner Building Block.
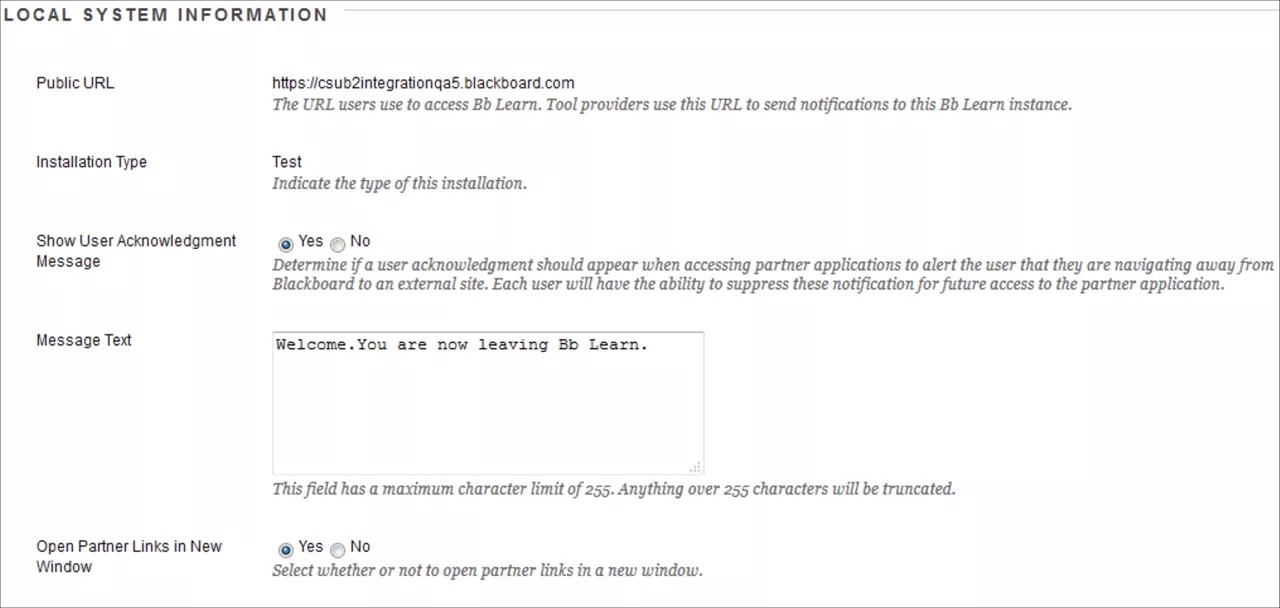
- In the Local System Information section:
The Public URL is the institution’s Blackboard Learn URL as accessed by systems outside of the institution. The system uses the URL value for pushed notifications, such as grade notifications. The Installation Type indicates the type of this Learn installation:- Select the appropriate choice for the Show User Acknowledgement Message option. This option designates if users will need to acknowledge that they are leaving the Blackboard Learn system and that the action will direct their browser to an external site. If you choose 'Yes' , you need to specify the Message Text in order to complete the Partner Cloud configuration. This message will appear to users before redirecting their browsers.
- Open Partner Links in New Window provides the option to open partner content in a new browser window or in the existing Blackboard Learn window. Each partner configuration will have the option Default from the Building Block to use the value already selected from the Partner Cloud Building Block.
- In the Privacy Configuration section, you can choose the options to specify which information to share between Blackboard Learn and the partner servers.

- The Share User Information option doesn't appear selected by default but is necessary to complete the Partner Cloud configuration.
- Always indicates that user information will be shared. This includes the user first name, last name and email address.
- Never indicates user information won't be shared.
- User Choice indicates that each individual user will need to decide how their information should be sent upon their first launch of a partner-specific link.
- The Share Course Information option determines if the Blackboard course ID and name should be shared with the partner systems.
- The Share User Information option doesn't appear selected by default but is necessary to complete the Partner Cloud configuration.
- In the Grade Integration section, you can set the options to configure the grade integration between Blackboard Learn and partner systems.
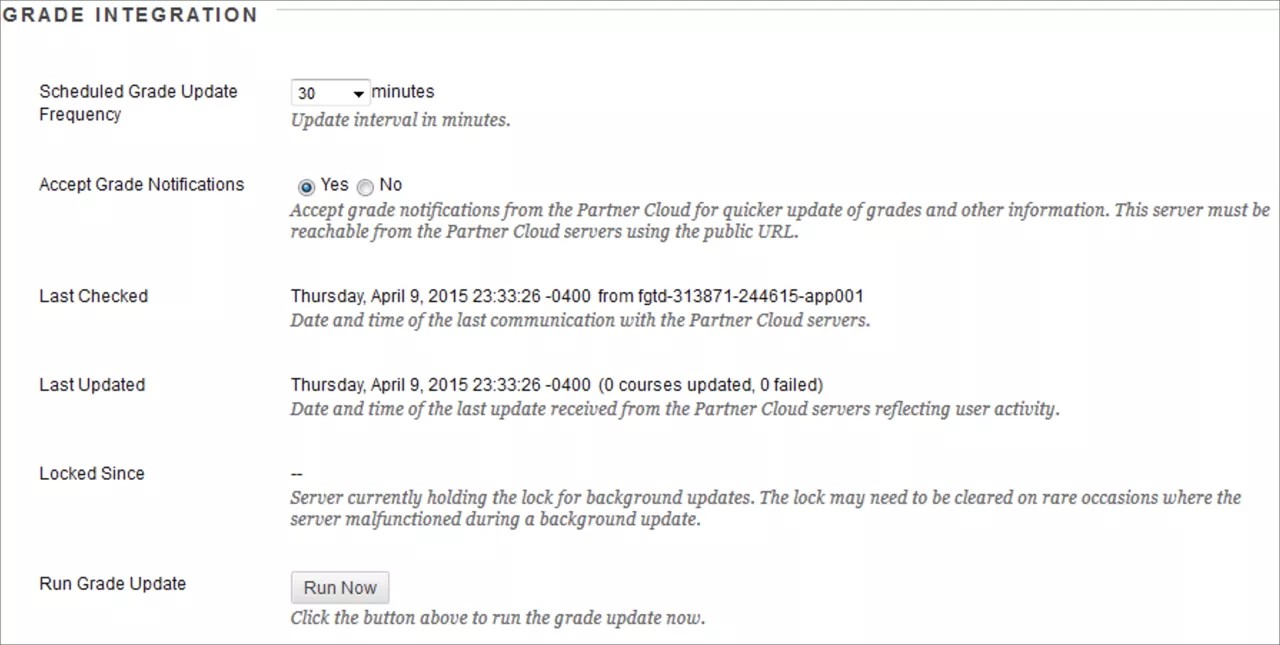
- Under Scheduled Grade Update Frequency, select an update frequency (30, 60, 90,120 or 360 minutes) to determine the frequency with which the local Blackboard Learn installation will communicate with the partner servers to fetch grades. The default value is 60 minutes. Optimal interval time may depend on the number of instructors and students and the local server configuration.
- Accept Grade Notifications will allow the local Blackboard Learn system to accept grade notifications from partner systems for quicker update of grades and other information. For grade notifications to work properly, the local Blackboard Learn server must be reachable from the Partner Cloud servers using the public URL on record. The default value is 'Yes'.
- Last Checked indicates the date and time of the most recent communication with the partner servers.
- Last Updated indicates the date and time of the most recent communication with the partner servers in which there was user activity shared between the systems and the number of successful and/or failed course updates that occurred. If a communication occurred but there was no data to update, this date and time may be older than the Last Checked information.
- Locked Since will typically appear as blank. A lock indicates that the Partner Cloud and Blackboard Learn servers are communicating. If there is a lock, a Clear button will appear next to the lock information. Before selecting Clear, wait 15 to 20 minutes to determine if the lock is part of the regular update process. The lock information can also be compared with the Last Update time. When you select the Clear button, it will provide you with the path of the lock on your Blackboard Learn application server. The lock requires to be deleted manually.
- Run Grade Update will start the synchronization process and re-set the automated update interval countdown. If the synchronization needs to be updated before the next scheduled automatic time, or if the Blackboard Learn administrator believes there is no information passing between the partner servers and the Blackboard Learn installation, select Run Now to force communication, and pass any pending information between systems.
- In the Blackboard Course Roles to LIS (Learning Information Services) Context Role Mapping section, you can designate how to map the Blackboard Learn course roles to the six LIS Context Roles. Administrator, Learner and Instructor are required. This is the suggested mapping for default course roles:
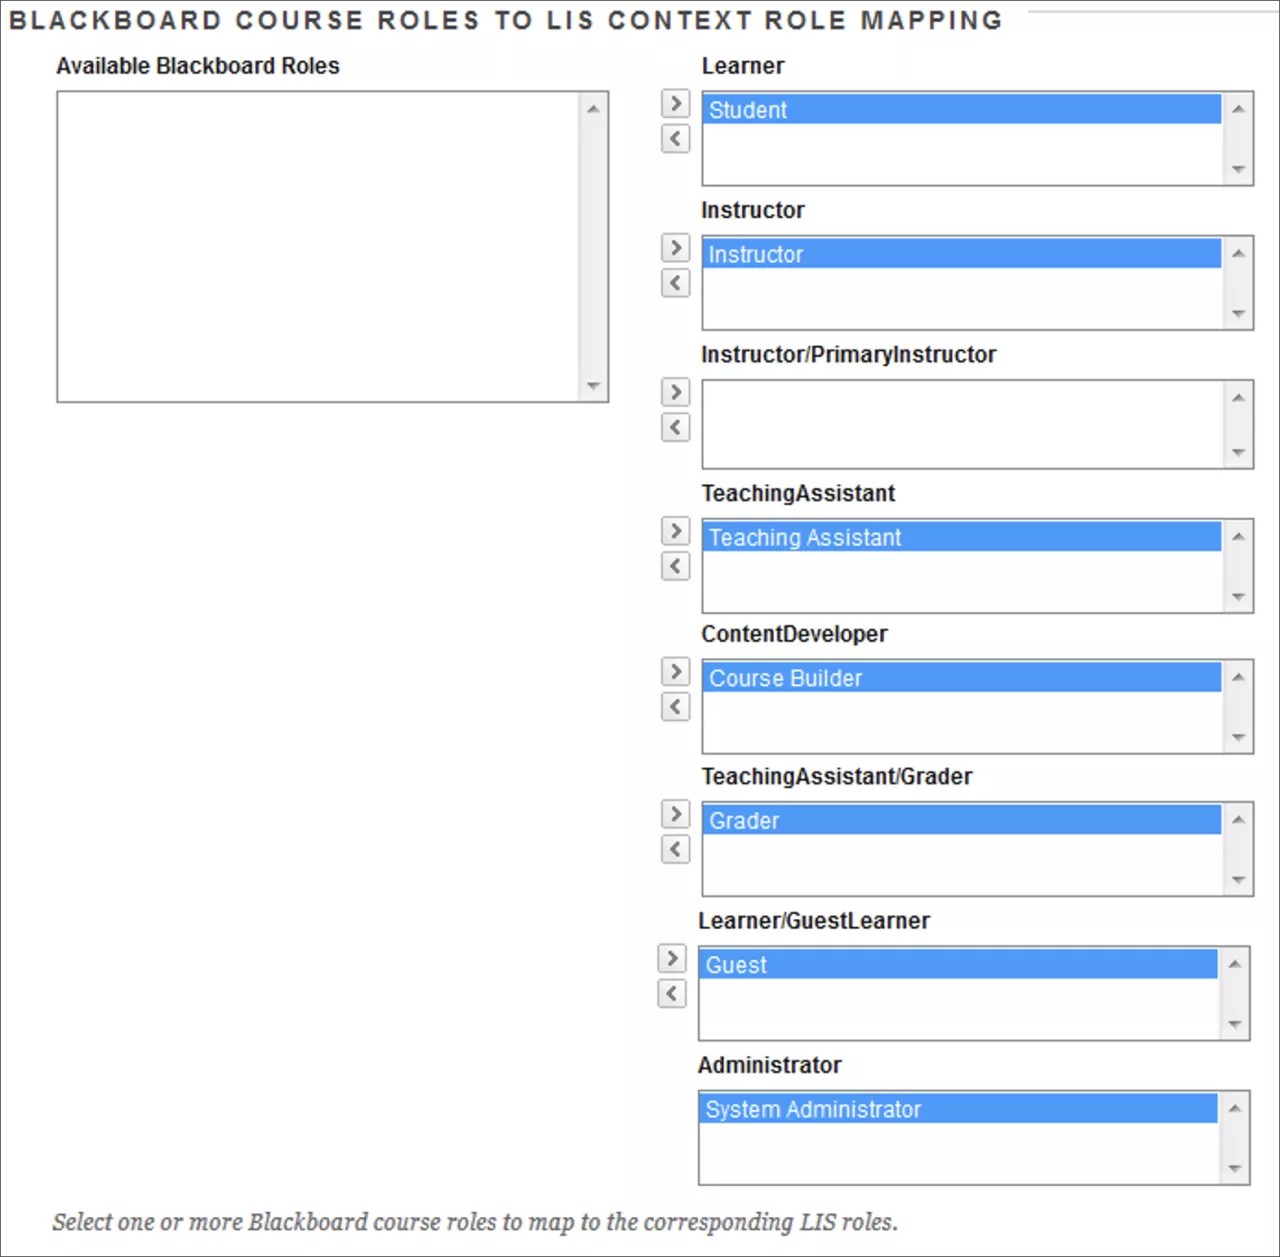
The Partner Cloud Tools are not available to guests or observers.
- In the Blackboard Institution Roles to LIS Institution Role Mapping section, you can configure the Building Block to support the institution roles through a default option or a custom option. Institution roles are used by partner integrations when user activity is outside of the context of a course. Default Institution Roles Mapping is the default. If you select Custom Institution Roles Mapping , the mapping options will appear.
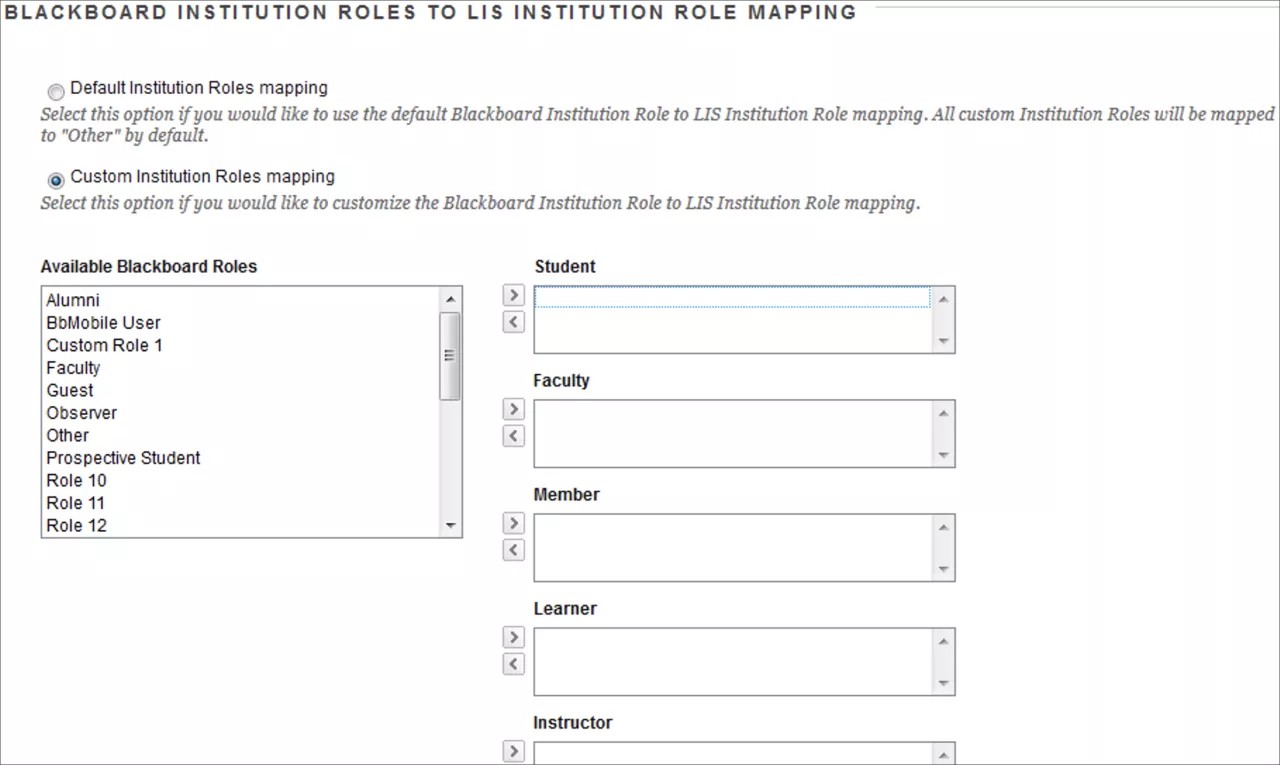
For the Default Institution Role Mapping, all custom roles are mapped to the “Other” role by default.
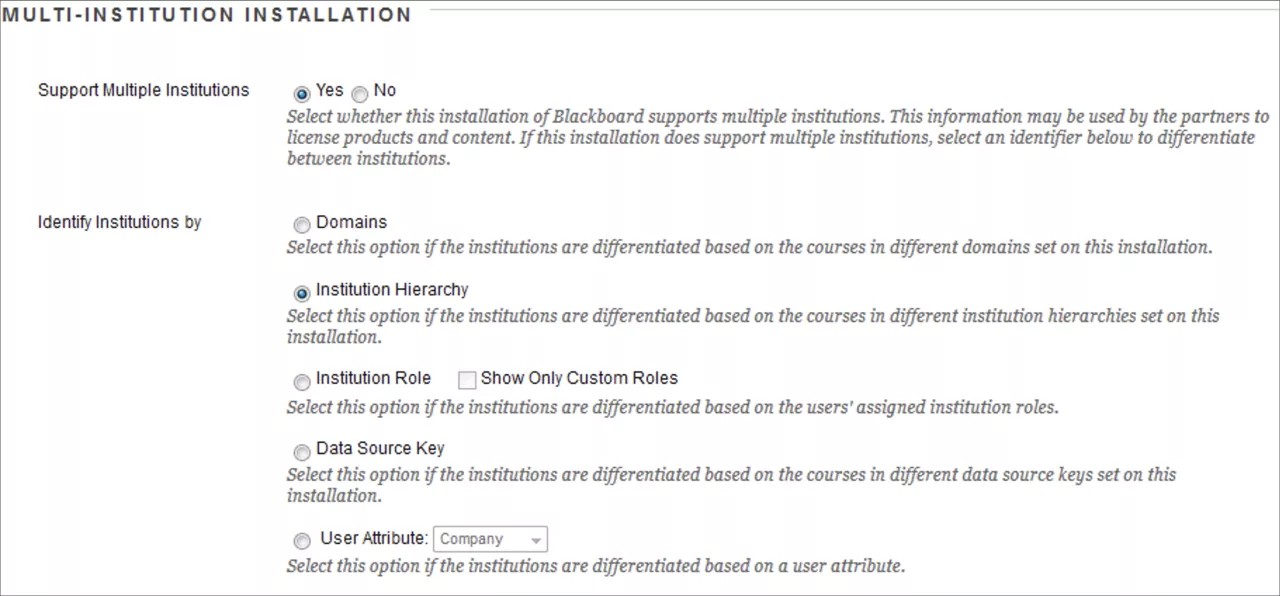
- In the Multi-Institution Installation section you can configure the Building Block to support licensing of partner content by Domains, Institution Hierarchy, Data Source Key, Institutional Role and User Attribute.
You can use these options to enable the partner integration based on the multi-institution set up.
When you select User Attribute, you can set the options for Company, Department and Job Title. These values are free form text. To simplify the Partner Cloud configuration, we recommend that system administrators review existing values and minimize any duplicates created.If you select 'No' for Support Multiple Institutions, the Identify Institutions by options won't appear. If you select 'Yes', you require to select an option from Identify Institutions.
- In the Debug Logging Level section, you can establish debug settings to use when troubleshooting an issue with support assistance. During initial configuration, the suggested and default value is 'Not Enabled'.

- Upon submission, the registration process will occur and the Registration Status will update to indicate either a successful or failed registration.
With the April 2015 release, the Partner Cloud Building Block now periodically checks its connection to the Partner Cloud and updates the status of the Building Block based on the results of that status check. In the unlikely event that connectivity to the Partner Cloud is compromised the Partner Cloud Building Block will recognize that condition and temporarily stop attempting to communicate with the cloud. This reduces the performance strain that repeated web service failures can cause on a Learn instance. Once the Partner Cloud Building Block has recognized an outage, it will periodically attempt to reestablish communication with the Partner Cloud. If the outage proves to be long running, e.g. the Learn instance has been moved behind a firewall, Partner Cloud Building Block will proactively dial back the frequency with which it attempts to reestablish communication with the cloud.
Remove access to a partner
- From the Administrator Panel, locate the Cloud Management module and select the Partner Cloud Settings option:
- Locate the Configure and Activate Partners section and the specific partner. Within the Content and Tools column, you can toggle the options between ON and OFF for availability. Select OFF to disable the partner integration.
- Select Submit.