Share your recordings
Students can find session recordings from in their course. Where the recordings are depends on your institution. Tell your students how to find them.
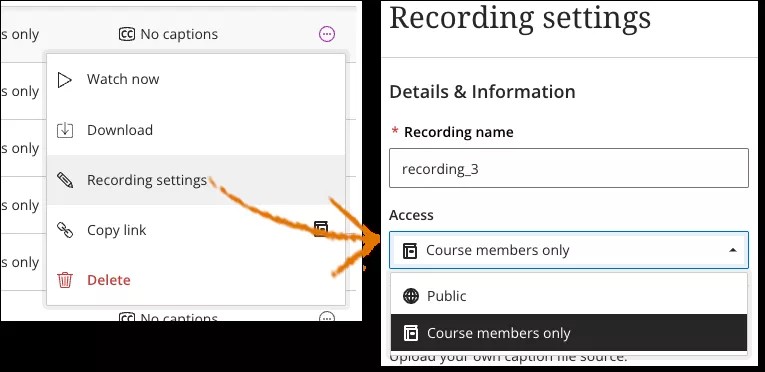
If you want to share your recordings with anyone not in a course, you need to make them available to the public. Open the Recording Settings and in the Access menu select Public.
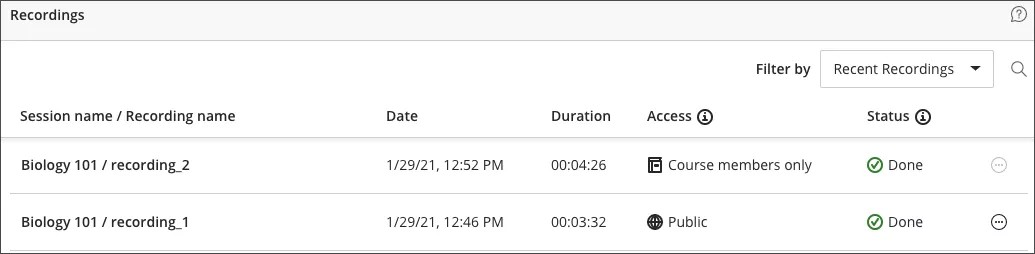
You can tell at-a-glance on the recording page if the recording is available to the public or to course members only.
After you turn on public access, you can send anyone a link to the recording. Check your email for a recording link when you stop recording a session. You can also copy the recording link from the Recording page.
Links for the recordings are obfuscated, which means that the links use random characters instead of descriptive file names. This helps ensure that users can only view a recording if they have the link. To allow guests to view recordings, access to the recordings is not restricted and recordings don’t require a password. This means that anybody who has access to the link can watch the recording and can also share the link with others. Please keep this in mind before sharing links of recordings with potentially confidential or otherwise sensitive content.
- Go to your Recordings page.
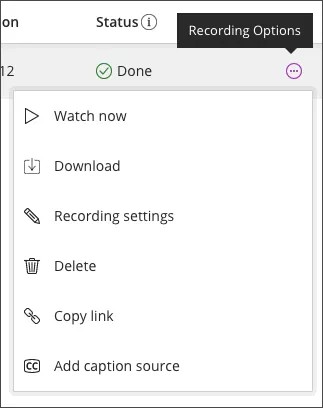
- Find the recording you want to share and open the Recording options menu.
- Select Copy Link.
- Share the public link with anybody.