Creating and sending newsletters can be a great way to send out several announcements, updates, and calendar events, all at once in a neat and organized way. The Newsletter feature is built in to the email messaging interface, and there are several templates already loaded for use. If you have your own templates, or would like to create a custom newsletter, the interface also includes an HTML source-editing tool.
Use a newsletter template
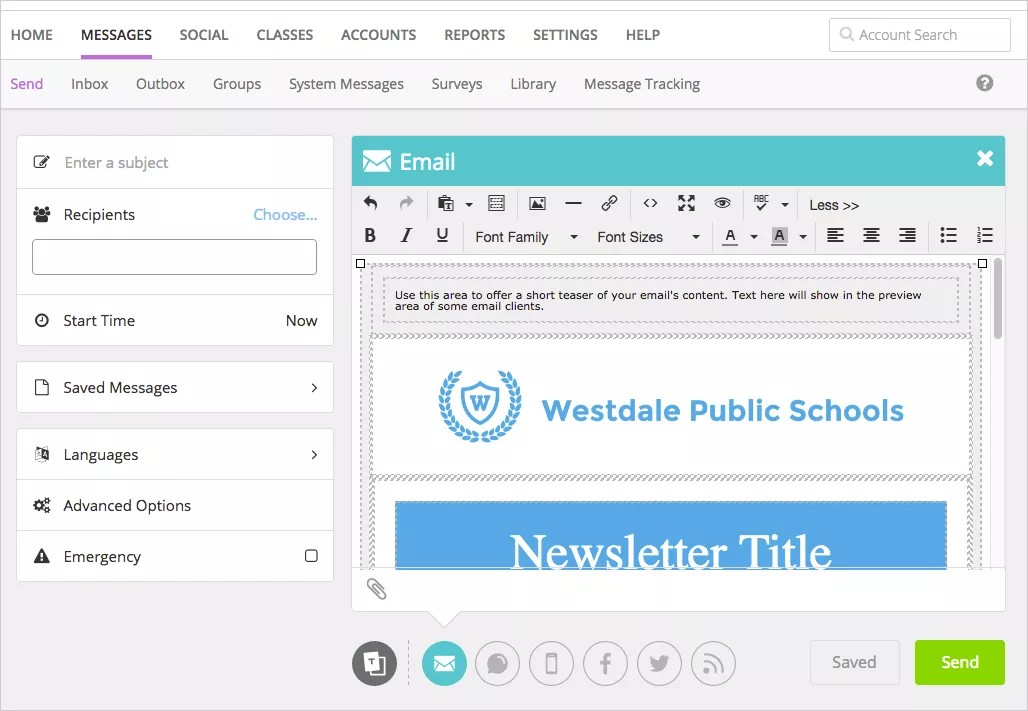
- From the Blackboard Communications HQ interface menu, select Messages > Send.
- Select the Email icon as the message type.
- Select Insert Email Template to add an email template.
- Select a template, and select Use.
- Update the newsletter:
- Select <<More from the menu for additional options, such as inserting a link, inserting a picture/image, and changing the text/image alignment.
- To add an image, select Insert/Edit Image. Select an image to upload, and then select Update.
- For more advanced editing capabilities, such as changing the color scheme of the newsletter, edit the HTML code of the newsletter template. Select the Edit HTML Code icon.
It is strongly suggested not to make any changes in this window unless familiar and comfortable with reading/editing HTML code.
- After making the changes, select Update to save the changes.
- Complete the rest of the message:
- Type the Subject for the topic of the message.
- Add Recipients, change the start time, or adjust many other options by using the menu to the left of the message area.
- Include language translations by selecting Add Language, and select each language needed.
Amheric language will not include translation or text-to-speech capabilities. Some Android devices and iOS do NOT support Amheric, and the message may not look correct on those devices. However, it is expected that those users requiring Amheric language will use phones that support the display.
- Select Send when ready to send the message.
How do I add my own templates?
There are several templates currently available in the Email tab of the Blackboard Mass Notifications tool. You can adjust the style of the existing templates. If you have the HTML code of an email template that you use, you can copy that code into a saved email.
You need to know how to edit HTML code. This section will show you basic edit capabilities for email templates.
Templates available in Mass Notifications
| Template Name | Description |
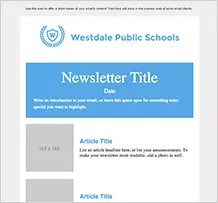
Newsletter
|
This newsletter template includes a header, title, a three-article table with space for 160 x 160 images, and a footer. |
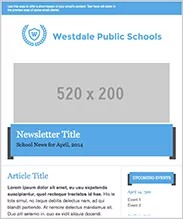
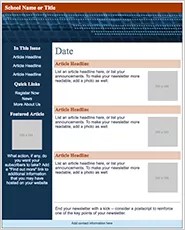
Newsletter 2
|
This newsletter template includes a header, a title with space for 520 x 200 image, two-column table for article and upcoming events, a three-column table for additional articles with space for 160 x 160 images, and a footer. |
Event
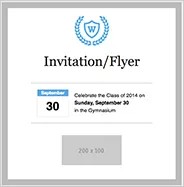
|
The event flyer includes a header, the calendar item, and space for a 200 x 100 image. |
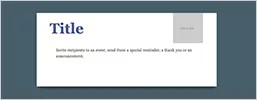
Save the Date
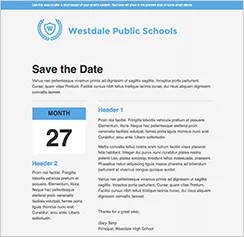
|
This template includes the Save the Date header with text details, and a two-column table with the date followed by a sub-article box on the left, and the full details on the right. |
Letterhead
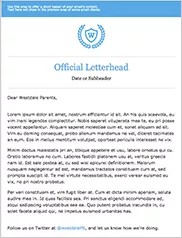
|
The letterhead template includes a header, title, sub-header, text box for letter, and an announcements table with a two-column table for articles. |
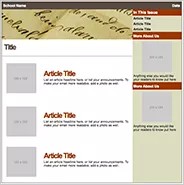
Paper
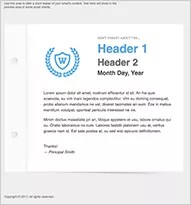
|
This template resembles a piece of notebook paper with a header, sub-header, and text. |
Postcard
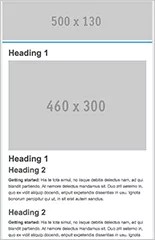
|
The postcard template includes a picture header with space for a 500 x 130 image, a heading-1 style with space for a 460 x 300 image, then another heading-1 style, and three sections with heading-2 styles and text. |
Cool Blue
|
This newsletter template includes a header, a two-column layout with links to articles on the left and the article headlines and text on the right. The left contains a link to a featured article with space for a 100 x 100 thumbnail image, and the articles on the right contain space for 100 x 100 thumbnail images. The template includes a footer with space for contact information. |
Elegant
|
This newsletter template includes a header, a two-column layout with a title, article headlines and text on the left and the links to articles on the right. The articles on the left contain space for 100 x 100 thumbnail images, and the right contains two sections with space for 100 x 100 thumbnail images. |
Invitation
|
This invitation template resembles an envelope with a title heading, space for a 100 x 100 thumbnail image, and the text. |
Can I update existing templates?
You can update existing templates using the Message Library feature.
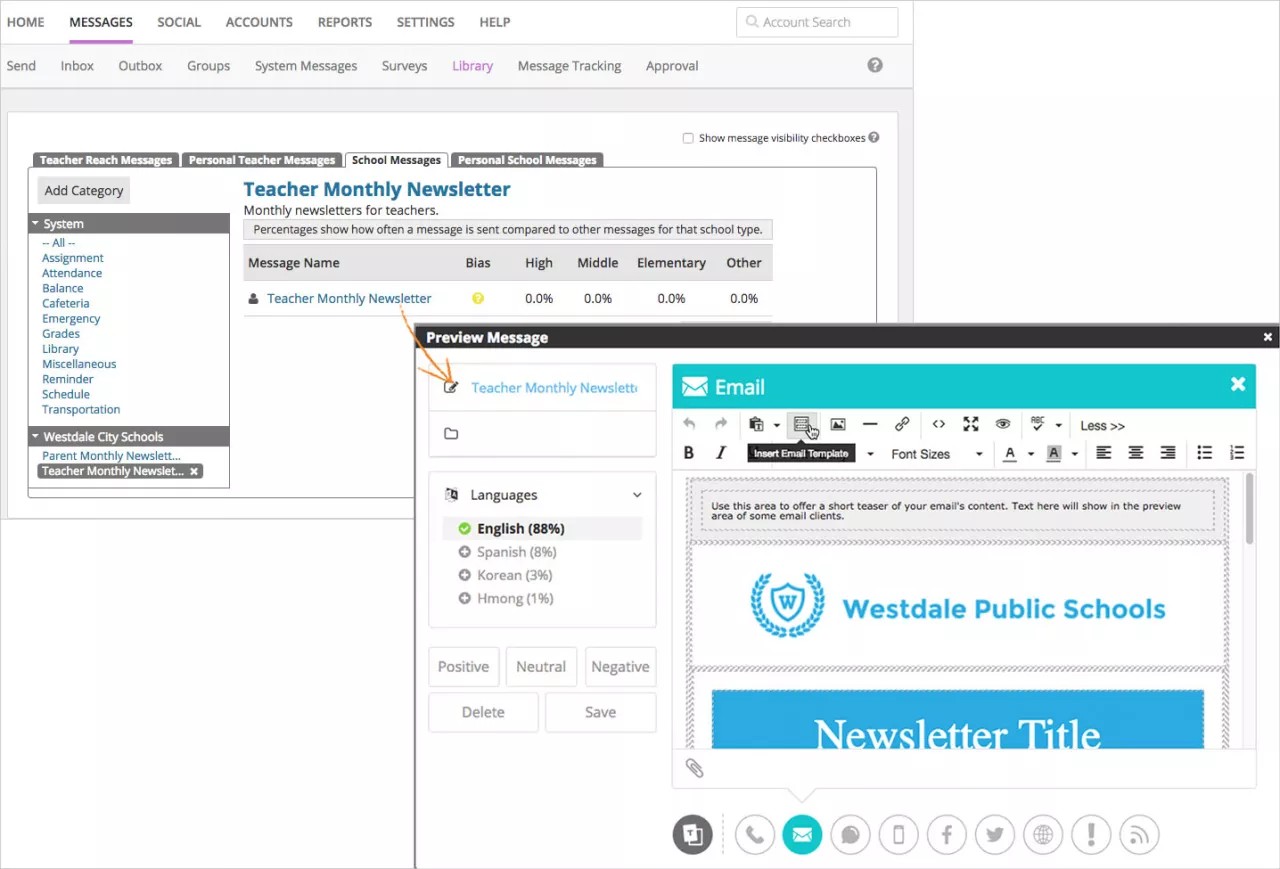
- Select the message template to edit or select Add Category to create a new message template.
- Select the Email message type and select More from the toolbar to expand all options.
- Select Insert Email Template to choose from the existing templates.
- Make your changes:
- If you want to change the font, highlight the sections to change and select the choices from the toolbar. You can change options including Font Family, Font Sizes, and Text Color.
- To change an image, select the area for the image and select Insert Image from the toolbar. You will need to upload a new image.
- To make advanced changes, such as updating the color of any background boarders or boxes, select Source Code from the toolbar. You need to know HTML code for the changes you need.
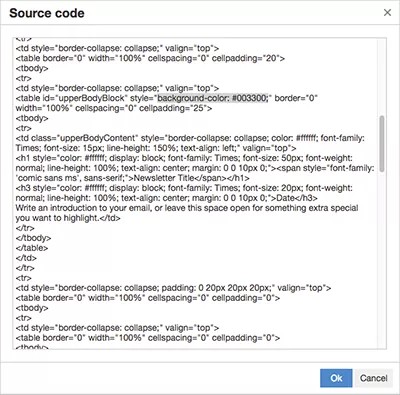
Be sure to click OK to save your HTML changes.
- To delete any sections or boxes, you can highlight the area and press DELETE or select Cut.
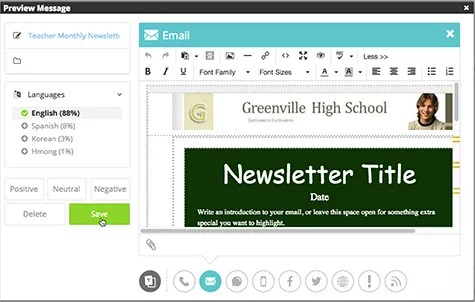
While you can delete sections from the preview, you cannot add sections through the preview. You need to add sections through the source code.
- After you make all changes, select Save.
Using code of third-party template for emails
If you have the HTML code of an email template you want to use, you can copy the code into an email template using the Message Library feature.
- Select the message template to edit or select Add Category to create a new message template.
- Select the Email message type and select More from the toolbar to expand all options.
- Select Source Code from the toolbar. You need to know HTML code.
- Paste the code and select OK to save your HTML changes.
- Select Save.
Share Newsletters
Share your newsletters
Get your newsletter out there. Share your news on social media and more.
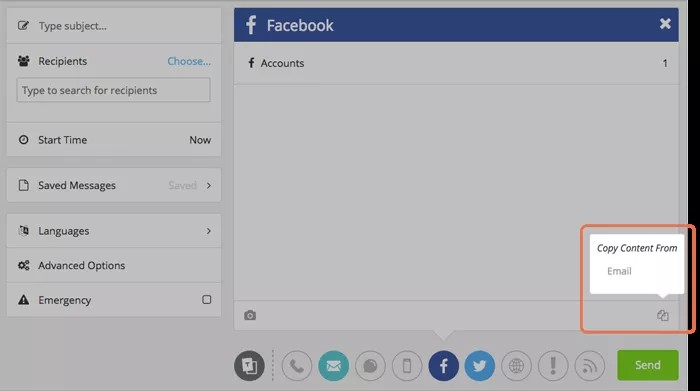
- After you complete your email message, and before you select Send, select another message type. For example, Facebook.
- Select the Copy icon at the bottom of the message to open the Copy Content From menu.
- Select Email to add a brief description and link to your message.
Do this for each message type you want to send.
- Select Send.