Record Client ID, Key and Secret
- Sign in as an administrator.
- Open Admin Tools and select External learning tools.
- Open the Ally Institutional Report actions menu.
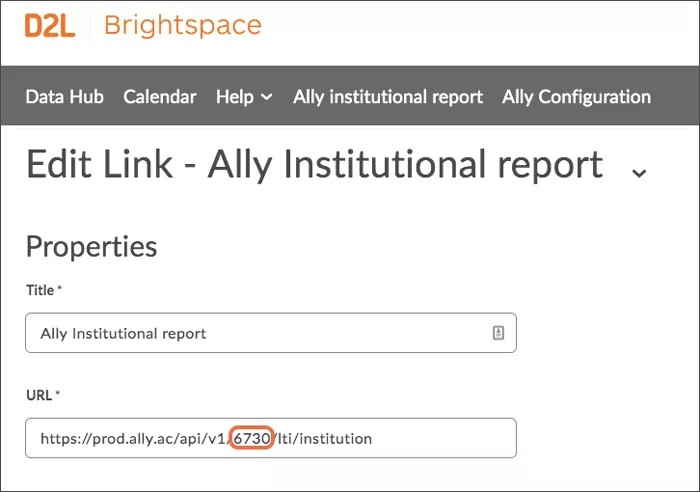
- Select Edit Link.
- Record the Client ID, Key, and Secret.
If the “Secret” is not visible, it should have been provided to you by your technical consultant during the implementation. Also make a note of your Client ID, which is the number between “v1/” and “/lti”in the “URL”. These values will be needed during the configuration of the course accessibility report.
- Select Cancel.
Add a new link
- Open Admin Tools and select External learning tools.
- Select New Link.
- Type this for the Title: Ally Course Report.
- Use one of these URLs for the Tool Provider URL. Replace "[ClientID]" with the Client ID you recorded.
- Institutions hosted in the US data centre: https://prod.ally.ac/api/v1/[ClientId]/lti/instructor
- Institutions hosted in the Canadian data centre: https://prod-ca-central-1.ally.ac/api/v1/[ClientId]/lti/instructor
- Institutions hosted in the European data centre: https://prod-eu-central-1.ally.ac/api/v1/[ClientId]/lti/instructor
- Institutions hosted in the Singapore data centre: https://prod-ap-southeast-1.ally.ac/api/v1/[ClientId]/lti/instructor
- Institutions hosted in the Australian data centre: https://prod-ap-southeast-2.ally.ac/api/v1/[ClientId]/lti/instructor
- Check Allow users to view this link.
- Select the Link key/secret radio button.
- Use the Key you recorded.
- Use the Secret you recorded.
- Check these Security Settings options:
- Send tool consumer information to tool provider
- Send context information to tool provider
- Send LTI user ID and LTI role list to tool provider
- Select Save and Close.
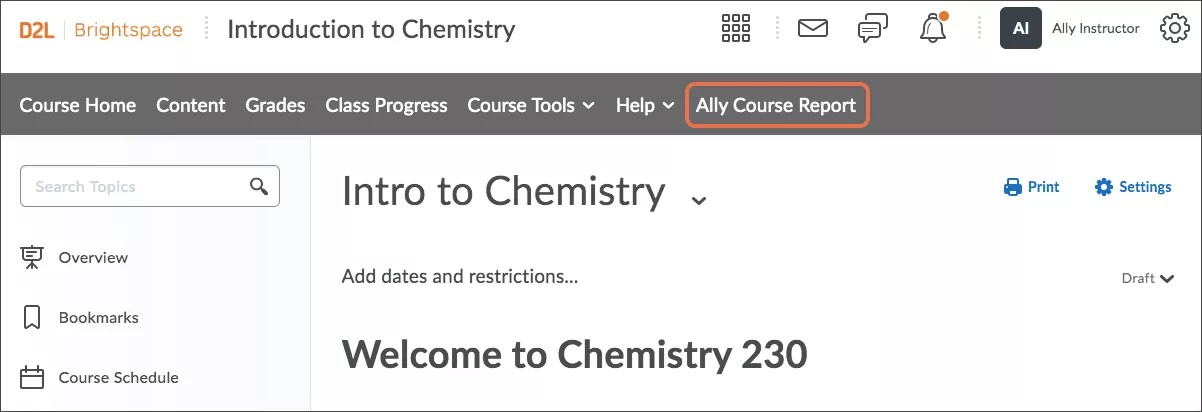
Add course accessibility report to a course
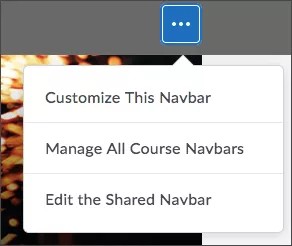
- From a course, open the Actions for Navbar and select Edit the Shared Navbar.
- Select Add Links.
- Select Create Custom Link.
- Use this Name: Accessibility report
- Name: “Accessibility Report”
This is the name of the link in the course Navbar. Rename it if you want.
- Select Insert Quicklink.
- Select Ally Course Report in External Learning Tools.
- Select Limit to specific roles and select the roles that should have access to the course accessibility report.
- Select Create, Add, and Save and Close.
“Accessibility Report” should now be available in the course Navbar. If you encounter any issues configuring the report, please Submit a case on Behind the Blackboard.