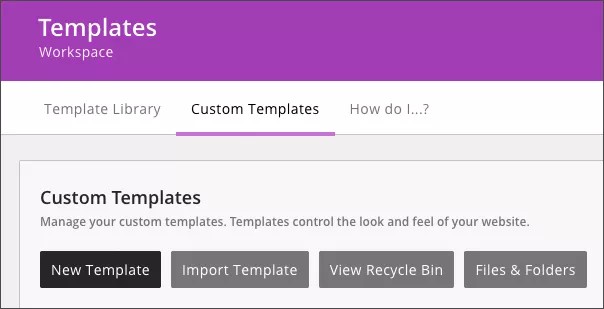
If you have any custom templates, find them from Custom Templates. Create new templates, edit templates, import templates, access the Custom Templates Recycle Bin, access your files & folders, and manage your custom templates.
Create templates
Don't attempt to create or edit a custom template unless you have attended the Advanced Styler Training. As templates control the look, feel and behavior of a site, you could render your end-user website unusable with an improperly coded template.
Create your own template.
- From Templates workspace select Custom Templates.
- Select New Template.
- Type a name for the template.
- Optionally, type a description.
- Select Save.
- Select the name of the template to edit it.
- Select Save to keep your changes. Select Save & Publish to keep your changes and push them to the template.
- Close the window.
Delete templates
Delete templates that you no longer use. Deleted accounts are not permanently deleted. They are sent to the Recycle Bin, where they can be restored or permanently deleted.
- From Custom Templates find the template you want to delete.
- Select More.
- Select Remove.
If you want to permanently delete the template, select View Recycle Bin, find the template, and select Delete. Templates deleted from the Recycle Bin can't be restored.
Restore deleted templates
When templates are deleted they are sent to the Recycle Bin. They're not permanently deleted. You can still restore them.
Templates deleted from the Recycle Bin can't be restored.
From Custom Templates, select View Recycle Bin, find the template, and select Restore.
Sharing rights
By default all site directors and subsite directors can apply all templates to their sites. You decide who else can apply the templates.
- From Custom Templates find the template you want.
- Select Options.
- Select Sharing Rights.
- Select Assign Group or Assign User.
- Select the groups or users you want to assign.
- Type all or part of the group or user name.
- Select Search.
- Select the group or user you want.
- Repeat until you assign all groups or users.
- Select Save.
After sharing rights are added, remove them by selecting Options, Sharing Rights, and Remove beside the user or group you want to remove.
Edit templates
Update the name and description for your custom template. Select the template Options.
Select Select an Image to upload a preview image that serves as a thumbnail for the template on the Custom Template tab. You also see this image in the Template Configuration window when selecting a template to apply to a site.
Copy, publish, export, and revert your templates
- From Custom Templates find the template you want.
- Select More and select an option.
- Copy: Make a copy of your template before making any changes to it.
- Publish: When you make changes to a template, you must publish it before you can apply it to a website.
- Export: You may want to save a copy of a template. To do this you export it.
- Releases: You may wish to restore a template to a previous release or delete a release version. Web Community Manager retains copies of the current template and the last ten releases. Each time you publish a template a release is created.