View your profile
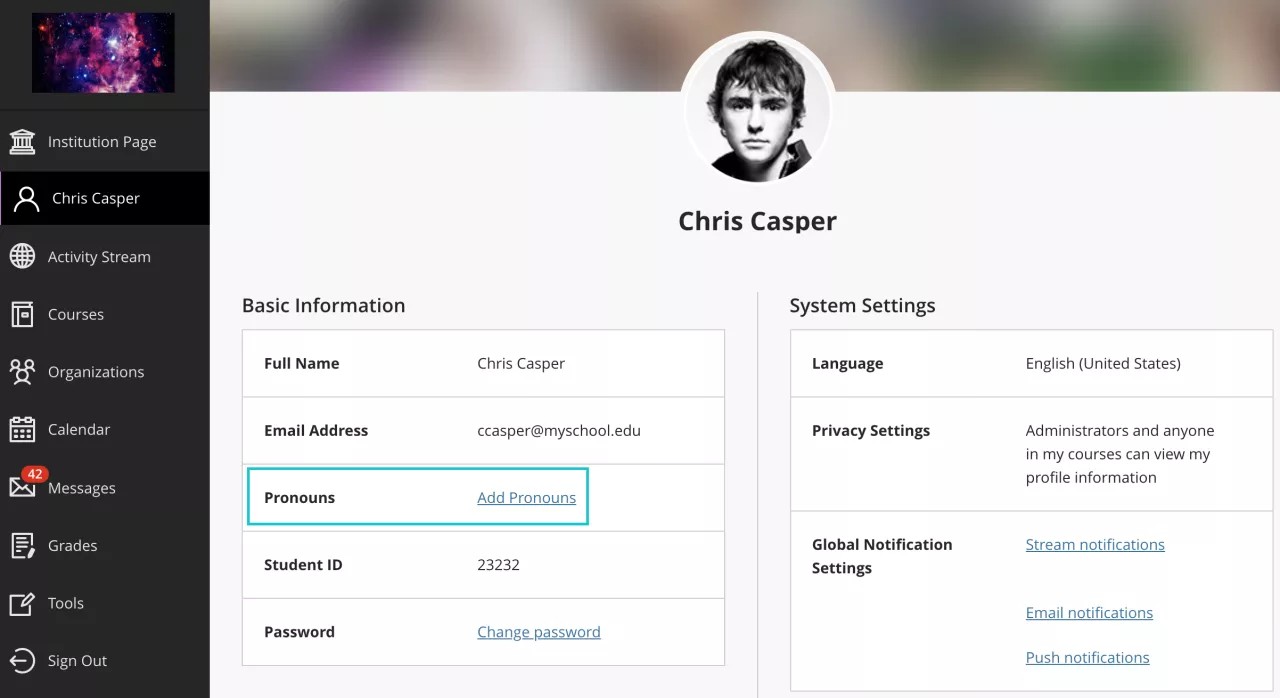
In the list where your name appears, select your name to access your profile. Your profile appears with some information, and you can't delete your profile. Your institution decides what you can customize.
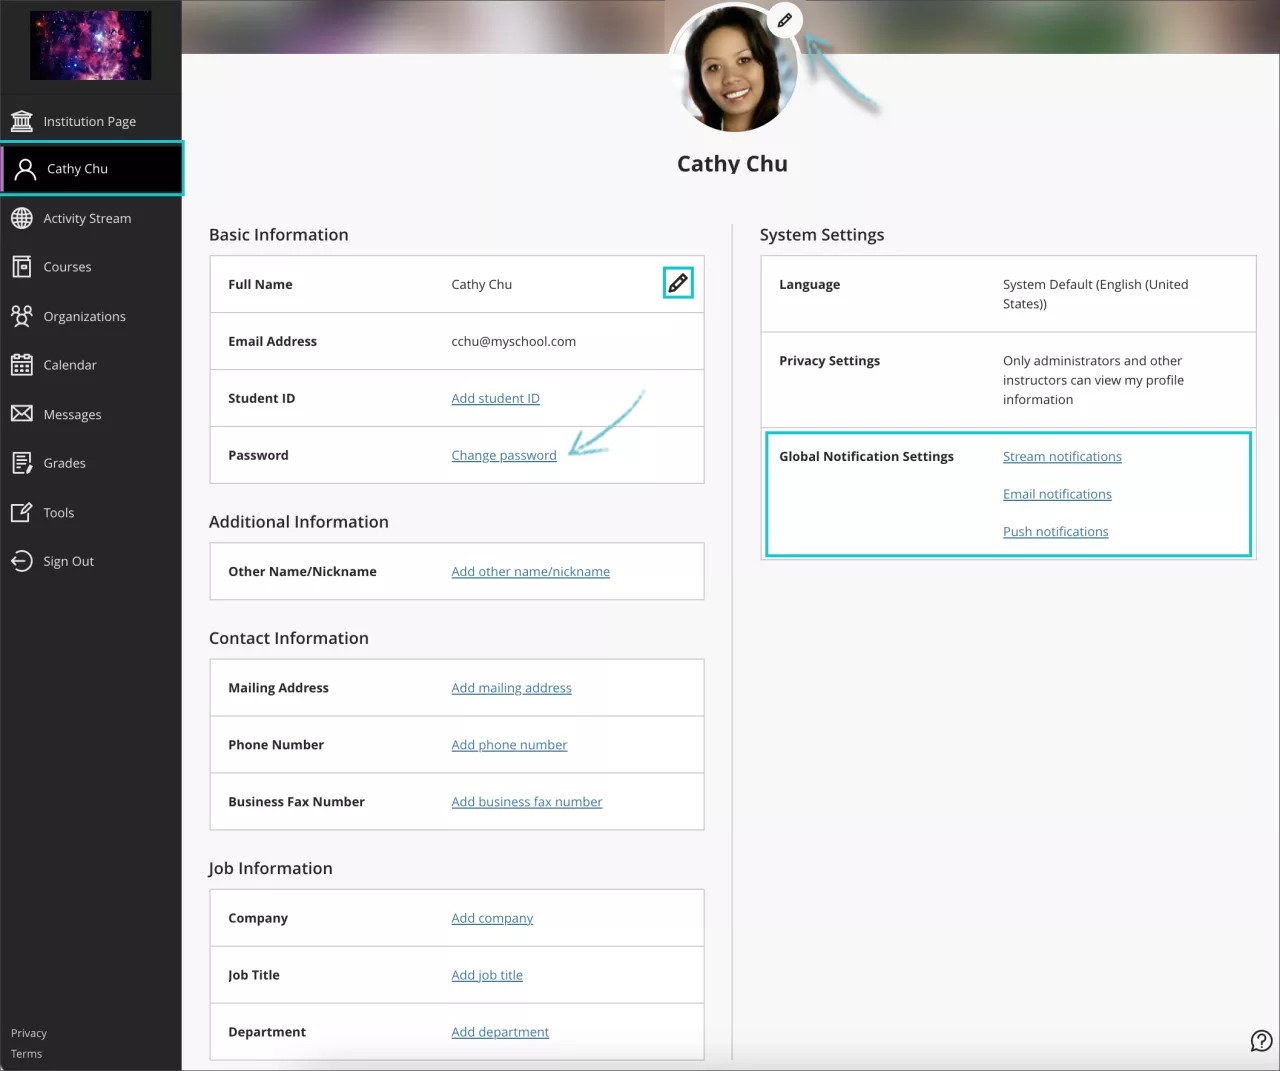
- Profile picture: Upload a picture to replace the generic silhouette.
- Basic Information: Update your personal information.
- Password: Change your system password.
- Global Notification Settings: Set up notifications for course activities.
Usernames appear throughout the system if allowed by your institution.
Upload your picture
You can store one image file in your profile.
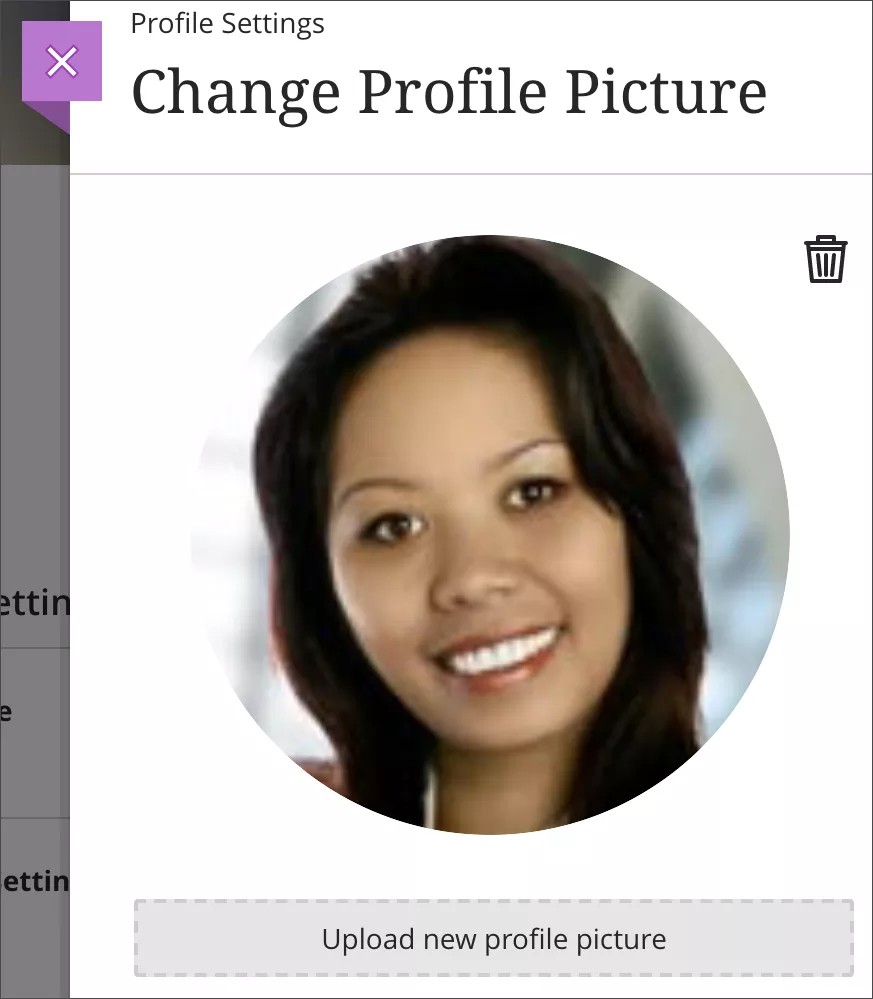
- Point to the generic silhouette or your picture and select the pencil icon to upload, change, or remove an image.
- In the panel, select Upload new profile picture to browse for your picture on your computer. Or, you can drag a file to the Upload area.
- Your image is saved automatically. Close the panel to return to your profile.
Remove or replace your image: Upload or drag in another image. To return to the generic silhouette, select the Delete this picture icon to delete your existing image file.
Edit your info and preferences
Your profile is the place to edit the information attached to your persona.
- Point to a detail such as Full Name and select the pencil icon.
- In the panel, make changes and select Done.
Video: Edit Your Profile
Watch a video about editing your profile
The following narrated video provides a visual and auditory representation of some of the information included on this page. For a detailed description of what is portrayed in the video, open the video on YouTube, navigate to More actions, and select Open transcript.
Video: Edit your profile shows how to edit information attached to your profile and add a profile picture.
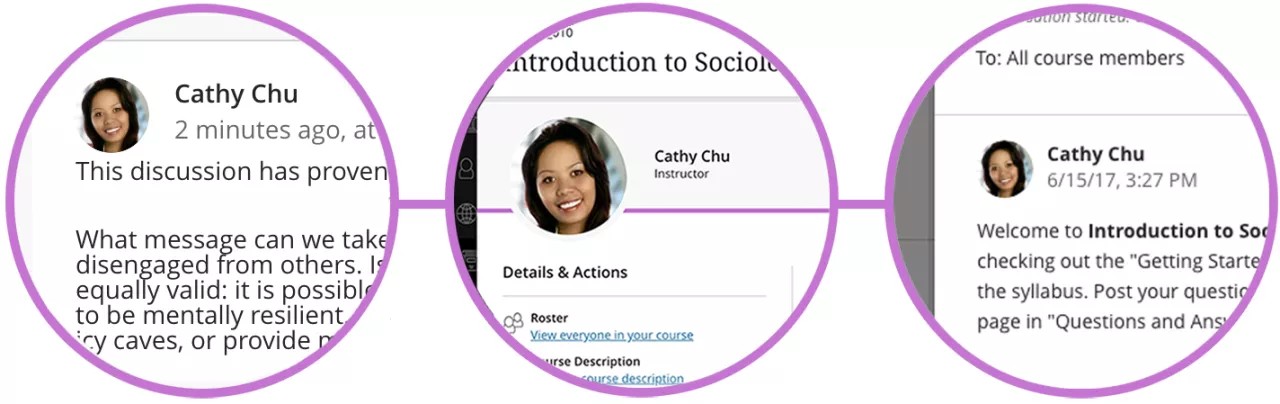
Where does my picture appear?
Your profile picture appears on course content pages, course cards, rosters, discussions, conversations, and messages next to your activity. You see student profile pictures throughout your courses in the same areas and in the gradebook.
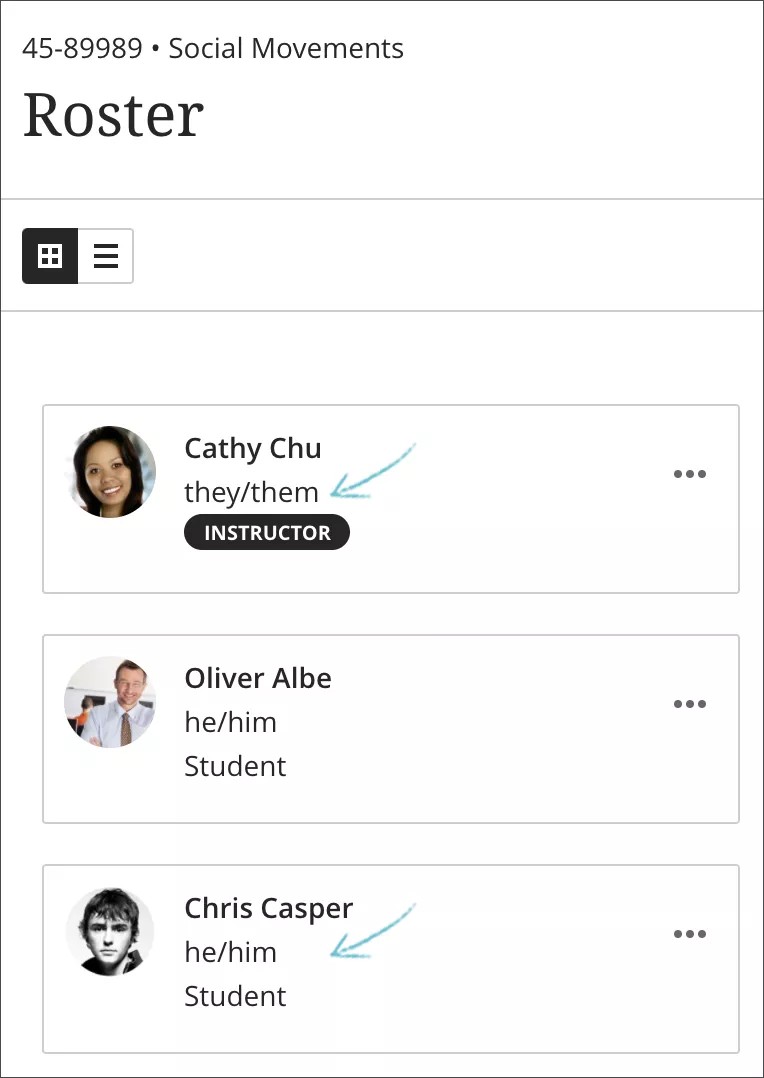
Choose your pronouns
When pronouns are editable, you can select your pronoun values in the profile page, accessed by clicking your own name in the Base Navigation menu. If pronoun values are present, those can be clicked to edit them, otherwise a prompt to Add pronouns will display.
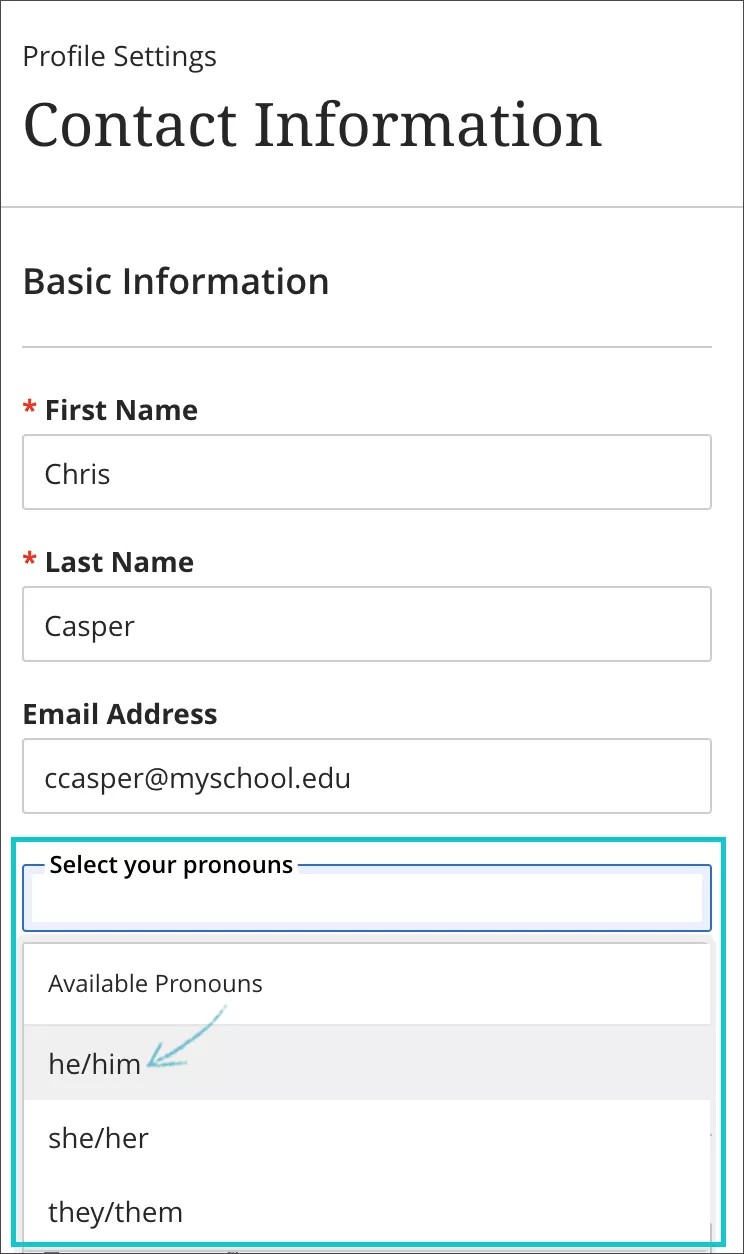
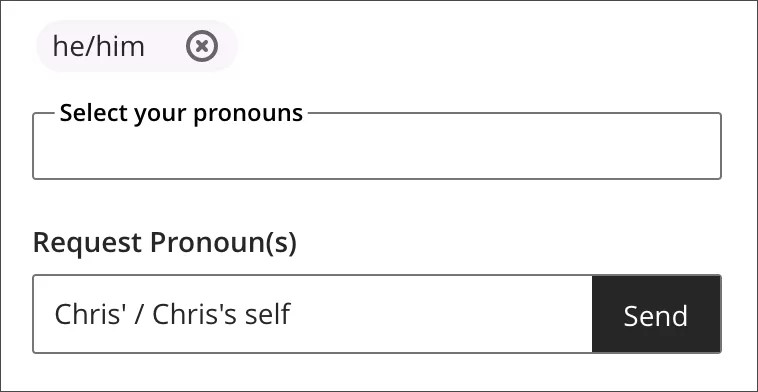
To add pronouns, select the pronoun field. You can select from the drop-down menu or provide a search element and filter the list. You can add multiple values. The selection order is maintained in the display to other users, so you can prioritize them by your preference. If pronoun options for multiple languages were defined by the administrator, you can add the pronouns you use in those additional languages you speak. You can also remove any selected pronouns.
If you don’t see the pronoun options best suited to your needs, you can make a request if allowed. Requests are sent to the administrator for review and approval.
Your pronouns will appear to other users. In your courses, they will display in various locations of interactive tools, group activities, and name lists. If you do not want others to see your pronouns, you can remove them.