This information applies only to the Original experience. Your institution controls which tools are available.
After you upload files to Course Files, you can link to them when you create content such as a syllabus, calendar events, and tasks.
After you link to files, all enrolled users are granted read permission for the file by default. If you delete a link to file in your course, the file remains in Course Files and you can link to it again.
You don't need to upload files to Course Files before you create content in your course. Wherever attaching files is available, select Browse My Computer to select a file. The file is added to the current item and to Course Files.
Watch a video about links to Course Files
The following narrated video provides a visual and auditory representation of some of the information included on this page. For a detailed description of what is portrayed in the video, open the video on YouTube, navigate to More actions, and select Open transcript.
Video: Attach files from Course Files shows you how to attach files to content items from course files.
Link to a file or folder in Course Files
Wherever you can attach files when you build content, you can select Browse Course to select a file from Course Files. Some course tools don't allow you to link to files in Course Files, such as when you create individual wiki pages.
If your institution has access to the content management features, you'll browse for files in the Content Collection and use the Browse Content Collection option.
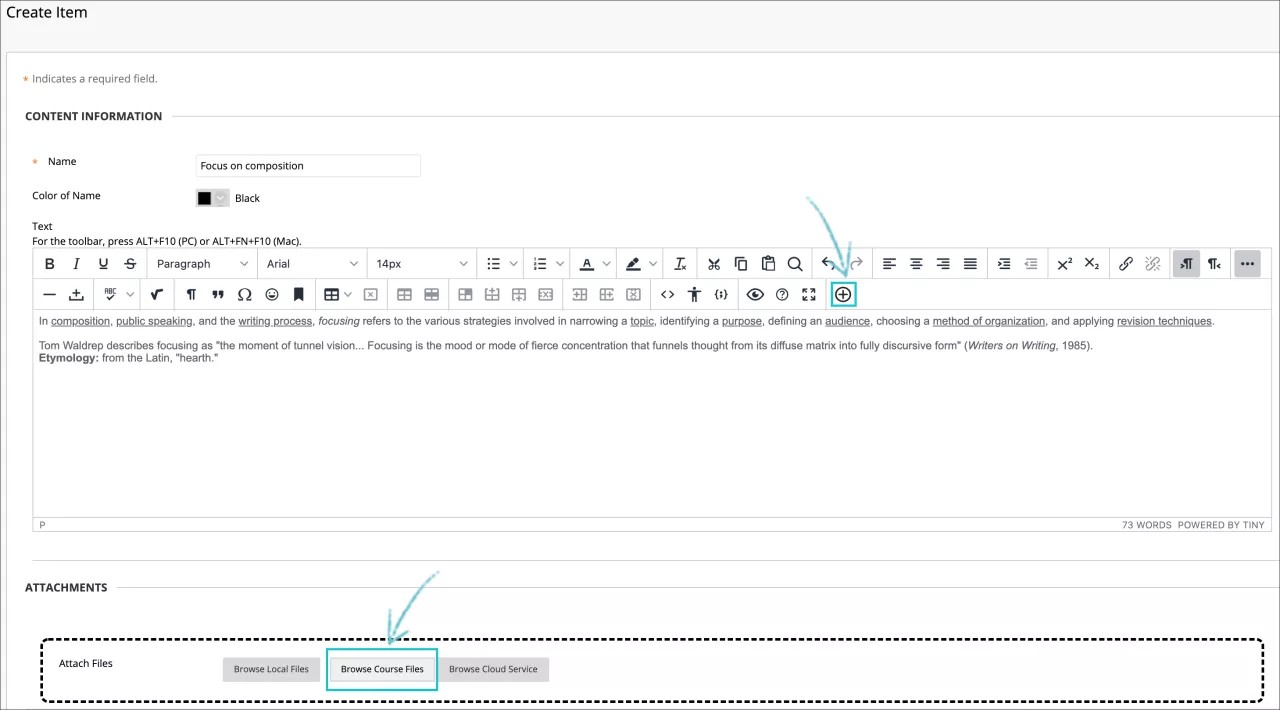
- In the Attachments section of the Create Item page, select Browse Course or use the Add Content option in the editor to attach a file.
Attaching a file with the editor offers control over where the file's link appears in relationship to other text. You can also choose to have the file open in a new window and provide alternative text for screen readers. These options aren't available in the Attachments section of the Create Item page.
- In the Browse Course or Browse Content Collection window, navigate to the file or folder needed and select its check box. You can link multiple files and folders to the content item. When you link to a folder, use caution as students receive the read permission for the folder's contents. Read permission allows students to view all the files and sub-folders in the folder.
More on browsing for files in Course Files and the Content Collection
- Select Submit to attach the files you chose.
- On the Create Item page, type a Link Title. This is the text that displays as a link to the file. Select Mark for removal to remove the selected file.
- Select the Options for availability, tracking, and date and time restrictions.
- Select Submit.
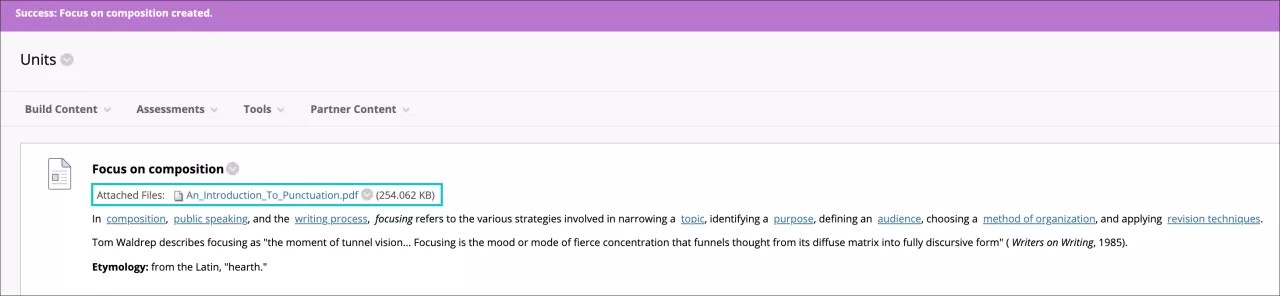
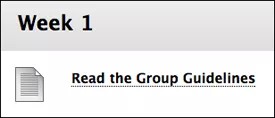
The content item appears in the content area with a link to the file you selected. Students can view and download the files that you linked.
If you change a file stored in Course Files, the change is reflected in all instances where the file is linked in your course.
Link to an HTML object
In a course area, you can link to an HTML object contained in Course Files. Use the Create File option to link to HTML objects. You view the file content type as a page within your course or as a separate piece of content in a separate browser window or tab. The file content type allows you to create content without descriptions, allowing for less scrolling in course areas.
When you select a file, you can define user access rights in the Manage Access section. You have three options:
- Give users access to all files and folders in the folder: Choose this option to give users access to all files and sub-folders within the parent folder of the file you are linking to. This option is appropriate for users who are linking to a website with a typical hierarchical structure with sub-folders for CSS, JavaScript, and images contained in the parent folder.
- Give users access to this file only: Choose this option when you are linking to one HTML file that has all the formatting within the page itself and doesn't reference other files or images.
- Give users access to selected files in folder: Choose this option if you want to embed a website with a more complicated structure. If some of the content exists outside of the parent folder in other folders in Course Files or the Content Collection, you need to browse for and manually select the parent folder and the additional files and folders. This ensures users have access to all the content in your website.
More on how to create HTML objects
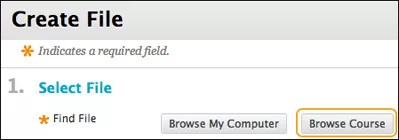
- In a content area, point to Build Content and select File.
- On the Create File page, select Browse Course.
- In the Browse Course window, you can select only one item. Navigate to the appropriate HTML object and select its check box. HTML object file names have the .html extension.
- Select Submit.
- For Manage Permissions, select the option for the appropriate permissions for users. Students receive read permission by default.
- Type a Name for the link to the file as you want it to appear in the course area. You can't include a description with the file content type, only the link appears. Be sure the name is descriptive so students understand why this content is included and how to use it. Use Select a Different File to remove the selected file.
- Select Yes or No for Open in New Window. Select No to have the content appear in the content frame and let users access all course navigation, such as the orientation bar and the course menu. Select Yes to have the content appear in a new window or tab so users can view it alongside other course content.
- Select the Standard Options for availability, tracking, and date and time restrictions.
- Select Submit.
The file content type appears in the content area. Students select the file's title to access the content. Students can view and download files attached to the HTML object.
If you change an HTML object stored in Course Files, the change is reflected in all instances where the file is linked in your course.
View where a file or folder is linked
You can view information about a file or folder stored in Course Files. The 360° view report includes the file or folder's properties, such as name, file type, file/folder size, sub-folder information, and when it was last edited. You can also view the permissions assigned to users.
Because you can reuse a file in a course, the 360° view report lists all of the course areas where the file is linked. You can view the report to determine which links in your course will break if you delete a file or folder, or where changes will occur if you make edits.
In Course Files, open a file or folder's menu and select 360° View. For folders, you can view where the files and sub-folders in the folder are linked in your course.
Delete linked files
If you delete a link to a file or folder in your course, it remains in Course Files. To delete a file or folder from your course completely, you must delete it from Course Files. Use the Delete option in a file or folder's menu or select its check box and select Delete.
If you delete items in Course Files that are linked in your course, a List Files and Folders With Links page appears to notify you that deleting these items may break links in your course. Select the check boxes for the files or folders to delete, or cancel the deletion and view the 360° view report to see where each file or folder is linked before continuing the deletion.