Media file viewing options
If your browser allows, media files you add to assessments display inline by default. If your browser can't display a media file inline, it appears as an attachment. Files you add from cloud storage behave in the same way.
Images that display inline are embedded in a 768-pixel block at the biggest breakpoints. The closer to that size the images are, the less padding appears around them.
Access a media file's menu and select Edit.
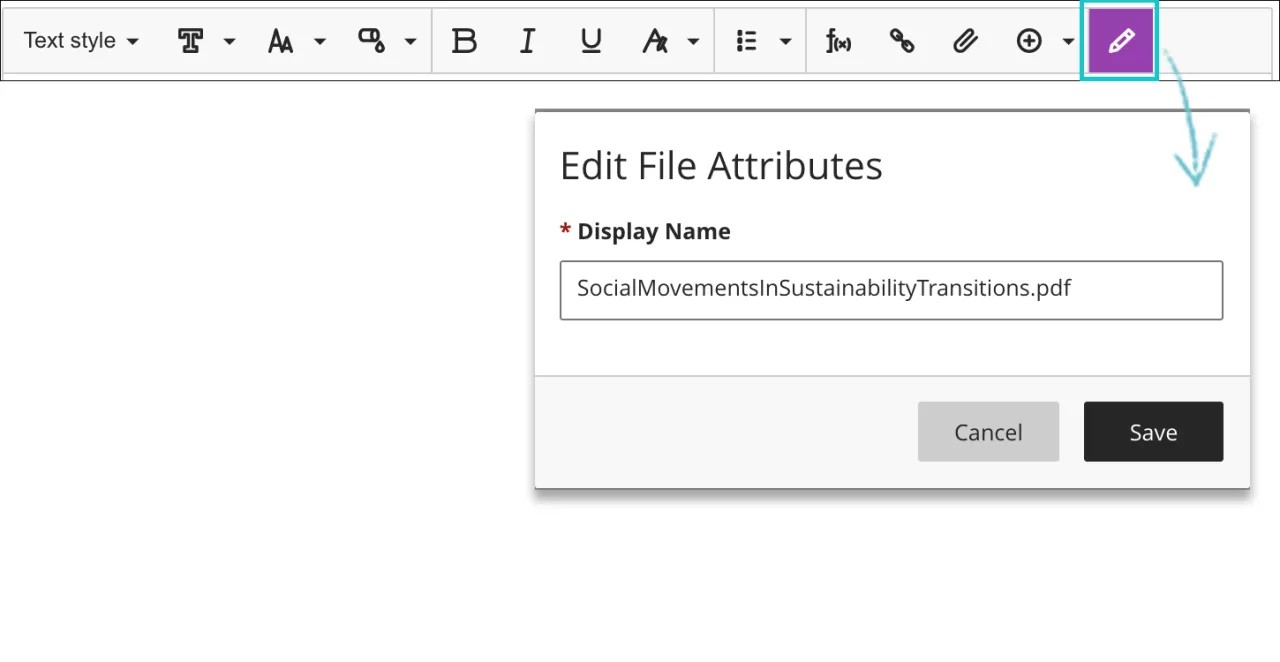
To edit the file's alternative text or display behavior, select the file in the editor and then select the Edit Attachment icon.
In the Edit File Attributes window, you can choose how your video, audio, or image file appears in the assessment: inline or as an attachment. For example, you can display extremely large files as attachments that students can download. You can edit the file names for files displayed as attachments.
You can also add alternative text to describe images you add. Alternative text describes the image for people who use screen readers or visit web pages with images turned off.
For video and audio files that appear inline, students have controls for play, pause, and volume control. For video files, students can view the video in full screen.
View media files as attachments
For media files that appear as attachments, students access the menu and select Preview File or Download Original File. Instructors have the additional options of move, edit, and delete.


