The Profile page loads when selecting Profile from the Page Selector in Service Desk.
This page offers the ability to:
- Change password
- Manage personal information
- Manage settings
- Create and edit personal views
If SmartView is integrated with your Active Directory via LDAP, you will not see the Change Password option. You will manage your Active Directory password via the method established by your school IT department.

Change Password
If you see the Change Password option you may change your SmartView password.
- Click Change Password.
- Enter your old password in the pop up.
- Enter a new password.
- Confirm the new password.

If SmartView is integrated with your Active Directory via LDAP, you will not see the Change Password option. You will manage your Active Directory password via the method established by your school IT department.
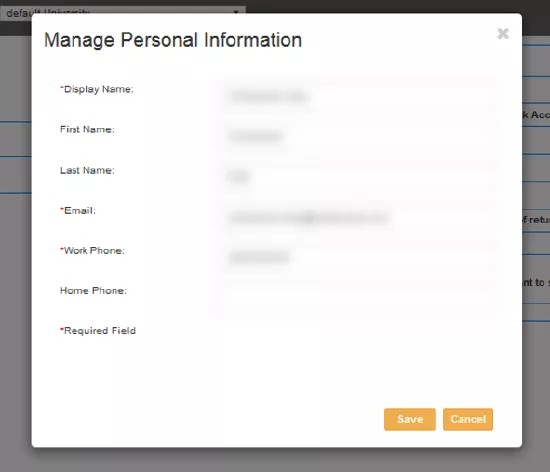
Manage Personal Information
This options allows you to update the following profile information:
- Display Name
- First Name
- Last Name
- Work Phone
- Home Phone
Manage Settings
This option allows you to choose the number of items that you would like to be displayed in lists.

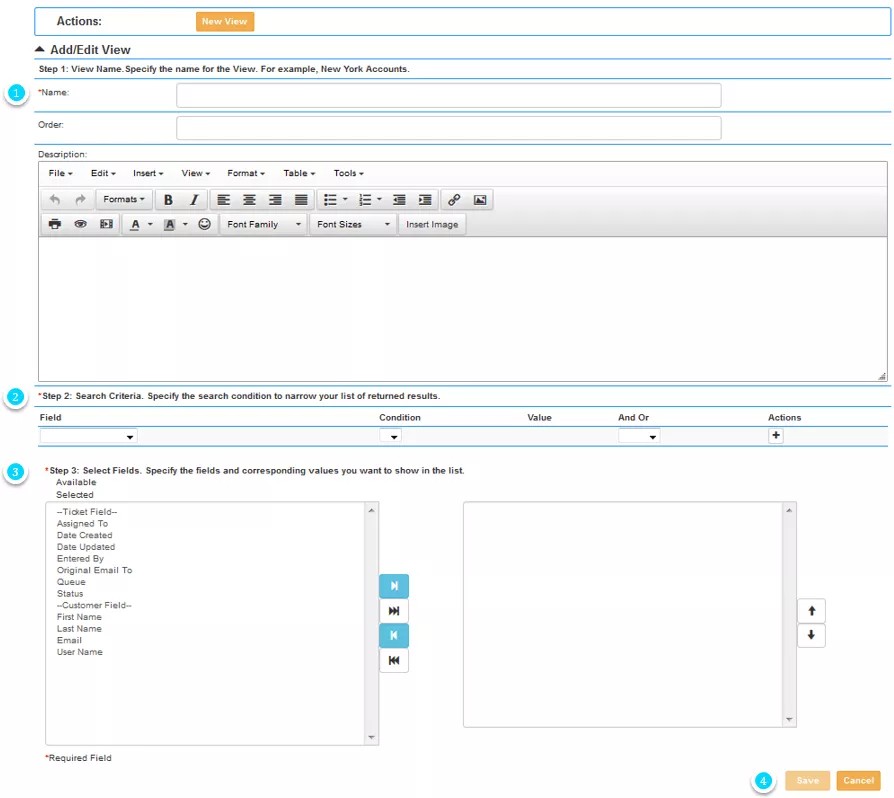
Create & Edit Personal Views
The New View and Edit View action buttons allow you to create and manage personal Views (in addition to the department set Views) for the selected Institution.
The steps for creating a new personal Views are:
- Assign a name to the View
- Indicate the order the View should appear in the Views list
- Set search criteria settings to arrive at the correct filter for your personal View
- Add more field criteria by clicking the "+" button
- Select the fields that will serve as the column headers in the resulting table for this view
- Click Save
Personal views will list under pre-set views, so the order governs only the ordering within personal views.
Do not forget the "And Or" selection if more than one field criteria is used (if you forget to set the "And Or", you Case page will not load)
View lists will always show the Case # in the first column, and then the first two or three fields selected in the left column listing, and expand to include more field column headers on the expanded page view (checking on limits)
It is NOT necessary to create a view of cases assigned to you; that is a pre-configured view that will list in the second position in the Views for all users.