This information applies only to the Ultra Course View.
This information applies only to the Ultra experience.
Never miss a beat!
Juggling competing responsibilities isn't easy. Use the calendar to keep track of upcoming assignments, events, and other due dates.
Different global regions have different calendar conventions, including which day displays as the first day of the week. The calendar displays the most common convention for the first day of the week based on a user's selected language. You can change your language in the user profile. Administrators can customize the first day of the week for their language pack if they choose.
Non-graded items with due dates, such as tasks, don't appear in the course calendar automatically.
Find and navigate the calendar
From the global calendar in the list where your name appears, you can see all your upcoming due dates and meetings across your courses—all in one place.
In your calendar, you can find this information:
- Office hours, course schedule, and events: These appointments appear automatically on the calendar when your instructors add them to a course.
- Due dates: Assignment due dates appear automatically on your calendar.
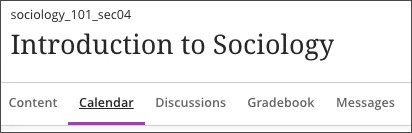
When you access the calendar from inside a course, it shows events for that course only. Select the Calendar tab from the course's navigation bar.
Other topics on this help page:
Choose your view
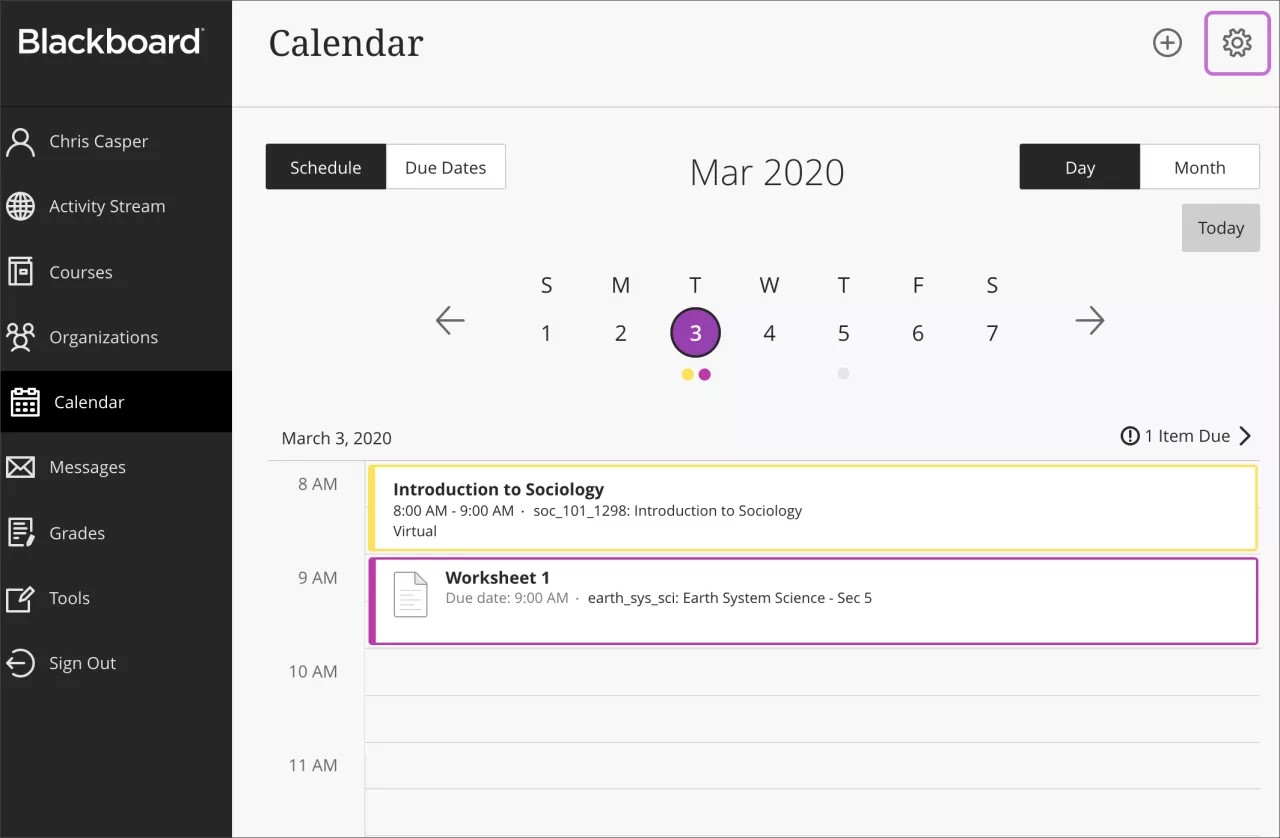
- Select Day or Month to zoom in on one day's tasks or plan for the weeks ahead.
- Select Due Dates to focus only on your upcoming deadlines.
- Select the Calendar Settings button in the upper-right corner to choose the calendars you want to see.
Add or edit an event
To add events to your personal calendar, select Calendar from base navigation bar. Select the New Event button, which appears as a plus sign within a circle, and then select Add Event. You can enter an event title, date, time, and location, but only a title is required.
Select the title of any event you added to change its details.
You can move and delete events in your calendar. Drag and drop personal events to change times or delete personal events that aren't needed. You can't delete or move events added by your instructor.
Share your calendar
Your schedule is a mix of academic and personal commitments. To help keep up with everything you've got going on, you can put everything on one calendar.
You can share your Blackboard Learn calendar with external services so course events appear with other events.
You can't share calendars for individual courses. When you share your calendar, events for all of your courses appear.
- Select Calendar from the base navigation bar.
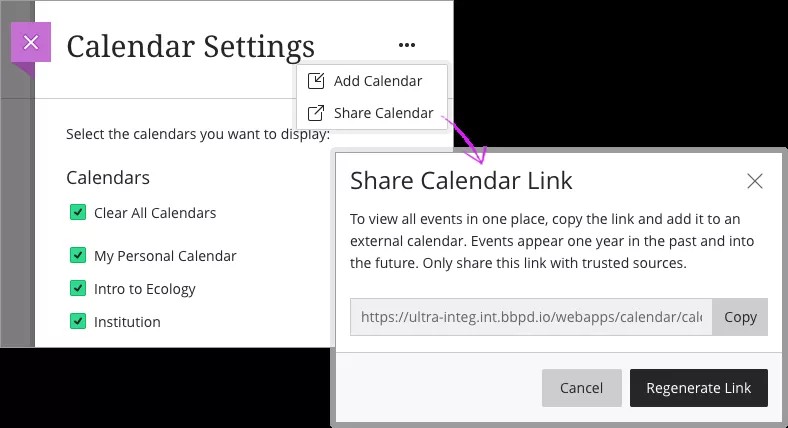
- Select the Calendar Settings button.
- From the Calendar Settings screen, select the dots button and select Share Calendar.
- Copy the calendar link. Share the URL only with trusted sources.
When you connect your Blackboard Learn calendar to an external calendar, all course events appear one year in the past and into the future.
Add calendar to iCal
To share your Blackboard Learn calendar with iCal, you'll add it as a calendar subscription.
- Open iCal on your Apple device.
- Go to File > New Calendar Subscription.
- Paste the Blackboard Learn calendar link and select Subscribe.
- Enter the calendar's name and adjust other settings. In the Location field, select iCloud if you want the calendar to appear on your other authenticated Apple devices such as iPhone or iPad.
- Select OK to finish set up.
More on subscribing to calendars on a Mac
Add calendar to Google calendar
Share your Blackboard Learn calendar with Google calendar to view all events in one place.
- Open your Google calendar in a browser.
- Under Other calendars, select Add other calendars, and then select From URL.
- Paste the Blackboard Learn calendar link and select Add calendar to save.
- Open the calendar's settings to rename it and adjust sharing and notification settings.
Add an external calendar
If you prefer to use Blackboard Learn's calendar, you can also add an external calendar file to your Blackboard Learn calendar so course events appear with other events.
- Select Calendar from the base navigation bar.
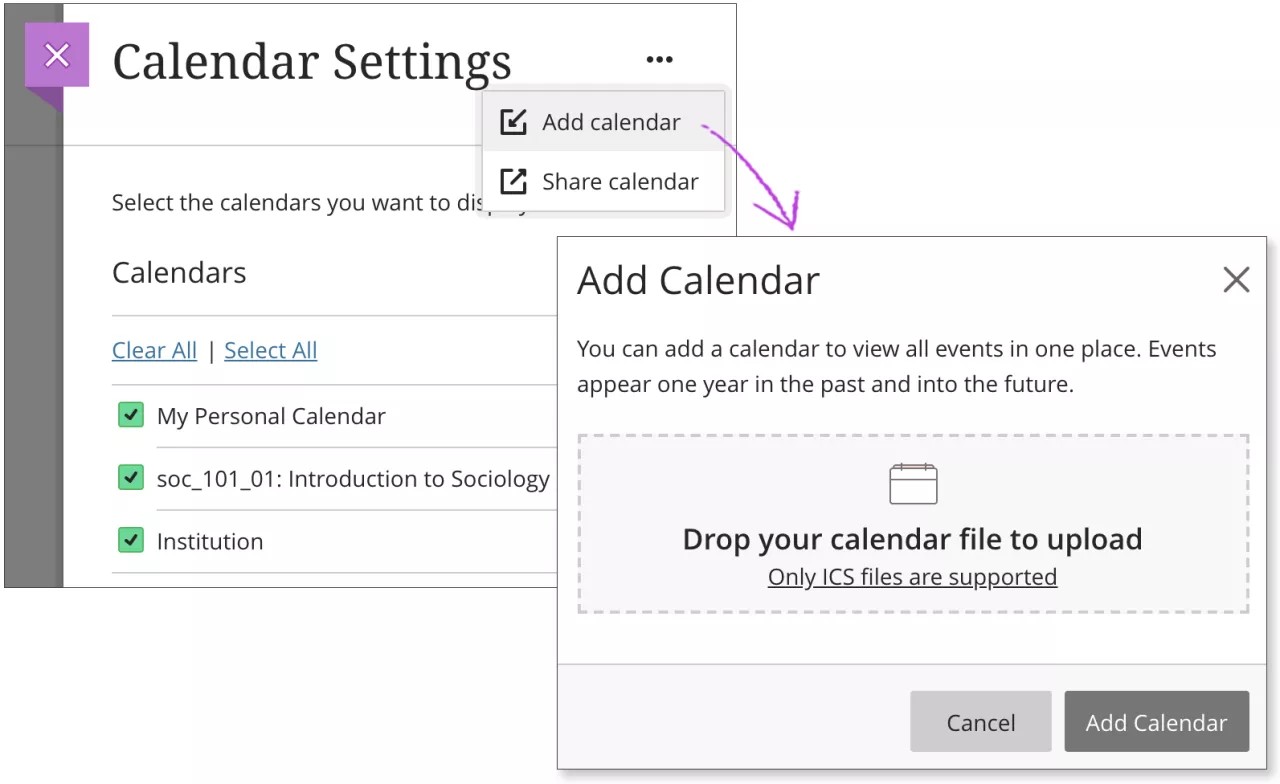
- Select the Calendar Settings button.
- From the Calendar Settings screen, select the dots button and select Add Calendar.
- In the window, drag and drop or upload the calendar file. Only ICS files are supported.
- Select Add Calendar to finish and import events.
When you add your external calendar to Blackboard Learn, events appear one year in the past and into the future. The events are grouped under My Personal Calendar to show that you added them yourself. The events don't reference the calendar or the name of the file you uploaded.
You can edit or delete events you upload just like any other event you add.
What is ICS?
ICS refers to a standardized calendar file type that lets you export and import files between different applications. These files use .ics at the end of the file name. Many popular calendar applications, including Google Calendar and Apple Calendar, use the ICS standard.
Watch a video about the calendar
The following narrated video provides a visual and auditory representation of some of the information included on this page. For a detailed description of what is portrayed in the video, open the video on YouTube, navigate to More actions, and select Open transcript.
Video: Use the calendar explains how to use the calendar to keep track of your events and due dates.