Access your assignments
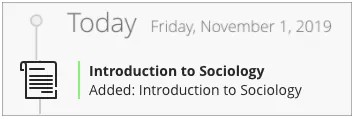
You can access assignments in the activity stream or in the calendar if your instructor added due dates.
If the due date has passed for an assignment, you’re alerted in the Important section of the activity stream.
You can also find your assignments on the Course Content page. Your instructor may also organize assignments in folders and learning modules.
Your instructor may ask you to work on an assignment with a group.
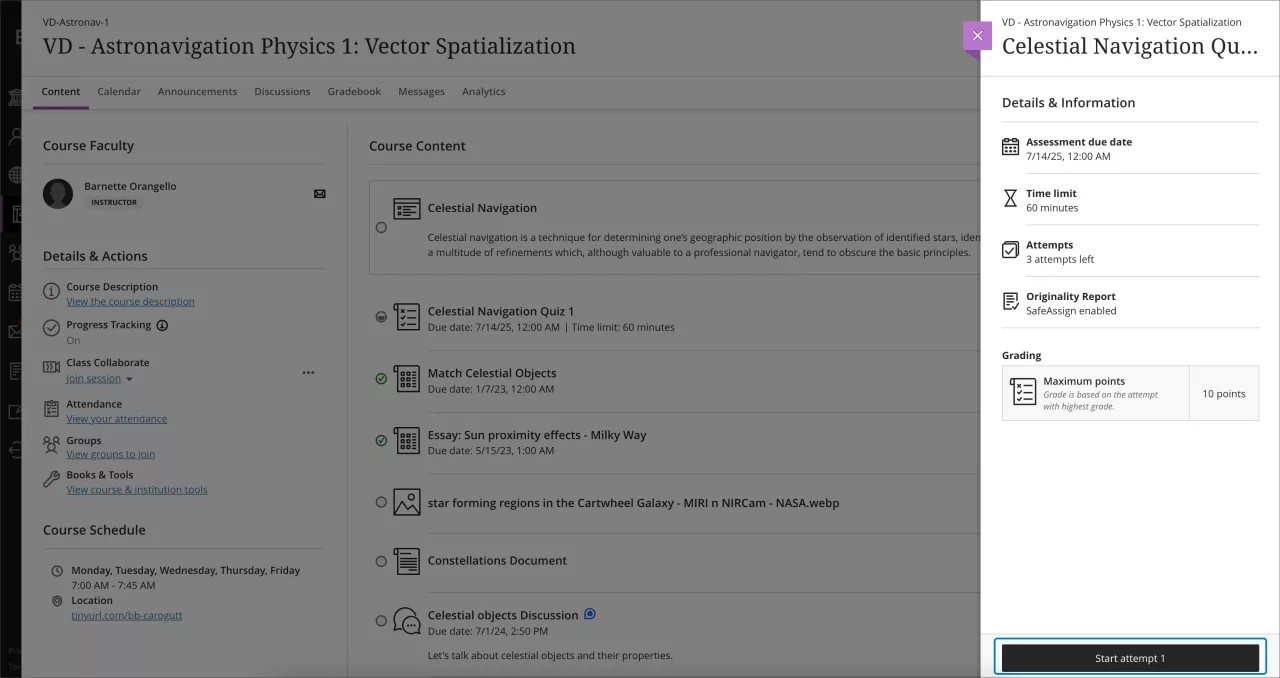
After you select an assignment, the Details & Information panel appears. View the due date, number of attempts allowed, the time limit if imposed, and possibly goals and a rubric for grading. Check if the due date has passed and if any submissions are or will be late.
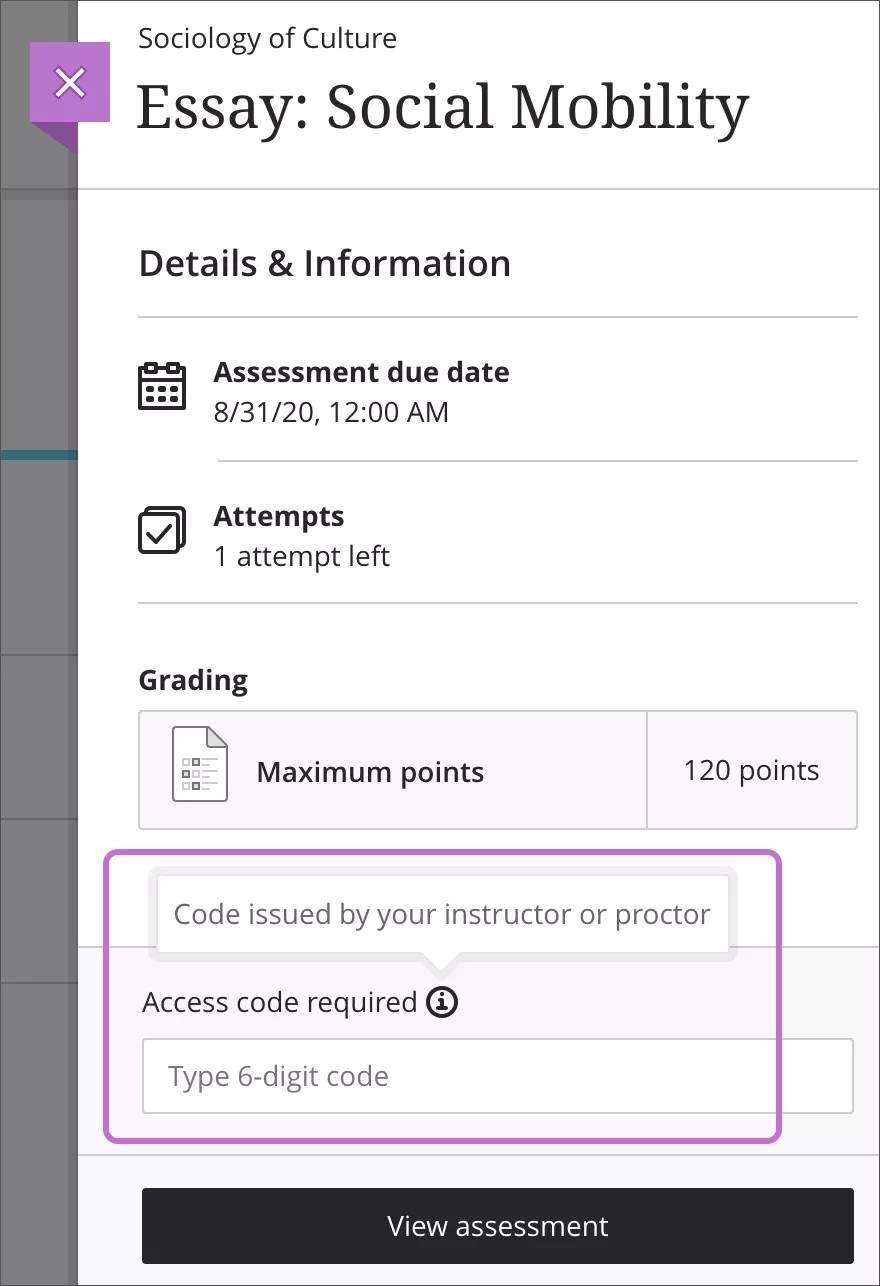
Access code
Your instructor may require you to input a 6-digit access code to access the assignment. Instructors issue the access codes, but they might have another person, such as a proctor, deliver the codes. After you type the code, you can open the assignment. You can use the code to resume an assignment you saved. You don't need the code to view your grades and feedback posted by your instructor. If your instructor changes the code between attempts, you'll need to ask for it again.
Your instructor can also secure an assignment with the LockDown Browser. You need to provide the correct access code before the LockDown Browser is launched.
Start your attempt
If no time limit exists, you can view an assignment and you don't have to submit it. When you select Start attempt, you can view the assignment and start working on your submission. Not ready to submit? Select Save and close to save your work and close the assignment. You will be able to return to the assignment at a later date and resume your work. In this scenario, Select Continue attempt to resume working. Do not forget to Submit your work once you are ready to do so.
If your instructor added a time limit, it appears alongside other assignment details on the Course Content page. You'll also see the time limit on the assignment's Details & Information panel and within the assignment, as you work.
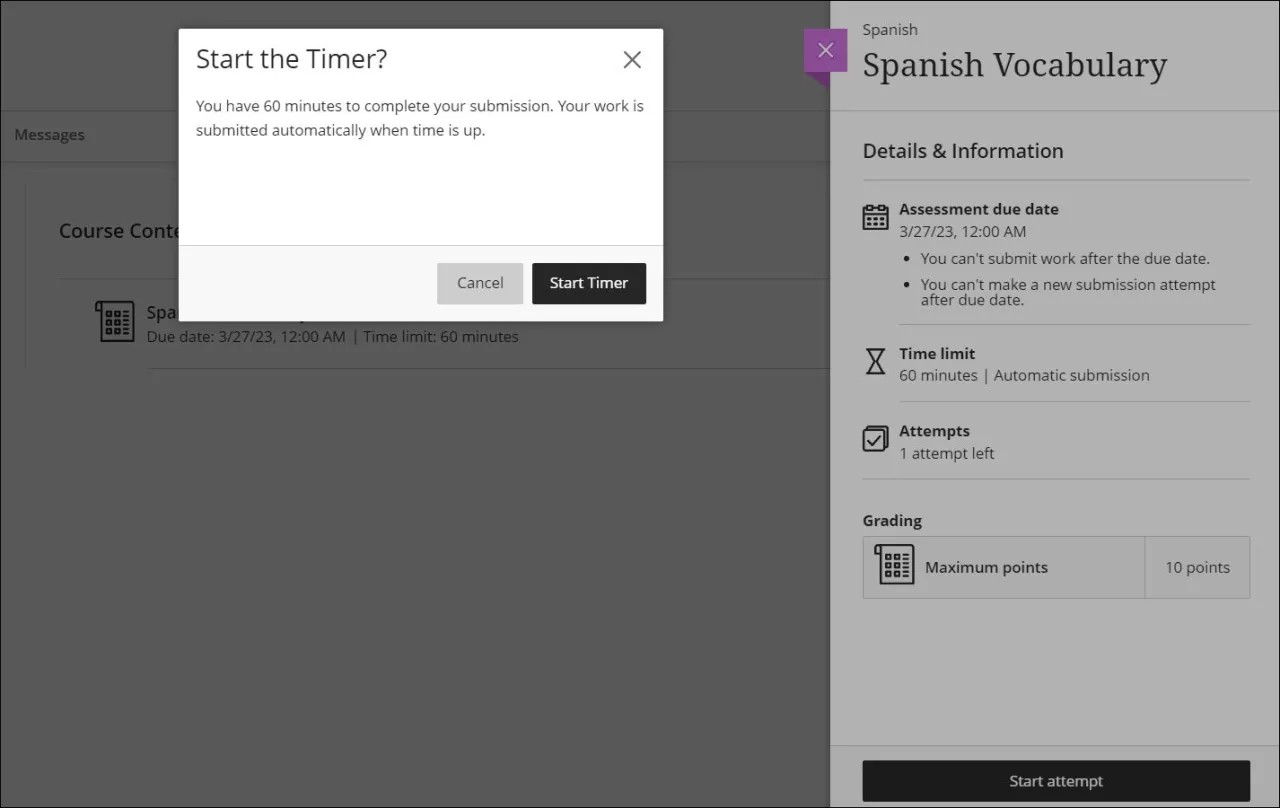
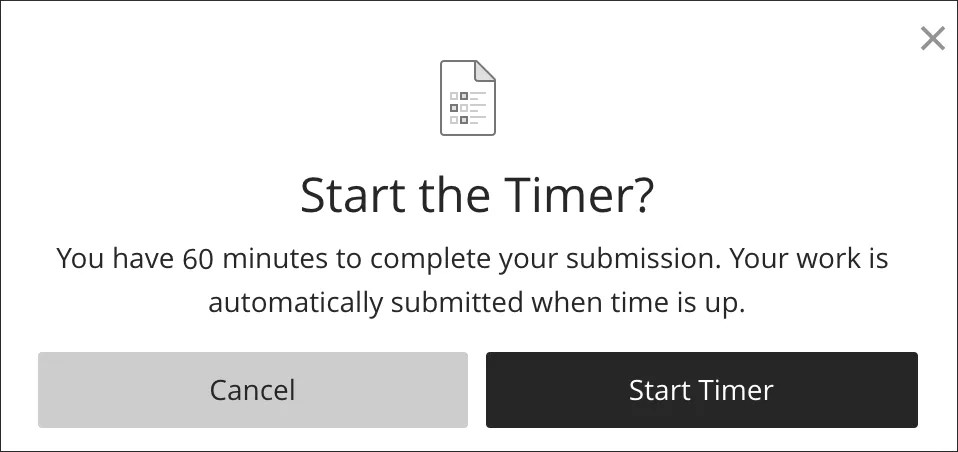
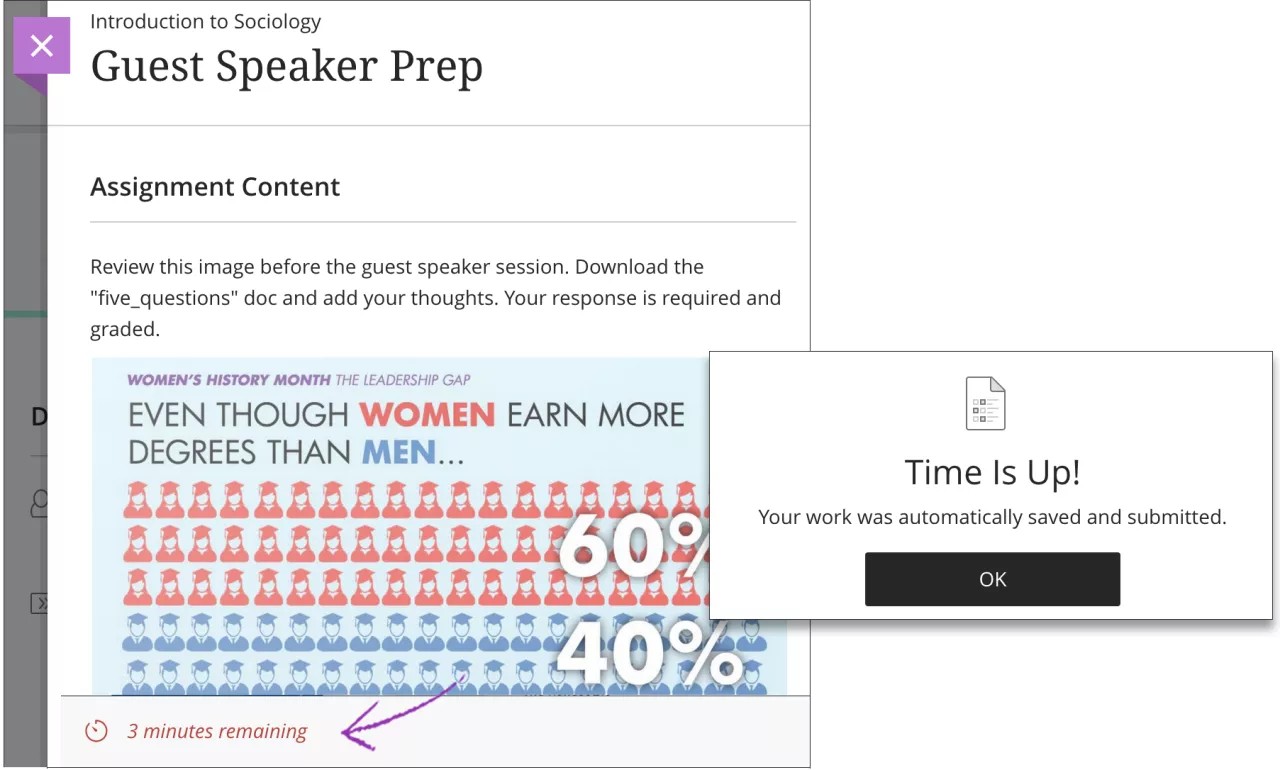
When you select Start attempt, you'll receive a pop-up window to start the timer before you can access the assignment. If you're not ready to start, select Cancel. After you start, the assignment auto-submits when time is up.
If your instructor has enabled the Prohibit Late Submissions option, the assignment will be automatically submitted at the due date if you have not already submitted it yourself
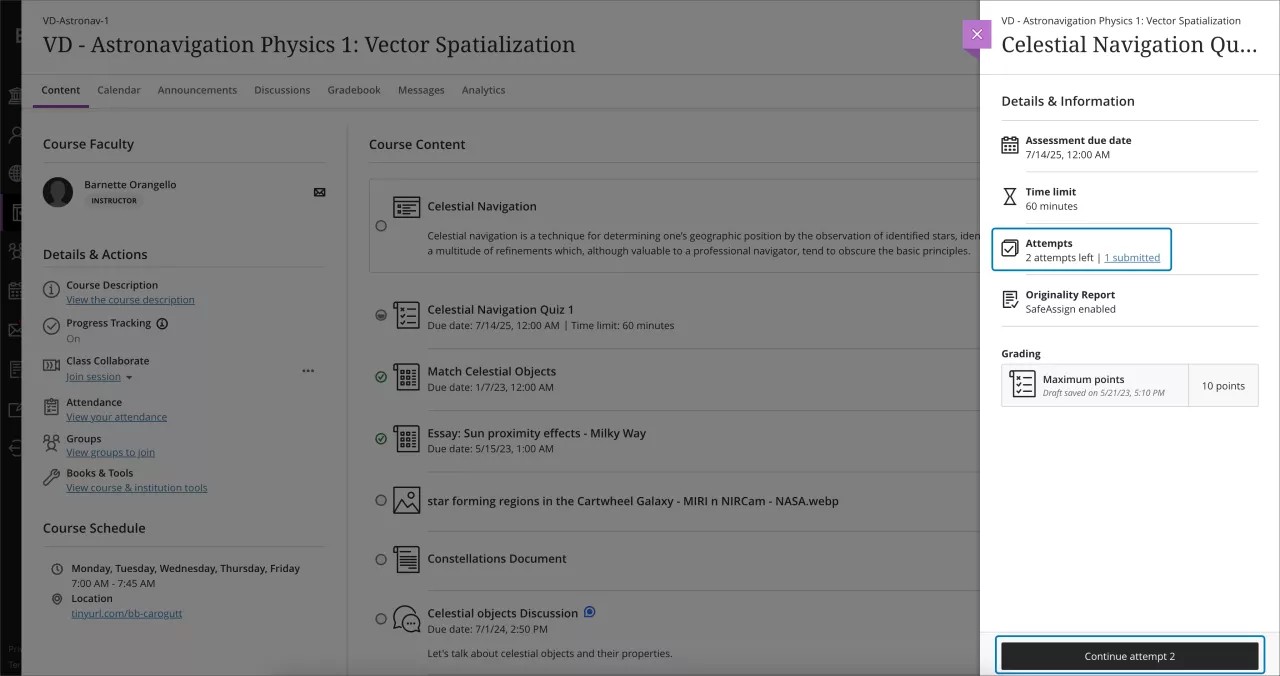
Continue working on your current attempt. If you have saved a draft, the Continue attempt button shows which attempt you are currently working on.
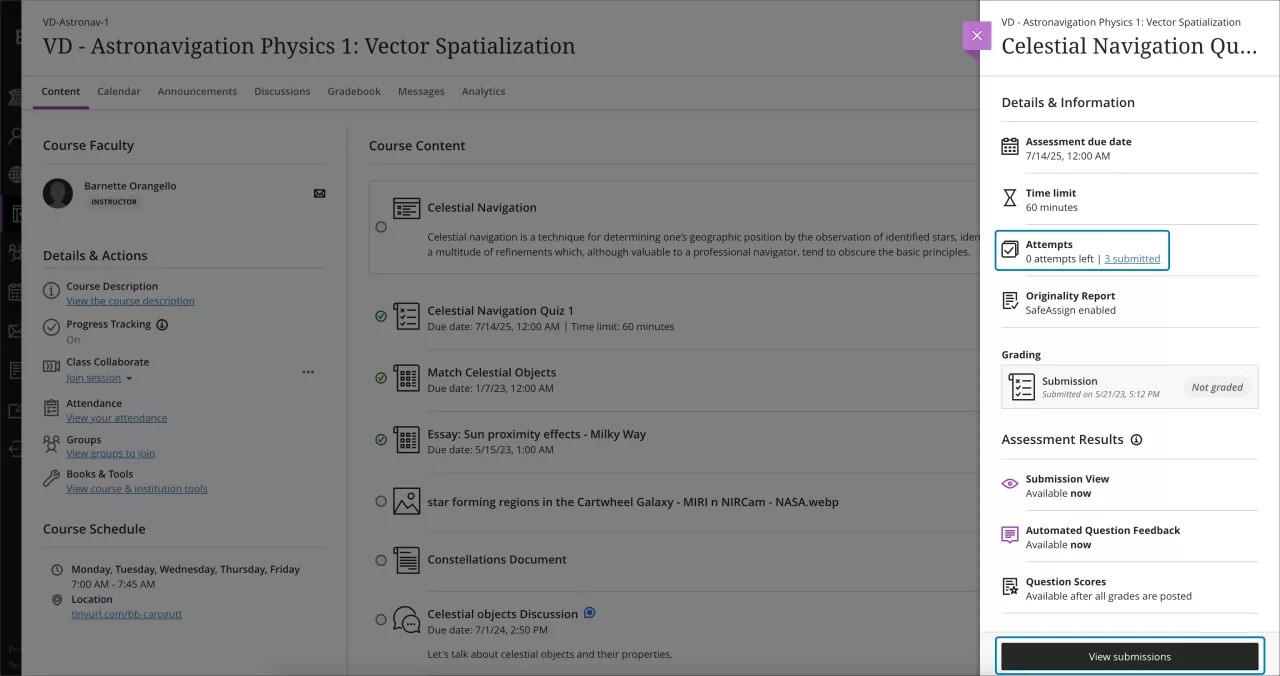
View your submissions. Once you have exhausted your attempts, select the View submissions button to review your completed submissions.
Late work
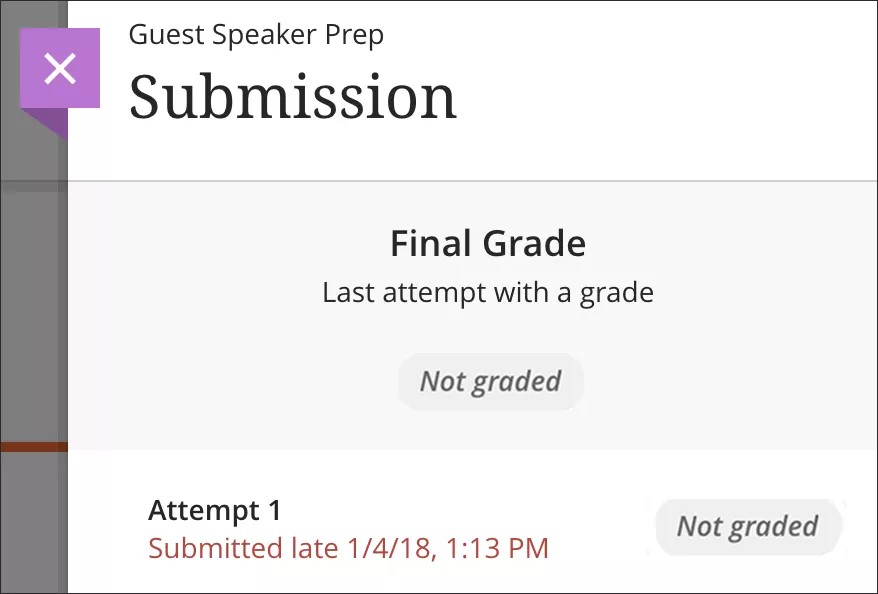
After the due date has passed and you open an assignment, you’re alerted that your submission will be marked late. You can view the alert in the Details & Information panel, on the assignment page, and in the submit confirmation window. In the Details & Information panel, you can also see if any submissions are or will be late.

In the panel, you can select your submission in the Grading section and also see that you made a late submission.
If set up by your instructor, you may see zeros for work you haven't submitted after the due date passes. You can still submit attempts to update your grade. Your instructor determines grade penalties for late work.
Watch a video about How to Submit an assignment
The following narrated video provides a visual and auditory representation of some of the information included on this page. For a detailed description of what is portrayed in the video, open the video on YouTube, navigate to More actions, and select Open transcript.
Video: How to Submit an assignment in an Ultra Course
View attached files
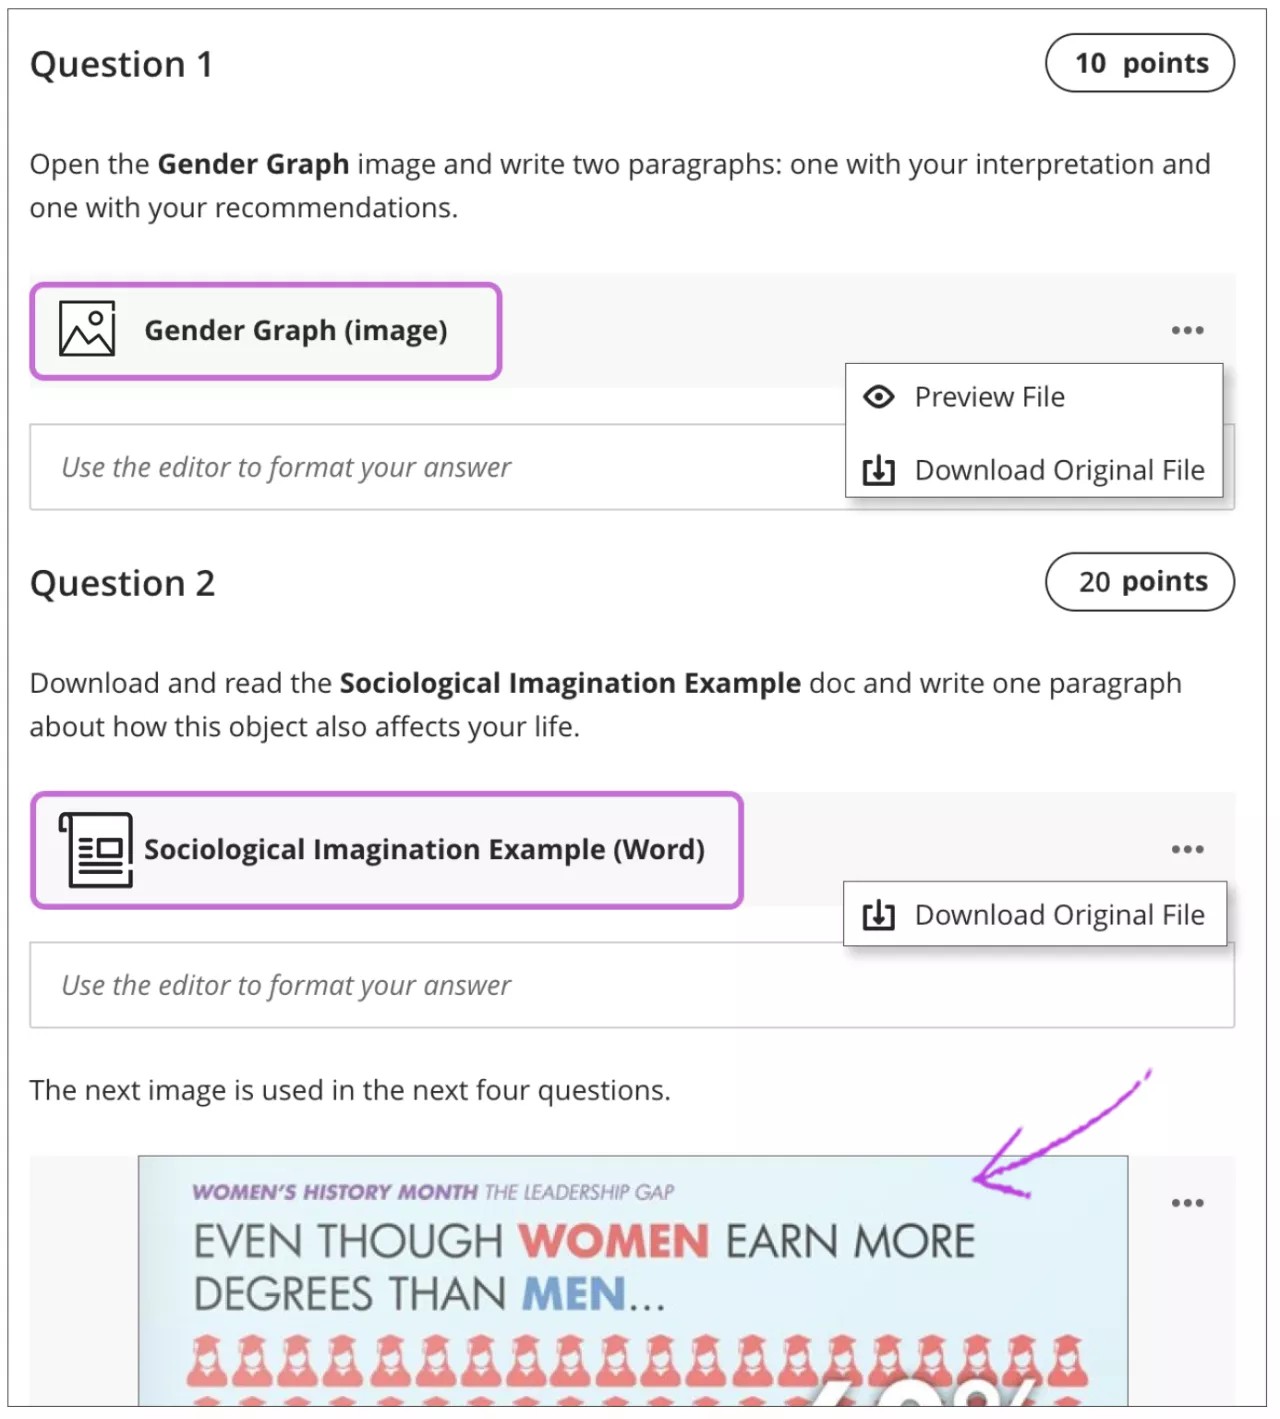
Your instructor may attach files that you need to read or use to complete an assignment. Your instructor decides how files appear, such as inline or as attachments.
In most browsers, you can select where the files that you open in courses are downloaded. For example, in Chrome, navigate to Settings > Advanced > Downloads. You can select the location for file downloads and choose if you want the browser to ask each time. In Safari, you have the same capabilities. Navigate to Preferences > General > File download location. You can perform an internet search to learn about file download choices in other browsers.
For video and audio files that appear inline, select the title to open them in new windows. You have controls for play, pause, and volume control. For video files, you can view the video in full screen. You can also download the file.
For media files that appear as attachments, open the menu. Select Download Original File to download images, Word documents, PDFs, or slide presentations to your computer. Select Preview File to open the file on the course page, such as an image.
For image files that appear inline, you can select an image to view it separately.
Submit an assignment
Your instructor provides all the information and files you need to complete an assignment.
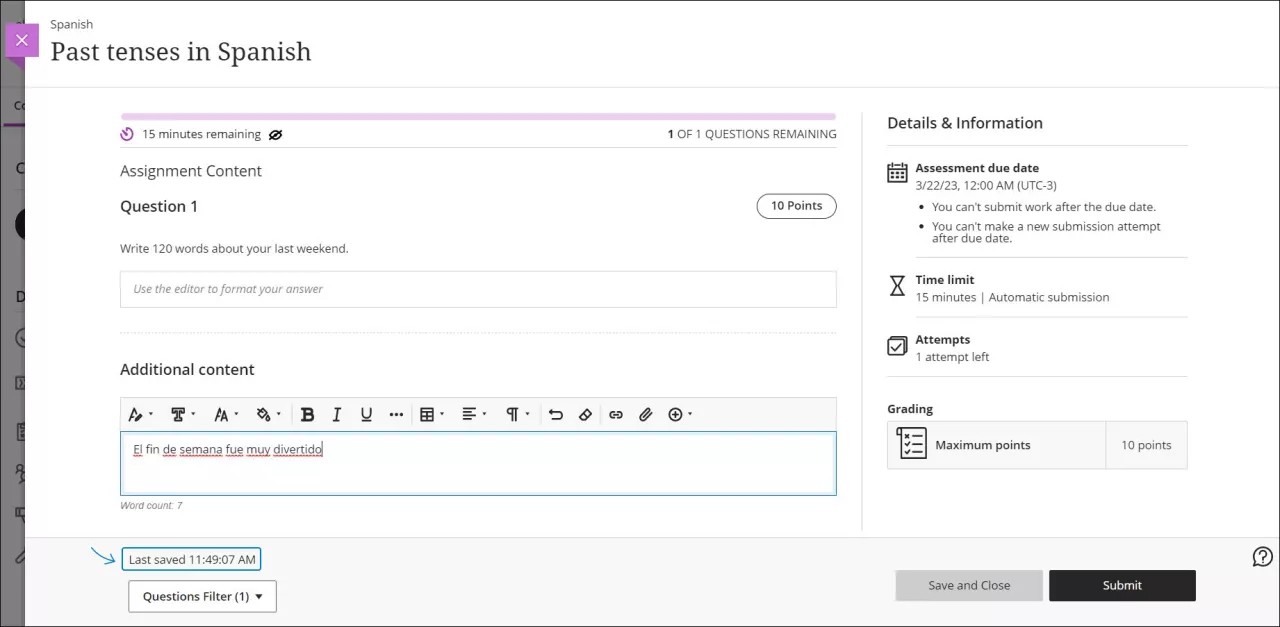
Be mindful of the time. If your instructor put a time limit on the assignment, you can keep track of how much time is left. A countdown appears at the top left of your screen and warns you as the time limit gets closer.
The timer keeps counting down when you save a draft or leave an attempt in progress.

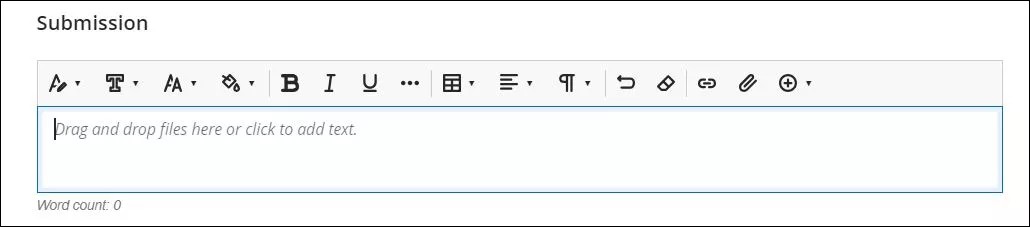
Create your submission. You can drag and drop files from your computer directly onto the Submission box. You can also select the Submission box to display the WYSIWYG text editor. To upload a file you can either drag and drop files directly into the Submission box, or you can select the paperclip icon from the tool bar in the WSYWYG edi
Your answers will be auto saved two seconds after you’ve stopped typing. Essay question responses are saved every 10s while you’re typing and also again 2s after you’ve stopped typing. Every time an answer has been auto saved, you will see a Last saved notification at the bottom of the assessment.
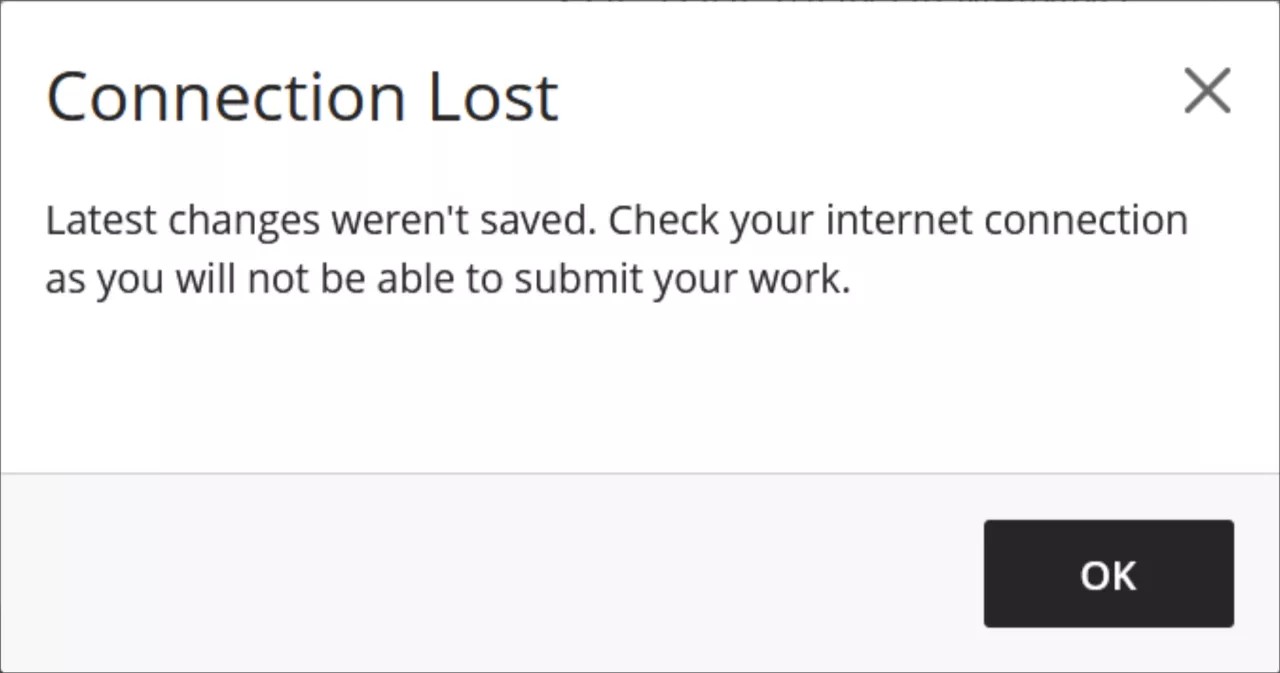
If you lose your connection to the internet, you’ll receive a Connection lost warning. Do not refresh the page or use your browser back button, and check that you are connected to the internet.

The warning disappears after 20 seconds. If your connection has not been restored by that time, another warning will let you know that your most recent work wasn’t saved.
Your work will auto save once the connection is restored and you will be notified.

Auto saving is independent of your browser’s Undo action. When you use the Undo action, contents change according to your browser settings. Any changes because of an Undo action will auto save.
To upload a file, you can either drag and drop it from your computer into the Submission box, or select Attachment - represented by the paper clip icon- and browse for a file from your computer. A status window appears to show the progress of the file upload. Your assignment will be automatically saved after 2 seconds. At this point you'll also preview your file before submitting it.
If you decide to add files and there is a time limit, make sure they have finished uploading before the timer has expired. Otherwise, they won't be included in your submission.
The preview happens automatically as part of the autosave action.

Text formatting and attachments. You can use the options in the editor to format the text and embed images and attach files. Visit the previous link to see an expanded view of the editor options and detailed instructions.
If you view the editor on a smaller screen, select the plus icon to view the menu of options. You'll find the option to attach a file to your assignment.
Only your instructor can view the content you add.
To use your keyboard to jump to the editor toolbar, press ALT + F10. On a Mac, press Fn + ALT + F10. Use the arrow keys to select an option, such as a numbered list.
Insert from Cloud Storage: You can instantly connect to multiple web apps where you store files, such as in OneDrive® and Google Drive™. The files you add are copies. If you make a change to a file in cloud storage, you need to upload a new copy to your course. If your browser allows, media files you add from cloud storage display inline.
Add to the conversation. If your instructor enabled conversations, select the Open class conversation icon. Anyone can make a contribution to the assignment conversation, including your instructor.
Not ready to submit? Select Save and Close to save your work and continue later. Your text, comments, and files are saved on the page. When you return, you can resume working.
Submit your assignment. Finished? Select Submit when you're ready for your instructor to grade your work. When you submit, a panel appears with the date and time you made the submission. Select the View submission link at the bottom of the panel to review your submission.
The Submit button appears deactivated until you add content or answer at least one question.
Copy and save the unique submission confirmation number for your records. This confirmation confirms the assessment was successfully submitted into the system.
If your instructor allowed one attempt, you can't edit your work after you submit. If your instructor allowed multiple attempts and you submit an attempt past the due date, the attempt will be marked late. Any attempts you submit before the due date aren't marked late.
When you finish your assignment, you must select Submit. If you don't, your instructor won't receive your completed assignment.
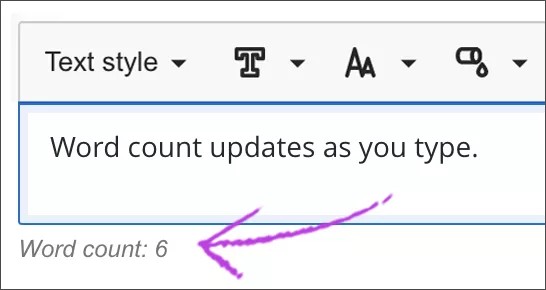
Word count in the editor
As you type in the editor for Essay questions and the submission area, the word count appears below the editor. After you save, the word count no longer appears.
These items are included in the word count:
- Individual words
- Web links
- Text in bulleted or numbered lists, but the bullets or numbers themselves aren't included
- Superscript and subscript text not part of another word
These items and formatting elements don't affect the word count:
- Images, videos, and file attachments
- Math formulas
- Blank spaces and lines
- Alternative text
When you use punctuation to attach words or numbers, the count is affected. For example, "We went...without you" is counted as three words. The words or numbers on either side of the punctuation are counted as one word.
Edit your content
After you add content, open the menu and select Edit to make changes or add more content.
You can edit settings for the files you've added. Select a file in the editor and then select the Edit Attachment icon in the row of editor options. You can add a Display Name and Alternative Text. Alternative text describes the image for people who use screen readers or visit web pages with images turned off.
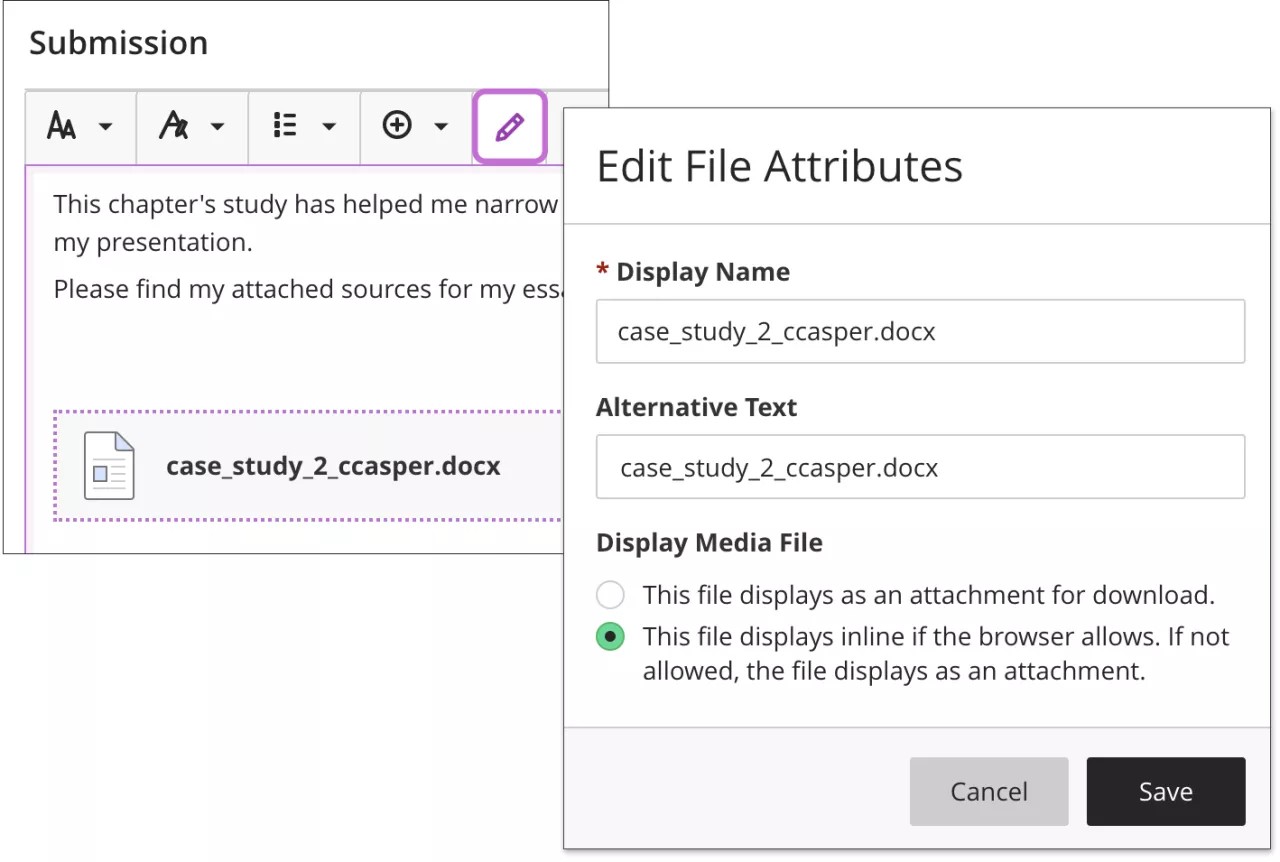
You can also choose whether to insert the file as a link in the editor or to embed the file directly so it appears inline with other content you've added.
Reorder your text and files
Point to a text block or a file to access the Move icon. Press and drag the text block or file to a new location.
You can use your keyboard to move an item.
- Tab to an item's Move icon.
- Press Enter to activate move mode.
- Use the arrow keys to choose a location.
- Press Enter to drop the item in the new location.
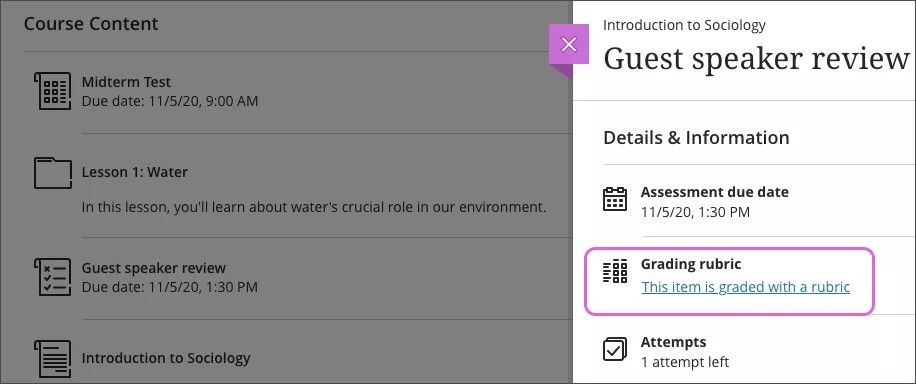
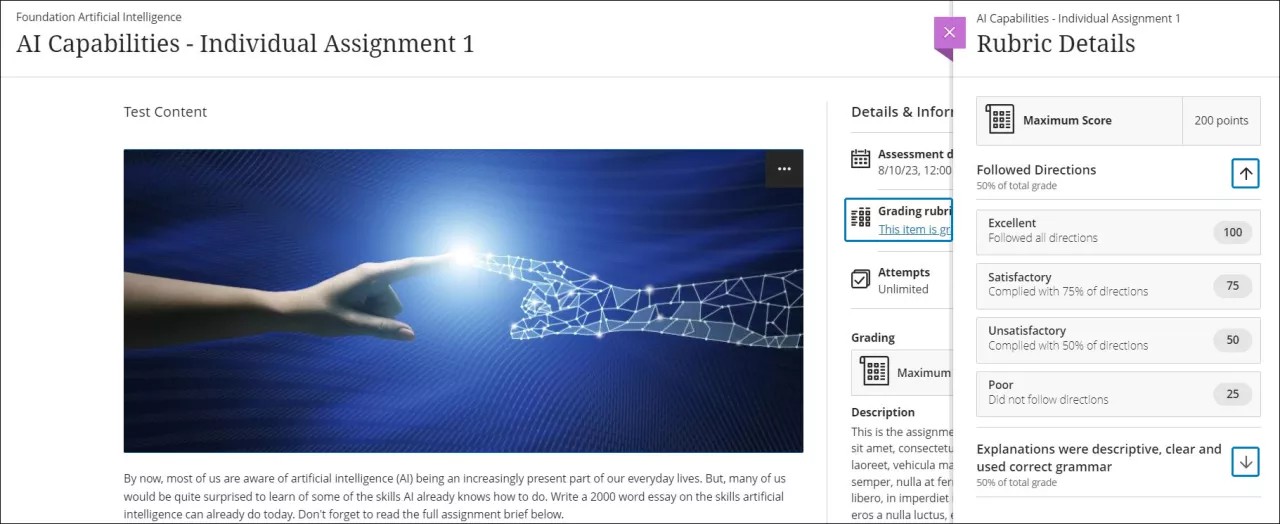
View the rubric
If your instructor added a rubric for grading to an assignment, you can view it before you open the assignment and after you start the attempt. Select This item is graded with a rubric to view the rubric.
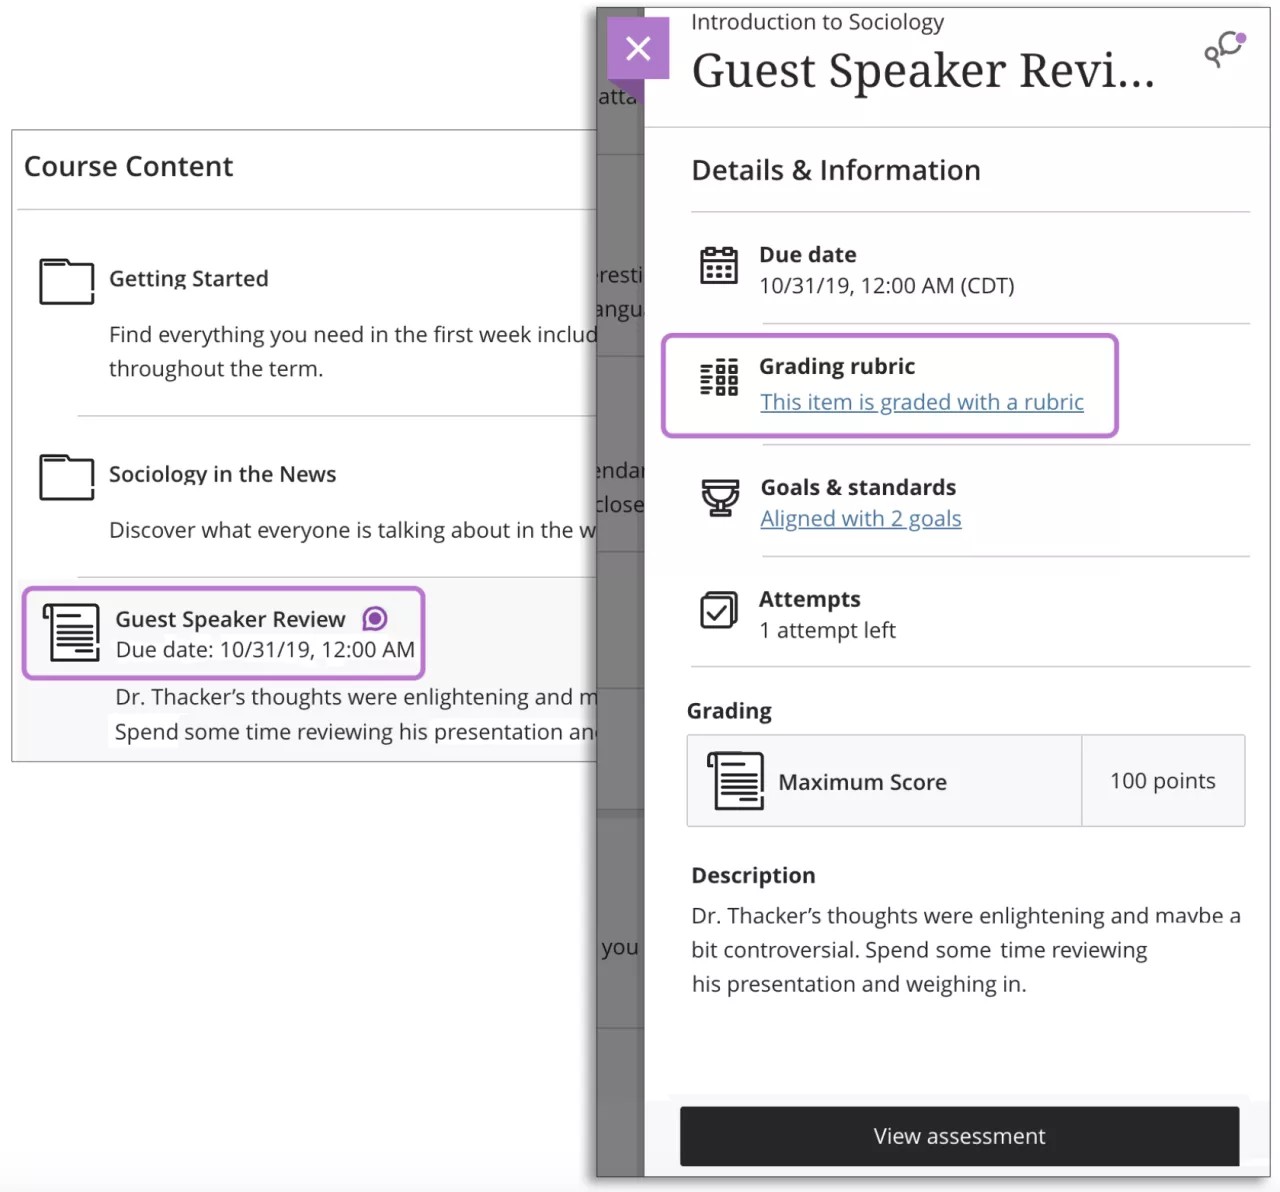
If you want, you can view the rubric alongside the assignment instructions. You can expand each rubric criterion to view the achievement levels and organize your efforts to meet the requirements of the graded work.
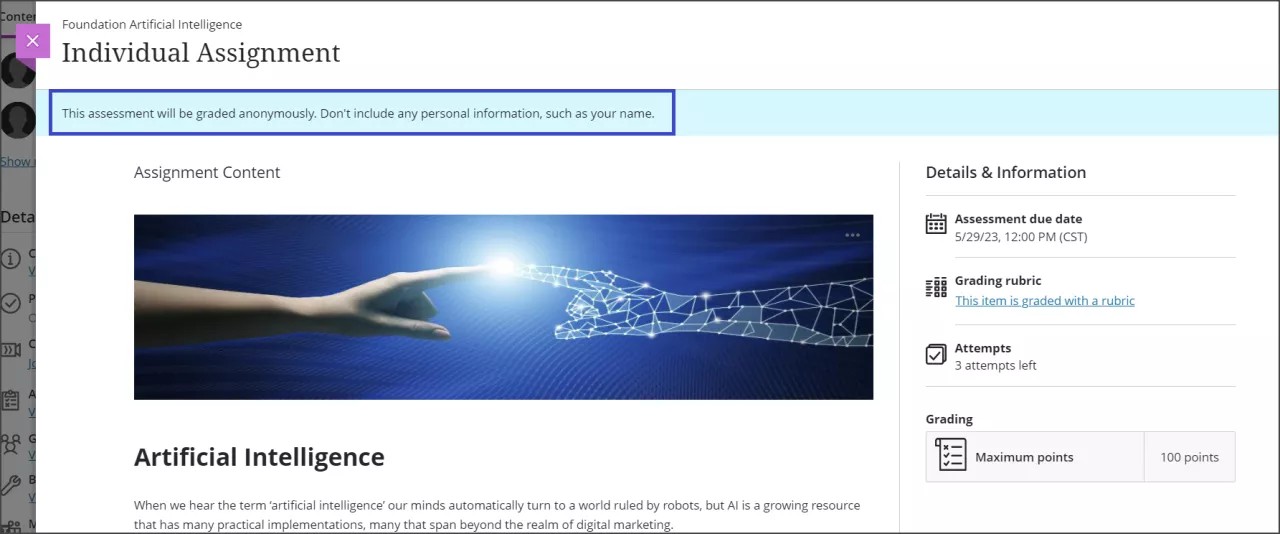
Anonymously graded assignments
When you open an assignment, you're informed if your submission is set to be graded anonymously:
This assessment will be graded anonymously. Don't include any personal information, such as your name.
Your instructor won't see your name during grading. Your instructor may choose to grade anonymously to eliminate bias. Your instructor can't enable anonymous grading for group assignments.
You shouldn't include any identifying information with your submission. Don't add your name to files you upload or use your name in any text you add.
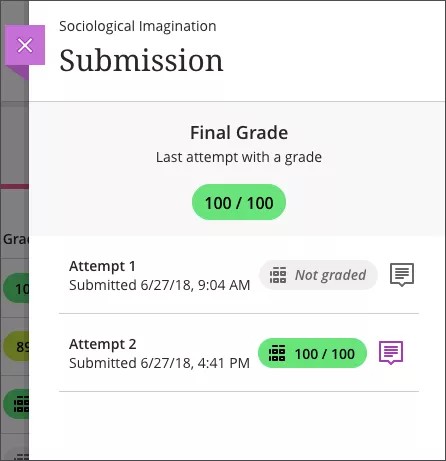
You won’t see any indication of anonymous grading on your Grades page. Until your instructor posts grades, you'll see Not graded in the Grade column. If your instructor allowed multiple attempts, you'll also see Not graded for each attempt you've submitted.
Timed assignments
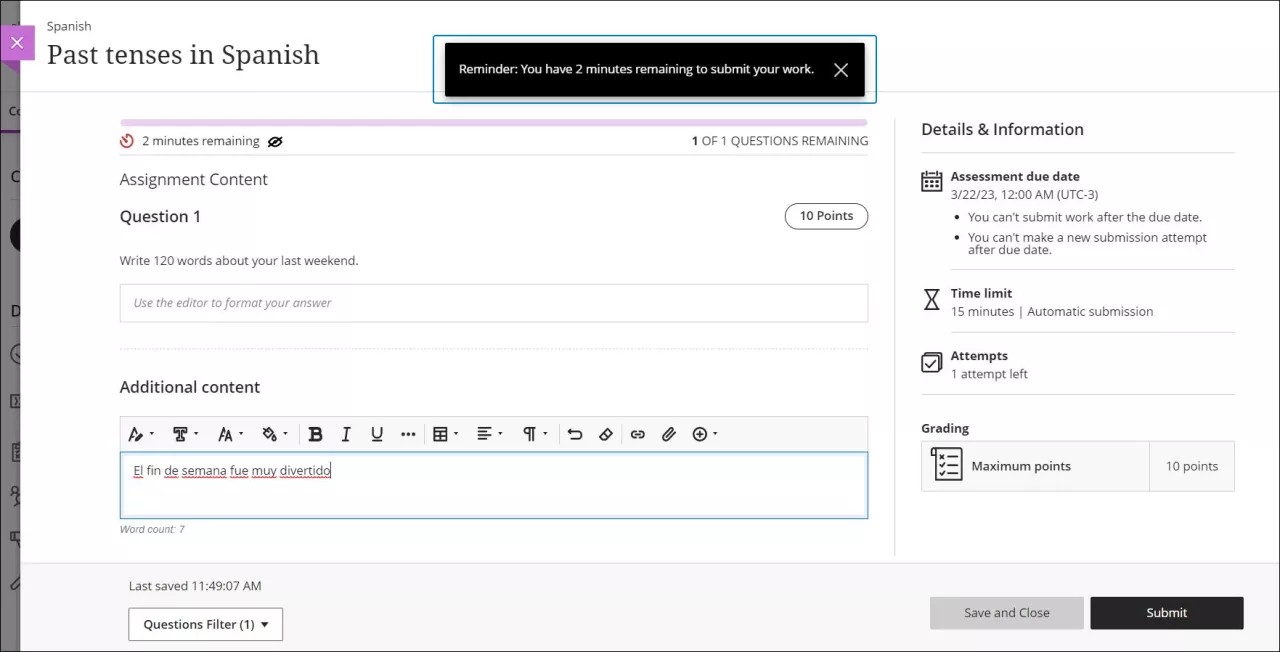
Your instructor may limit the amount of time you have to submit your assignment. If you have a time limit, it appears alongside other assignment details on the Course Content page. You'll also see the time limit on the assignment's Details & Information panel and within the assignment, as you work. You'll find a countdown at the top left corner of the screen that will let you know the remaining time in minutes and, during the last minute, the time you have left down to the last second.

When you select Start attempt, you'll receive a pop-up window to start the timer before you can access the assignment. If you're not ready to start, select Cancel.
If you see View assessment instead of Start attempt, the assignment isn't timed. You don't have to submit an assignment with no time limit when you open it.
If your instructor allows you to submit multiple attempts, the time limit applies to each attempt.
The timer keeps running whether or not you're actively working on the assignment. If you save a draft or leave the assignment window, the countdown continues and your work is saved and submitted when time is up. When you select Save and Close to return to the assignment later, you're reminded that the timer will continue.

The timer appears at the bottom of the window to let you know how much time is left. Your work is saved and submitted automatically when time is up.
Time remaining notifications. When you take a timed assessment, you’ll receive notifications telling you how much time you have left to submit your work. The notifications will depend on how much time your instructor assigned for the assessment:
- 10 minutes up to 1 hour: You’ll receive a single reminder when 10% of the time remains. For example, for an assessment with a ten-minute time limit, the notification will appear when there’s one minute left.
- 1 hour or longer: You’ll receive a notification when 50% of the time remains and a second notification when 10% of the time remains. For example, for an assessment with a one-hour time limit, notifications will appear when 30 minutes remain and when there are 6 minutes left.
You won’t see any time remaining notifications if:
- Your assessment has a time limit below 10 minutes .
- You are a student with an unlimited time accommodation.
Respondus LockDown Browser
Student - Secure Assessment
Your instructor can deliver assignments and tests securely. Secure assessments help promote academic integrity and honesty in student submissions. Your institution may use Respondus tools to administer secure assessments.
About Respondus
Respondus LockDown Browser prevents your access to any other materials, including internet browsers or other software, while you have an assessment open. You can’t refer to external information or copy material from these sources while you take the assessment. Within the LockDown Browser window, the assessment appears like any other Ultra assessment.
Respondus Monitor uses your webcam to prevent your access to physical materials during the assessment. Your instructor may also require you to enable your webcam or show your ID to verify that you're who you say you are.
Visit the Respondus Knowledgebase for help
What can't I do during a secure assessment?
If your instructor set up assessment security, you can't perform these actions:
- Open the assessment in a standard browser window
- Open other programs or browser windows
- Visit other websites
- Copy and paste
- Add files, links, or videos to your submission content
- Use certain keyboard shortcuts
- Use your phone to submit attempts
Your instructor may allow you to use the Respondus iPad app. Otherwise, you need to submit a secure assessment with the desktop software.
Download the tools
You need to have Respondus LockDown Browser downloaded on your computer to open a secure assessment in Blackboard Learn. If you haven’t downloaded the tools and try to open the assessment, a message appears with links where to download. Select the link to get started.
Respondus Monitor is included in the LockDown Browser software. Your institution uses a unique LockDown Browser download link and application. Your instructor or your institution's help desk can provide you with the download URL.
Open a secure assessment
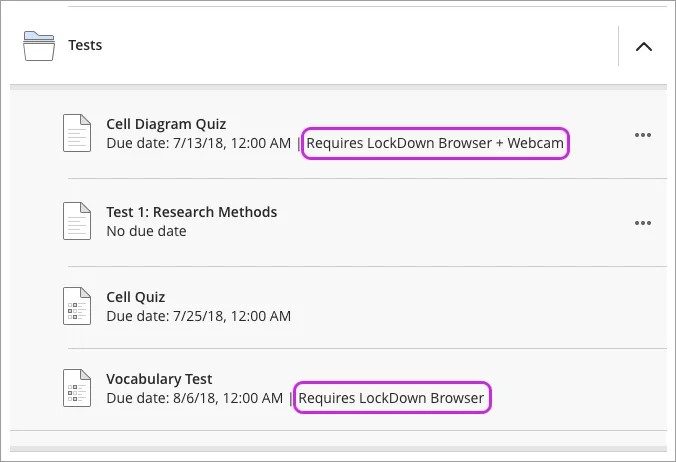
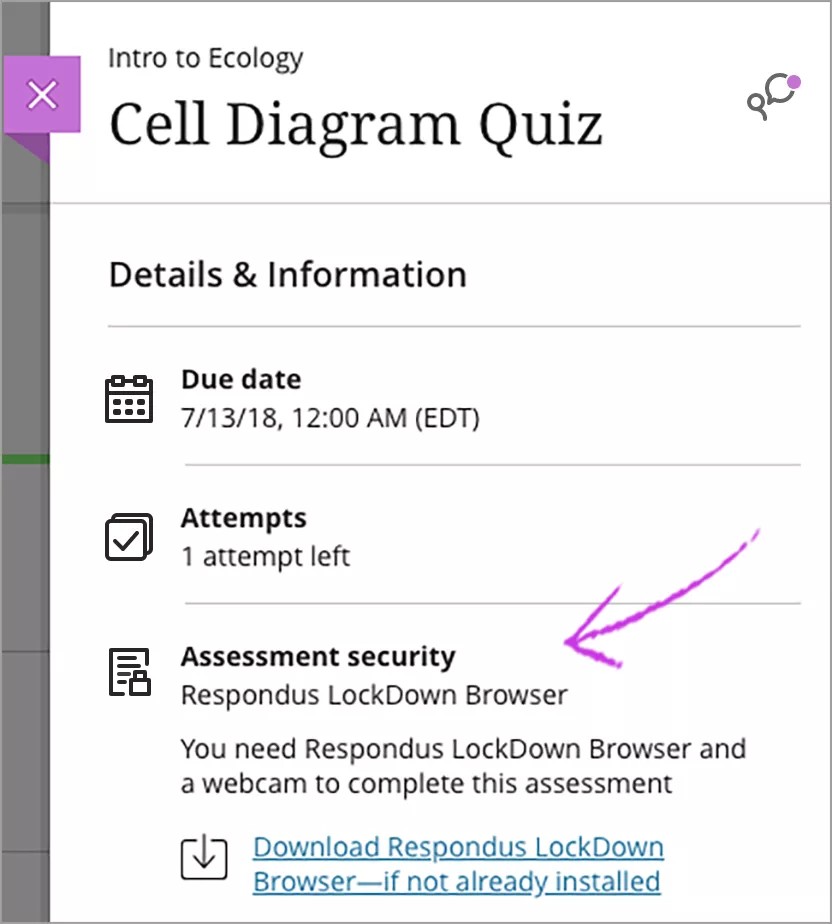
On the Course Content page, you can see the tools you need to open secure assessments and submit attempts. When you open a secure assessment, the Details & Information panel appears to provide more information about the grade, number of attempts, and other settings. You see which tools you need to continue.
Before you begin an attempt, be sure to download the required software. Reminder: If you haven’t downloaded the tools and try to open the assessment, a message appears with links where to download.
Select View assessment. LockDown Browser launches in a new window. If your instructor required Respondus Monitor, the startup sequence begins.
Add text and answer questions in the assessment just as you do in a standard browser. You can save drafts of your work and return at later points to continue work or submit. Reminder: You can't add files, links, or videos to the editor when you submit a secure assessment.
View an attempt
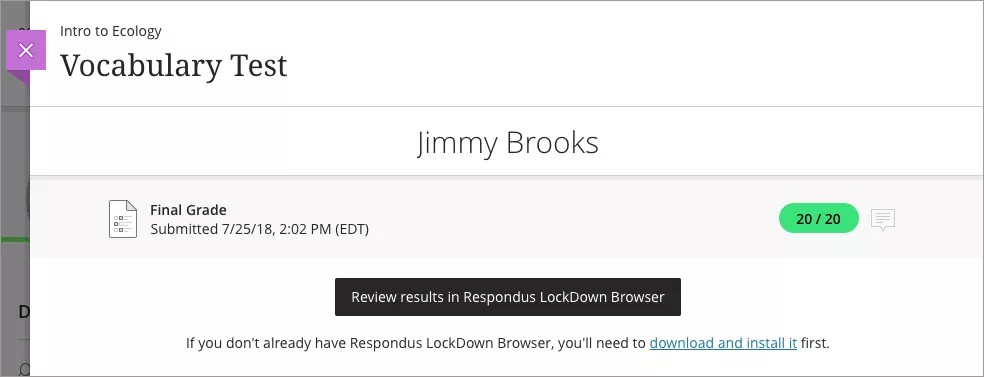
You'll also need Respondus LockDown Browser to view submitted attempts for secure assessments. After your instructor posts your grade, you can find it in multiple places without additional software.
To view the correct answers for your submission, you need Respondus LockDown Browser. Open your attempt and select Review results in Respondus LockDown Browser to launch the tool.
Offline Submissions (Student)
Offline submissions
Your instructor can add assessments that don't require you to upload a submission.
Examples of offline work:
- Oral presentations
- Science fair projects
- Acting performances
- Artwork delivered in person
- Face-to-face team building exercises, panel discussions, and debates
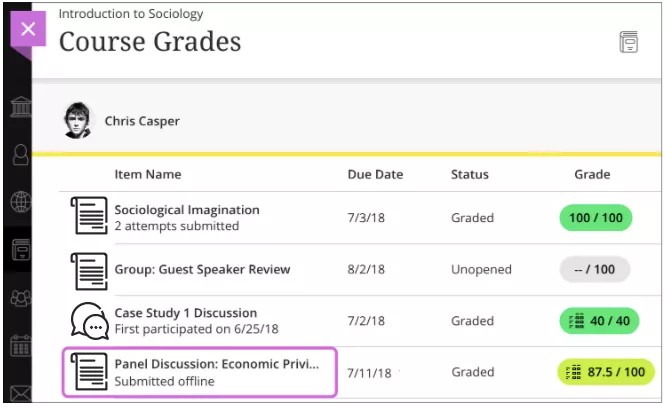
You can view the assessment alongside other content on the Course Content page and on your global and course grades pages. When you access the assessment from these course areas, you're informed you can't submit work online. Your instructor can add instructions, files, a rubric, and goals to help you prepare for the offline work. You can also participate in the assessment's conversations if enabled.
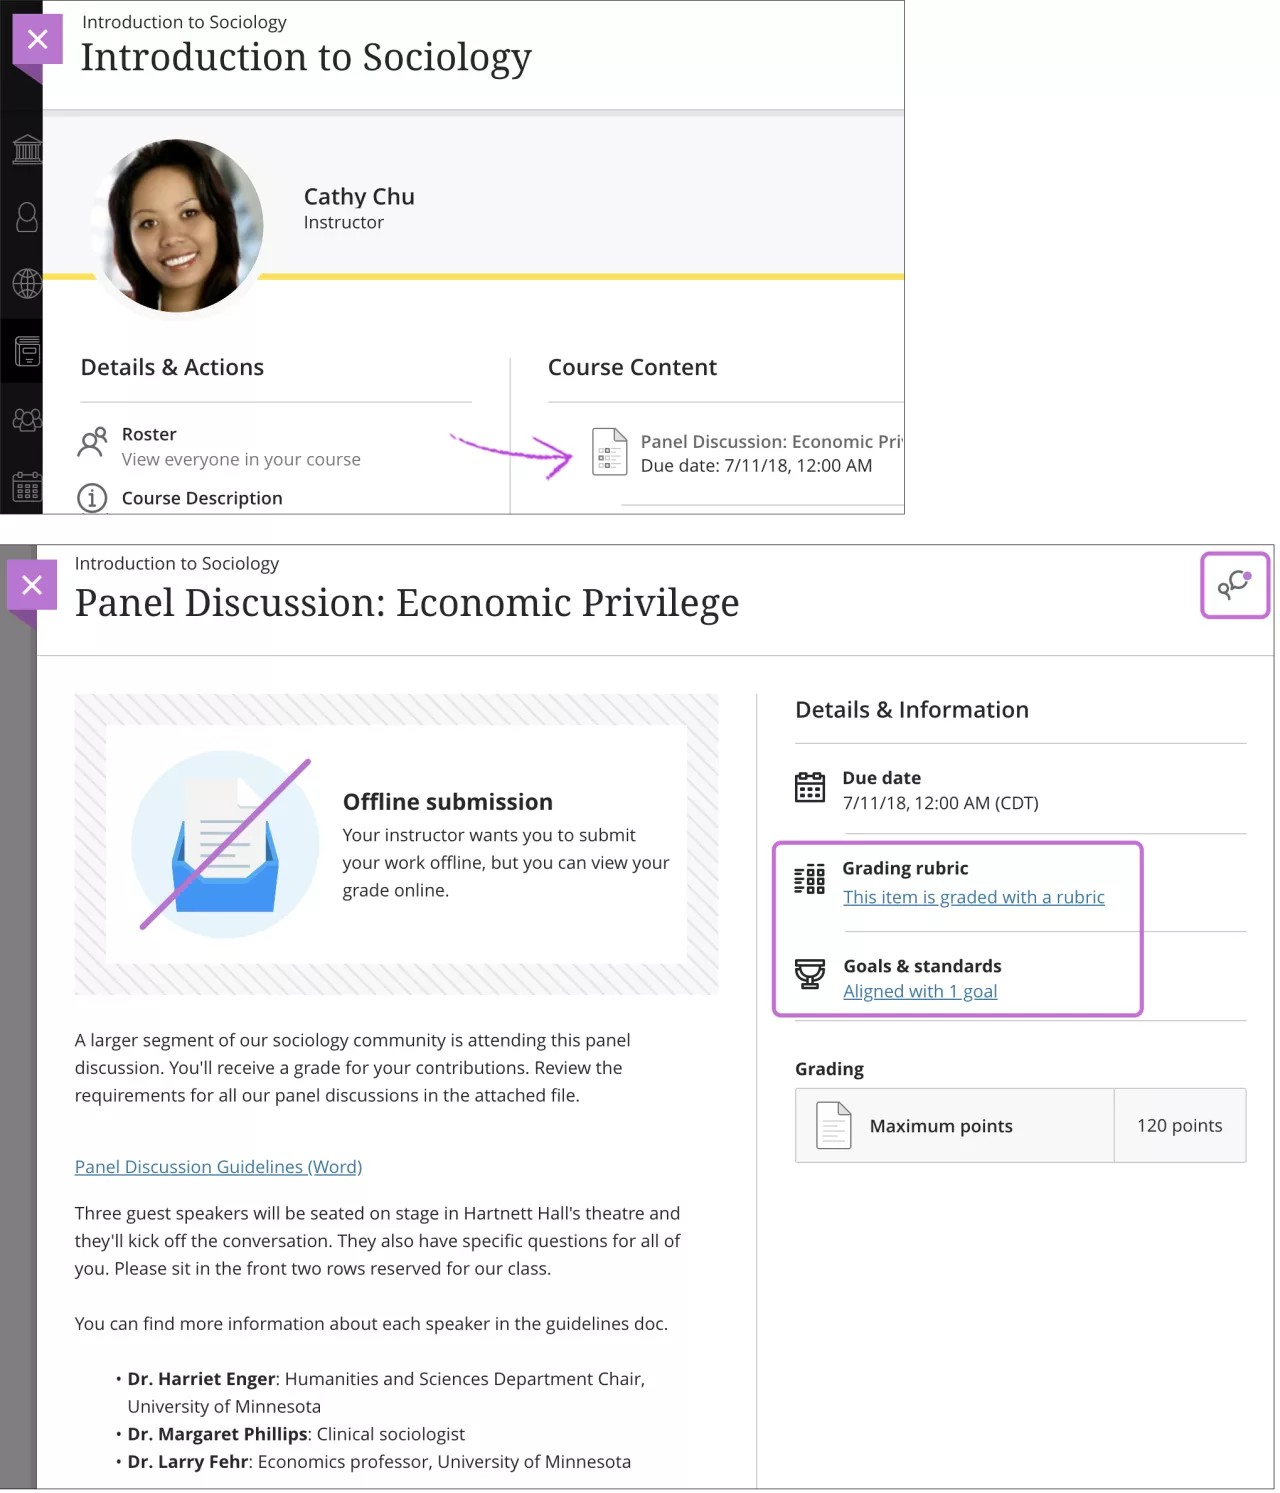
For offline submissions, you can't submit multiple attempts and your instructor can't add a time limit.
When your instructor assigns a grade, you're notified in your activity stream.
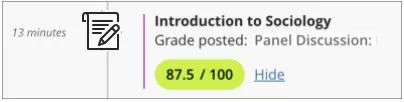
On your Course Grades page, your grade appears with Submitted offline. If your instructor used a rubric to grade, the grade pill displays a rubric icon.