What is a mashup?
Wherever you can add and format text in your course, you can add social media from other websites to your content. These social media elements that appear in a course are called "mashups." A mashup combines elements from two or more sources. For example, when you view a YouTube™ video as part of the course content, you're experiencing a mashup.
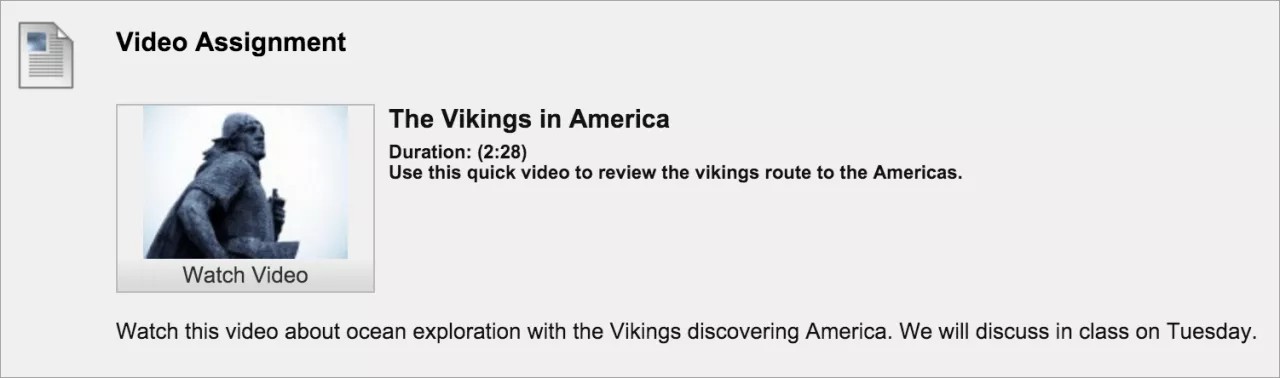
Mashups can appear in test questions, discussions, assignments, or as a standalone piece of content. You can also add a clip of a movie or a photo in a journal, blog, or wiki.
Types of mashups
The way mashups are added to content now has significantly changed since the introduction of the TinyMCU content editor. The different options that used to be available for different types of files and media are now found via the Add Content feature.
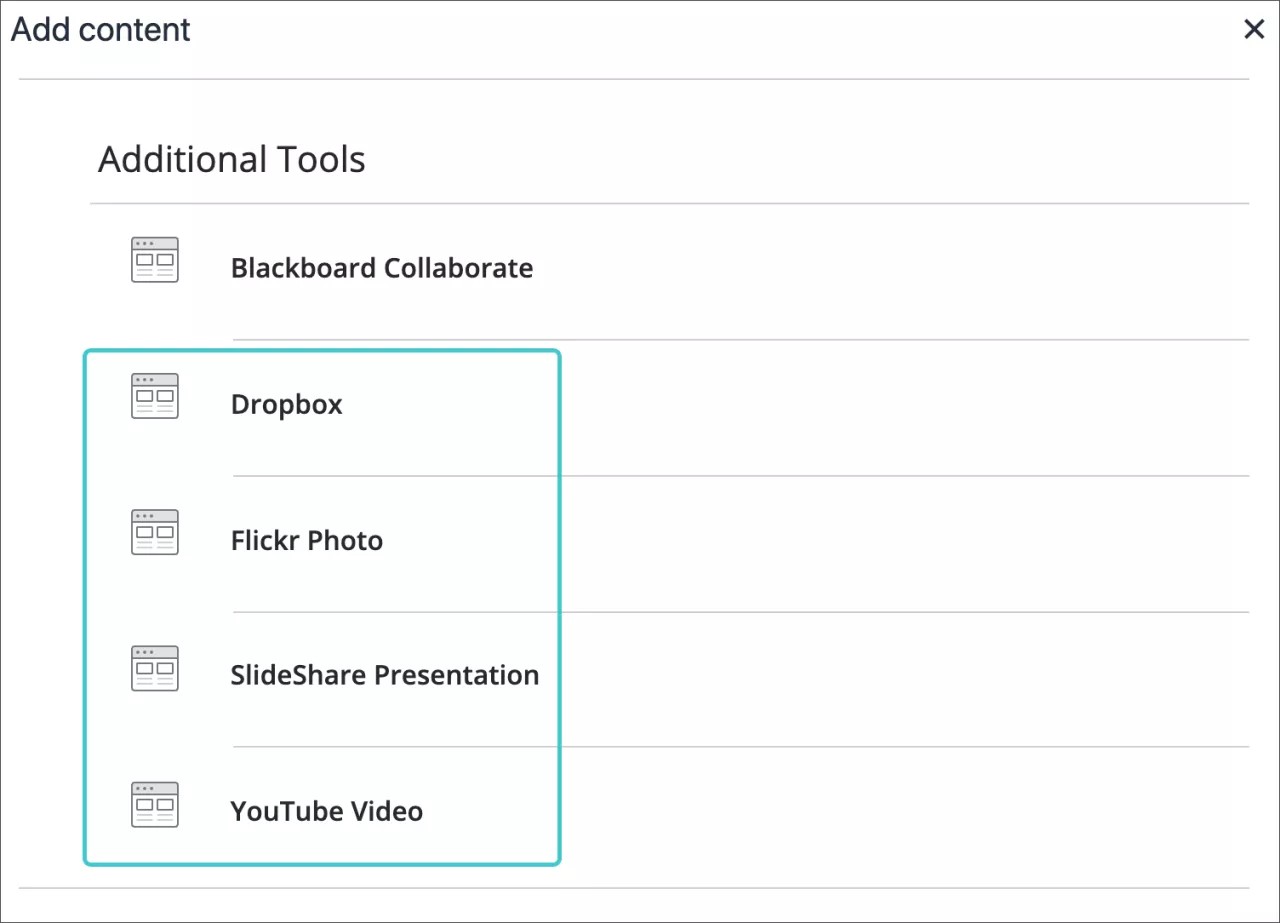
Your institution and instructors determine which mashup types appear in the editor. Typically, the Add Content menu includes these types:
- Flickr®: Share photographic images.
- SlideShare: Share slide presentations, documents, or Adobe PDF portfolios.
- YouTube: Share online videos.
- Dropbox: Share files from your Dropbox account.
Privacy setting
An unlisted video doesn't appear in YouTube searches, and only users who know the link can access the video. However, complete privacy isn't guaranteed. The unlisted setting allows authors to publish and share videos easily without a need for specifically choosing who can view the video. If users have access to where the video is published, they can view it. They can also select the YouTube logo on the video and that allows them to view the unlisted video on youtube.com.
You can change the privacy setting to Private. From the video library, edit the video to make it private in the YouTube clip edit settings. If you make a video private, only the users you specifically include, and who have a Google account can view it. Private videos appear in the library with a lock next to them. Only the author and specified viewers can view private videos.
Insert YouTube Video
Insert YouTube Video
Use the Insert YouTube Video option to browse and add video content directly in the editor. No need to leave your course to find a link! You can choose to display the video as a link or to embed the video so it appears alongside the other content you include. Others can watch the video within the same window—no need to navigate to YouTube.
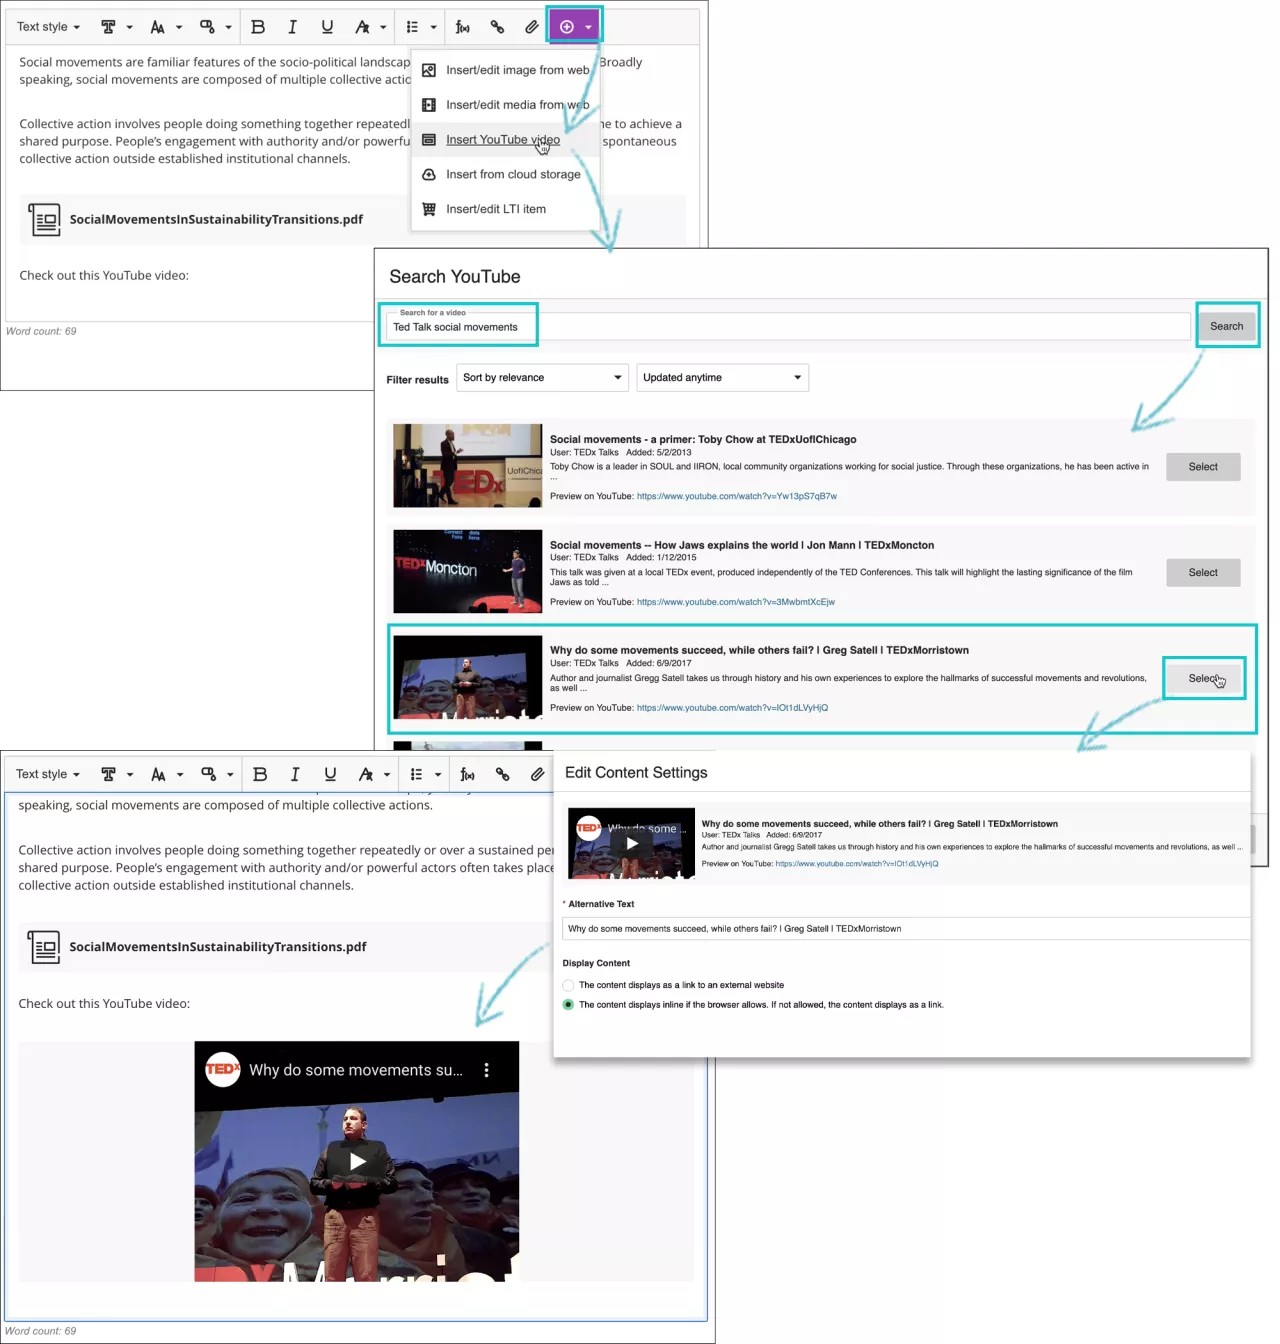
- In the editor, select Insert content > Insert YouTube Video.
- Type a search term to find the relevant video.
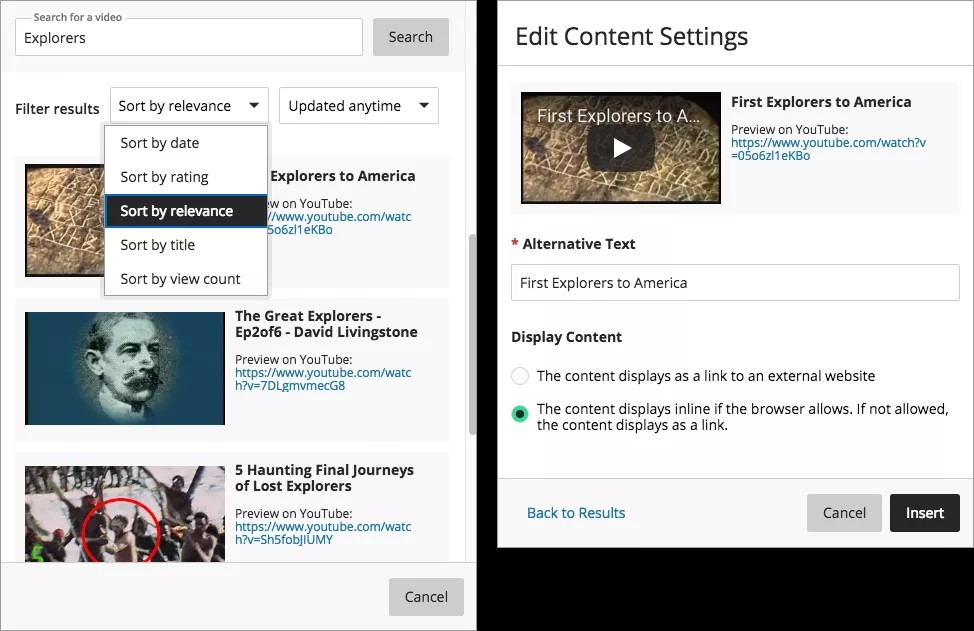
- Use the filter options to explore the list of search results. YouTube determines the order of the search results.
- Select a video from the list.
- On the Edit Content Settings panel, you can add alternative text that describes the video for people who use screen readers or may not be able to load the video.
- Choose to display the video as a link or inline so it appears alongside the other content you include. If a browser doesn't support inline viewing, the video appears as a link.
- Select Insert.