This information applies only to the Ultra Course View.
This information applies only to the Ultra experience.
In Learn Ultra, you have a variety of ways to add files and media to your course. Learn more about:
Add files and media
When you submit your work, you can browse for files in cloud storage or on your computer. You can include documents, video, audio, and images.
Supported file types include DOC, DOCX, HTM, HTML, MP3, MPG, PDF, PPT, PPTX, XLS, XLSX, RTF, TXT, ZIP, and most image types.
Insert files in the editor
You can upload files in the editor in certain areas of an Ultra course. For example, in a discussion, you can include a document to support your statements.
The editor only supports inline viewing for videos in MP4 format. You may need to download videos that use other file types, such as MOV or MPEG. You can't add attachments in the editor in calendar items.
Select the Attachment icon (which is shaped like a paperclip). Browse for a file from your computer. A status window displays to show the progress of the file upload. You can also add files from cloud storage by selecting the plus icon. You can also simply drag and drop a file from your computer into the editor:
- Select and hold the mouse button over the file you wish to move.
- Move the file with the mouse or touchpad into the editor.
- Release the mouse button, and the file will have been moved.
You can edit the file's settings, including:
- display name
- alternative text
- display behavior (whether the file appears as a link or viewable inline with other content in the editor)
Insert images in the editor
In some areas of an Ultra course, you can use the editor functions to add images along with text content. You can add images that are hosted online, in cloud storage, or from your local drive. You can't add images in the editor in calendar items.
Add images from your local drive. Simply drag the image from your computer and drop it into the editor:
- Select and hold the mouse button over the file you wish to move.
- Move the file with the mouse or touchpad into the editor.
- Release the mouse button, and the file will have been moved.
You can also add images from the web. Select Insert Content and then select Image from URL. Type or paste an image URL to embed an image hosted online. You must use the http://protocol. Include a description of the image in the Alternative text box for screen readers and users who can't view the image.
Resizing and deleting images
Resizing media is not supported on mobile devices.
You can easily resize images in the editor. Media types available for resizing also include videos and other media inserted via URL.
- Once an image is added to the editor, select that image with your cursor. The selected image will display four corner handles.
- Select one of the handles and hold down the mouse button while dragging it to enlarge or reduce the image size.
- When you are happy with the size, release the mouse button and select Save.
You can also resize an image via keyboard navigation:
- Make sure your cursor is active on the Learn Ultra screen.
- Select the tab key until you highlight the image you wish to resize.
- Hold down the shift key and use the arrow keys to enlarge or reduce the image.
- When the image is your desired size, release the shift key.
When resizing, keep in mind these specifications for resizing media:
- All media attached or inserted via URL maintains aspect ratio.
- All media is center aligned.
- The maximum size of the media (100%) is the maximum width allowed by the content editor.
- The minimum size limit for all media is 200 pixels.
Delete an image. Select the image with your cursor and the delete icon will appear at the top right corner of the image. Select that icon to delete the image. You can also simply highlight the image with your cursor and select the backspace key.
Insert media in the editor
You can use the Insert Media option to insert media directly into the editor. The editor automatically embeds the content so it appears alongside the other content you include. Course members can view the content, such as a video, within the same window—no need to navigate to the media's site.
You can embed content from these sites:
- VidGrid
- Panopto™
- FlipGrid
- SlideShare
- Prezi
- VoiceThread
- Khan Academy
- Kaltura
- SoundCloud
- Spotify®
- Genial.ly
- NearPod
- Quizlet
- EdPuzzle
- Office365
- H5P
- Vimeo®
- YouTube™
To add media:
- In the editor, select Insert Media.
- Paste the source URL from the site.
- Add alternative text that describes the item for people who use screen readers or may not be able to load the content.
- Select Insert. The item automatically embeds in the editor.
Resize media. See instructions in “Insert images in the content editor.”
Embed enterprise Office365 files. Select Share in your Office365 file to create a link to the file. Choose which permissions you want the user to have and select Copy Link. This copies the link to your clipboard. To embed the content, select Insert Content > Media from the editor. Paste the link in Media URL. Select Insert.
More on how media files appear
Insert YouTube video
Use the Insert YouTube Video option to browse and add video content directly in the editor. No need to leave your course to find a link. You can choose to display the video as a link or to embed the video so it appears alongside the other content you include. Others can watch the video within the same window—no need to navigate to YouTube.
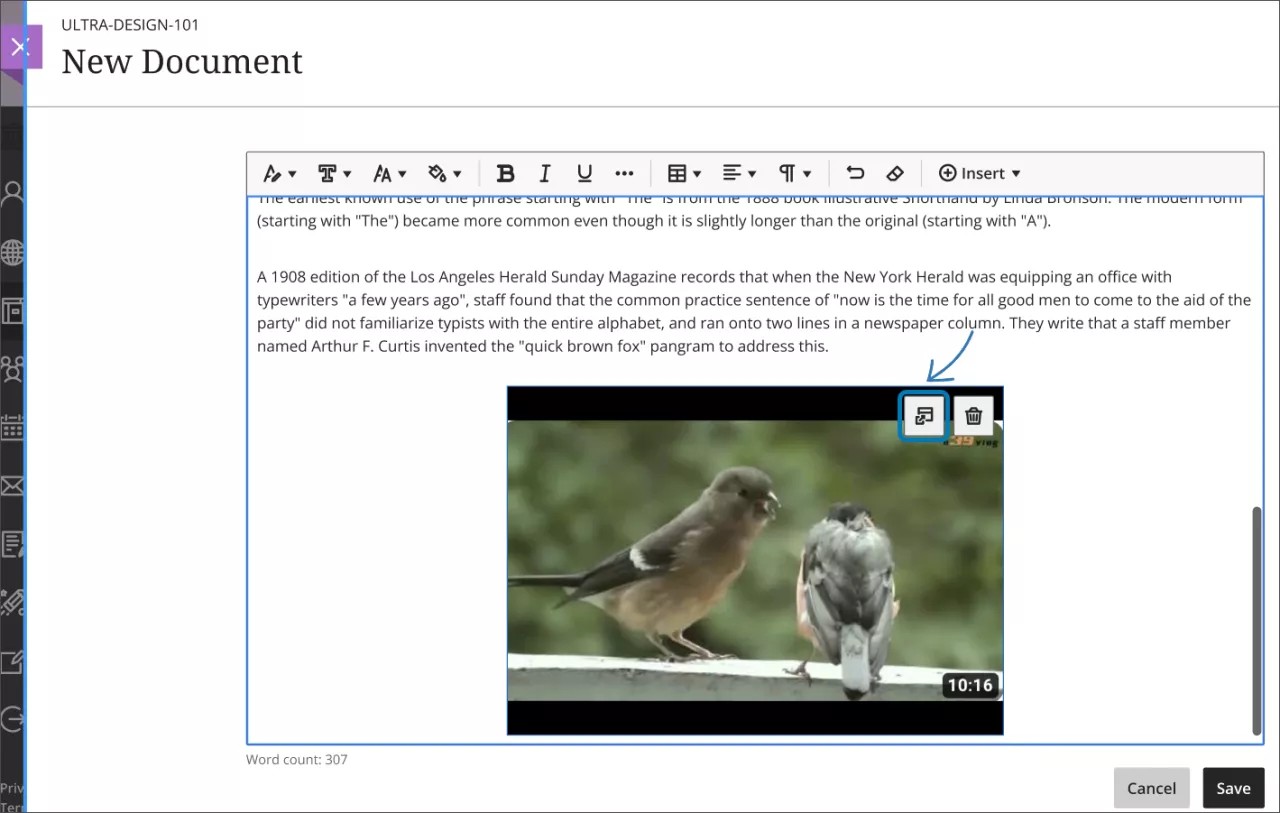
When inserting a video in edit mode, a preview icon displays in the top right corner to play the video in another window while in edit mode. This allows you to preview the video before you save it. The preview icon appears regardless of how media is inserted.
Resize media. See instructions in “Insert images in the content editor.”
Delete a video. Select the video with your cursor and the delete icon will appear at the top right corner of the video. Select that icon to delete the video. You can also simply highlight the video with your cursor and select the backspace key.
Insert Content Market files
Your institution controls which tools are available.
The Content Market is your gateway to valuable learning materials from trusted content providers. You can also access tools and links your administrator has made available across your institution.
You can add content from the Content Market directly to the editor in your course's assignments, tests, and documents.
In the editor, select Insert (the plus sign icon) > Content Market.