Add Pages in Your Workspace
Pages allow you to branch out your information for a cleaner, more logical flow. Use pages to split up your course information into smaller chunks. Creating pages makes managing and editing your course content simpler and faster.
Add a page
Navigate to your section workspace and select New Page.
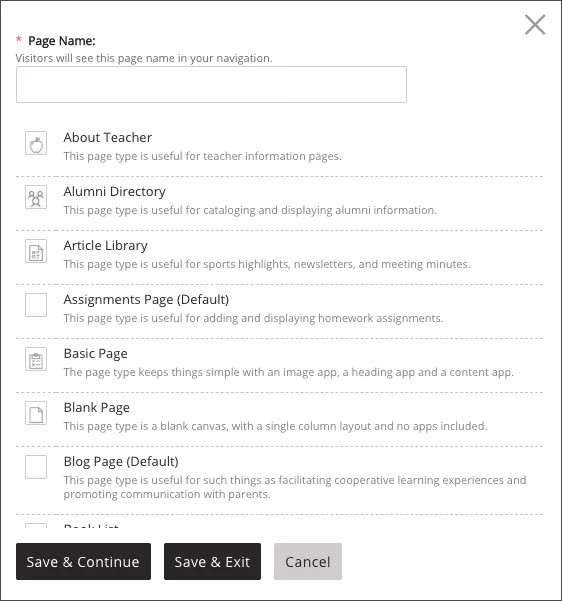
- Type a Page Name.
- Select the type of page you want to add from the template.
- Select Save & Continue to begin editing the new page or Save & Exit to return to the section workspace.
Edit and organize your pages
Choose how you want your pages to be arranged on your site and select different editing options for each page.
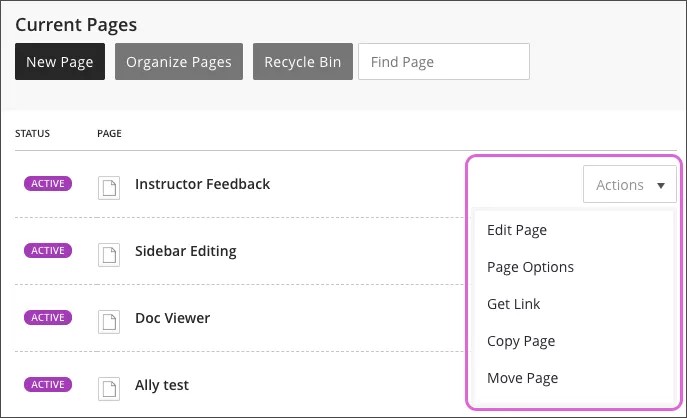
- Select Organize Pages to change the order in which pages appear. You can choose to organize them in alphabetical order or you can drag and drop pages into the order you want.
- Select Save.
- Select Recycle Bin to restore deleted content.
- Select Actions next to each page to expand the list of options for that page.
- Edit Page: Edit the content, layout, and apps on the page.
- Page Options: Edit the Page Name, Display Duration, Background Image, and hide or show the page.
- Get Link: Get a Full Web Address or a Relative Web Address that you can use to link this page from other locations in your site.
- Copy Page: Copy the page with its existing settings and content.
- Move Page: Move the page to another site, channel, or section. You can move pages between workspaces you can edit.
- Delete: Delete the page. A confirmation window appears to confirm deletion.
- Set Viewers: Choose different groups or individual viewers for a page. The default is all website visitors can view pages.
- Select Active next to each page to make the page active or inactive for your site.