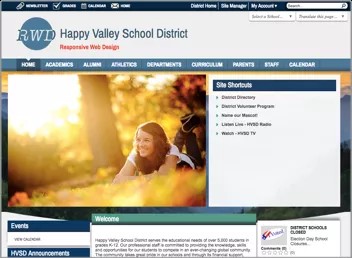
A website can be a site or a collection of sites. If it is a collection of sites, the site has a top district site and then school subsites below it.
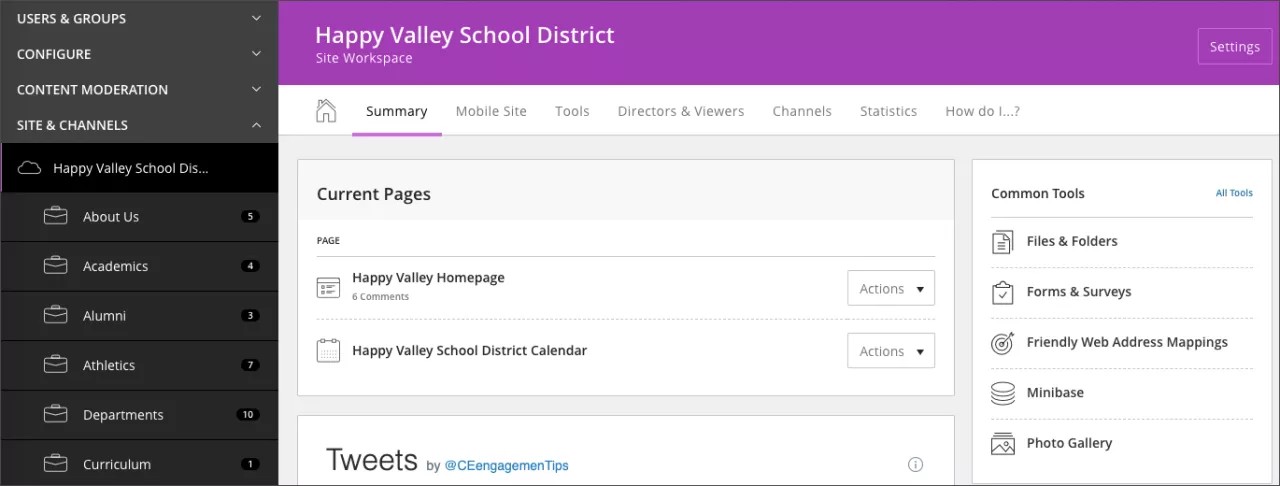
Create, edit, and organize your sites
Edit site name
The site name displays in Site Manager and anywhere its ActiveBlock has been placed on the end-user website. The menu name appears in the navigation on the end-user website. You can update both of these names in Site Manager.
- From Site Manager select CONFIGURE.
- Select Sites.
- Select a site.
- Enter a new Site Name or Menu Name.
- Select Save.
Make your URLS user-friendly
Give your sites web addresses that are easy to read and remember.
- From Site Manager select CONFIGURE.
- Select Sites.
- Select the name of the site you want to edit.
- Type the user-friendly text in the Friendly Web Address field.
For an easy to read URL, use an underscore (_) or hyphen (-) to separate words. For example, Happy_Valley_High_School. If you use spaces, users might see "%20" for the spaces in the URL. For example, Happy%20Valley%20High%20School.
- Select Save.
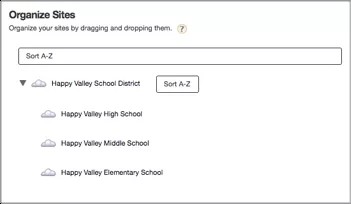
Organize sites
In the basic navigation of your website is a menu visitors use to move to each school from any page. Use Organize Sites to change the menu order.
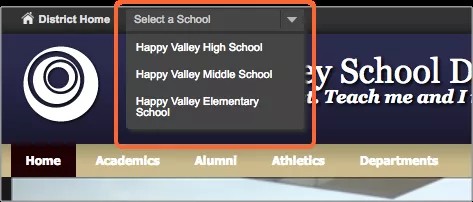
Select a School menu on website
Organize the Select a School menu
- From Site Manager select CONFIGURE.
- Select Sites.
- Select Organize Sites.
- Select a site and drag it to the new location.
- Select Save.
Add contact information
Users see this contact information in general messages from the site. This let's users know the best way to contact the right person regarding the site.
- From Site Manager select CONFIGURE.
- Select Sites.
- Select the name of the site you want to edit.
- Select Contact.
- Type the Contact Name, Email Address, and Phone Number for the site.
- Optionally, provide a fax number and address.
- Select Save.

Add calendar notification email
Email notifications are sent when users from other calendars submit request to push events to your calendar. Provide the email address for the user who will monitor these requests.
- From Site Manager select CONFIGURE.
- Select Sites.
- Select the name of the site you want to edit.
- Select Advanced.
- Type the email address in the Calendar Notification Email field.
- Select Save.
Connect your social media accounts
Connect to your Facebook and Twitter to share Broadcast E-Alerts with them.
- From Site Manager select CONFIGURE.
- Select Sites.
- Select the name of the site you want to edit.
- Select Advanced.
- Select Connect for Facebook and Twitter.
- Give Web Community Manager permission to connect.
- Select Save.
After you connect your accounts, go to System Settings to allow different sites to post to Facebook and Twitter.
Assign site directors
Site directors have the highest level of privileges on your site. They can configure and edit every workspace and website on the district site. They can also assign other users editing privileges to any workspace on the site. Make your district website administrators, communications directors, and technology coordinators site directors.
Subsite directors can configure and edit every workspace on a school subsite. They can also assign users editing privileges to any workspace on their school subsite. Make your school webmasters, principal, or assistant principal subsite directors for their school subsite.
More on site and subsite directors
- From Site Manager select CONFIGURE.
- Select Sites.
- Select the name of the site you want to edit.
- Select Site Directors.
- Select Assign Group or Assign User.
- Select the groups or users you want to assign.
- Type all or part of the group or user name.
- Select Search.
- Select the group or user you want.
- Repeat until you assign all groups or users.
- Select Add.
- Select Save.