Knowledge Base Overview
A Knowledge Base (commonly referred to as a KB) is a centralized repository used to store information such as:
- Procedural Documentation
- Objectives
- Requirements & Rules
- Specifications & Standards that apply to a specific organization
This KB feature may be accessed to:
- View information used to resolve a problem or answer a question
- Maintain awareness of existing policies that are available
The Service Desk KB page loads when selecting KB from the Service Desk page selector, and is used to manage the KB of the institution. SmartView allows articles that are managed the Service Desk interface to be viewed in the Advisor Desktop and Self-Help Portal interfaces. Users who have KB search and view only permission will not have access to the management features discussed below.
The main areas of the KB page are:
- The search and filter area
- The KB folder hierarchy tree structure view of the KB, that includes:
- The Actions button area used to manage the KB folder tree
- The KB folder tree
- The Article List
- The KB active load area
Your role and permissions will determine what you may do on the KB page.
Search and Filter
- Enter the search criteria for the Article(s) you would like to find in the KB page search bar.
- Select what you are searching for:
- All words within articles
- By article ID
- By external ID
- Select the Search icon.
- Articles that match the search criteria will list in the Article List.

The KB Folder Hierarchy Tree Structure
- Expand and collapse the KB folder hierarchy to view the structure of outline and category folders by selecting the + and - icons.
- Select folders to view the contents of the folder (other category folders or articles).
- Use the Action buttons to manage (add and delete) the outline and category folders in the tree.
- New Outline - will create a new outline folder
- Delete Outline - will delete an outline folder (you may not delete the root outline)
- Edit Outline - will offer the ability to change the name of the outline folder
- New Category - will create a new category folder
- Delete Category - will delete a category folder
- Edit Category - will offer the ability to edit the Category folder
Deleting an Outline or Category folder will move all ARTICLE contents of the folder to the Trash.
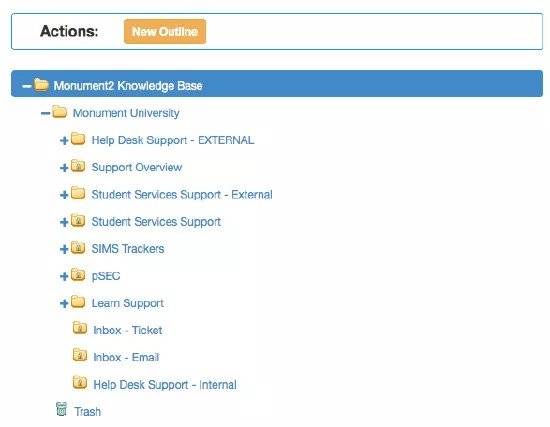
Outline Folders
- Outline folders are used to provide an overall structure to an institutions Knowledge Base.
- Outline folders are created from the root Outline folder.
- The root Outline folder must be selected for the Create Outline button to appear.
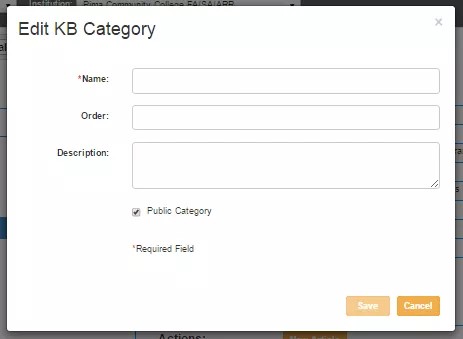
Category Folders
- Category folders are used to group common articles.
- Category folders are created from Outline folders, with the exception of the root folder.
- An Outline folder must be selected for the Create Category button to appear.
- The Edit Category button will allow you to:
- Update the Category folder Name
- Set the order it will display in the Category folder
- Enter a description for the Category
- Indicate whether the Category folder will display an internal only icon
The internal only icon is only a visual convenience for the folder hierarchy tree; the article internal setting will control how the article appears.
Article List
The Article List will display a list of articles that:
- Match the search criteria of searched for articles
- Are in the highlighted Category folder
The Article List section also allows you to:
- Check the checkbox of one or more articles, and Delete Selected Items to delete the articles
- Check the checkbox of one or more articles, and Move Selected Articles to a different Category folder
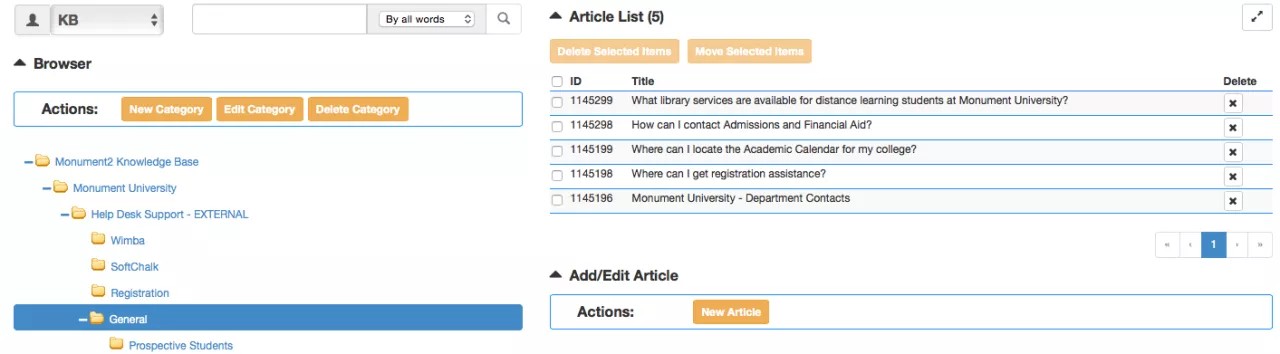
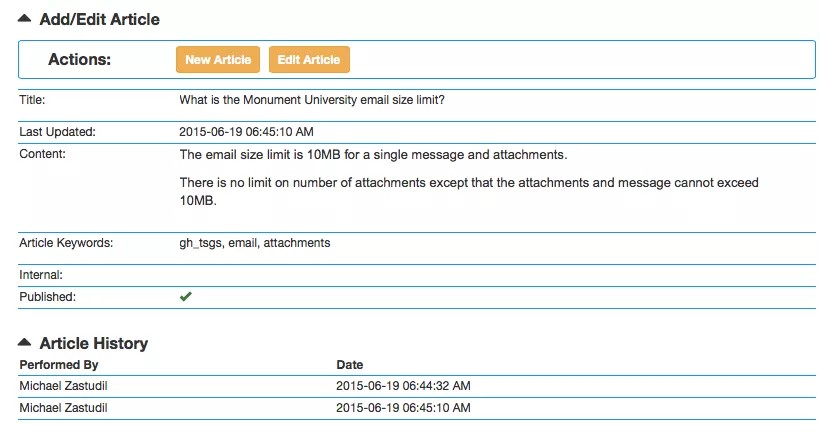
Add/Edit Article in Active Load Area
- When a Category folder is selected, the New Article button will appear in the Actions area.
- When an article is selected in the Article List (by selecting the row listing), both the New Article and Edit Article buttons will display in the Actions area.
- Select an article to view.
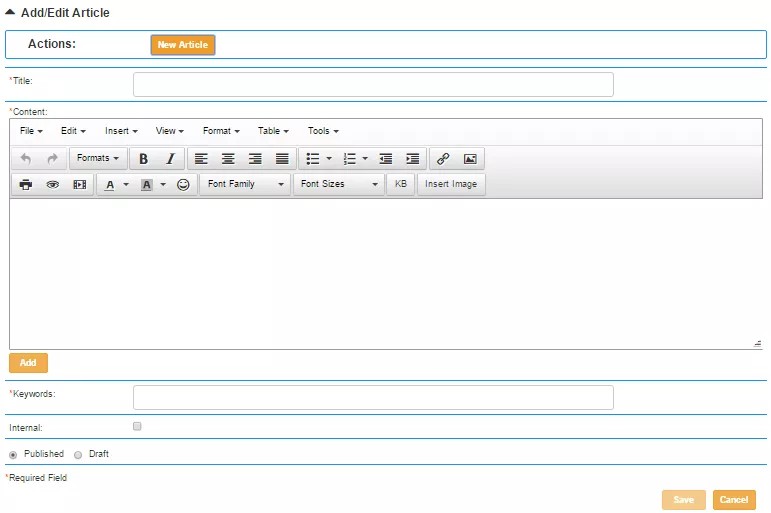
Create a New Article
- Select New Article.
- Enter the required article information:
- Title
- Content
- The WYSIWIG will provide for a variety of formatting options
- Use the KB button to insert a link to another KB article
- Add attachments
- Add Keywords to increase search accuracy
- Indicate that the article is for internal, or leave blank if the article is external facing
- Select the Published or Draft radio button
- Select Save.
Edit Article
- Select Edit Article.
- View the article.
- Edit the information that you would like to update.
- Save the article.
Article History
If you select an existing article to view, you will see the Article History section, which will include the history of edits to the article. The Article History will include:
- The display name of the person who updated the article
- The date and time of the update