Section configurations are used to create a collection of starter pages users can use. These configurations ensure pages look consistent even when different users are creating them.
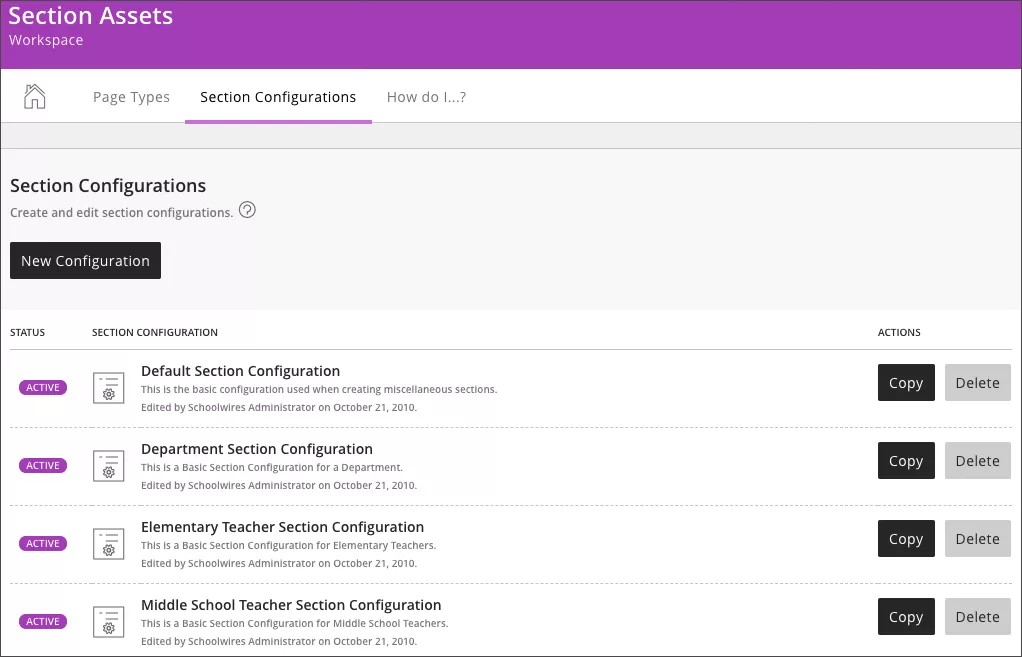
View or create your section configurations in Section Assets. Make configurations active or inactive. Copy or delete configurations. Select a configuration name to edit it.
Create Section Configurations
Create Section Configurations
You can use the default configurations or create a collection of page types you want to use.
- From Site Manager select CONFIGURE.
- Select Section Assets and Section Configurations.
- Select New Configuration.
- Type a name.
- Optionally, type a description.
- Select Save. The Section Configurations window displays.
- Find the configuration and select the name.
- Select Pages and select Add Page.
- Type a page name.
- Select the type of page you want from the Page Type menu.
- Select Save.
- Repeat until you have all the pages you want in your configuration.
Video: Move a section
The following narrated video provides a visual and auditory representation of some of the information included on this page. For a detailed description of what is portrayed in the video, open the video on YouTube, navigate to More actions, and select Open transcript.
Video: Move a section explains how to move a section in Web Community Manager.
Sort Pages
When you add a page it is added to the bottom of Section Configurations. Sort them if you want them to appear in a different order.
- From Section Configurations find the configuration you want to edit and select the name.
- Select Pages and Sort Pages.
- Select Sort Alphabetically or select a name and drag it where you want it.
You can't create nested pages or hierarchies in a Section Configuration.
- Select Save.
Sharing Rights
Limit who can use the section configuration by assigning users or groups of users. By default, if no one is assigned, all site, subsite, and channel directors can use this configuration when creating new sections.
- From Section Configurations find the configuration you want to edit and select the name.
- Select Sharing Rights.
- Select Assign Group or Assign User.
- Select the groups or users you want to assign.
- Type all or part of the group or user name.
- Select Search.
- Select the group or user you want.
- Repeat until you assign all groups or users.
- Select Save.
After sharing rights are added, remove them by selecting Sharing Rights, and Remove beside the user or group you want to remove.