Find your course messages
You can view messages in each of your courses. If allowed by your institution, you can also create and reply to messages. Your instructors don't control this setting.
Messages activity remains inside the system. You can't view or send messages outside of your course.
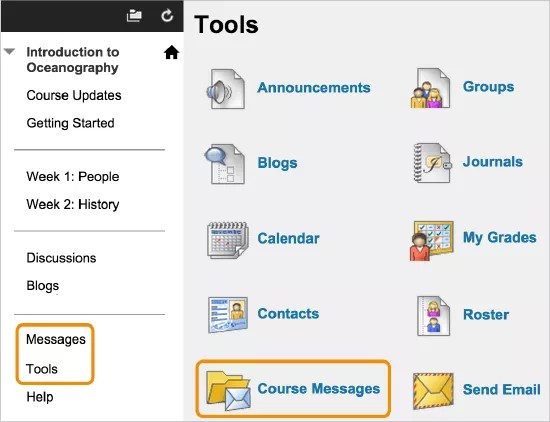
To view the messages for the course you're in, select the Messages link on the course menu or on the Tools page.
Your instructor determines which links appear on the course menu and which tools are available.
If you see a list on the left where your name appears, you can view and send messages for all of your courses on the Messages page.
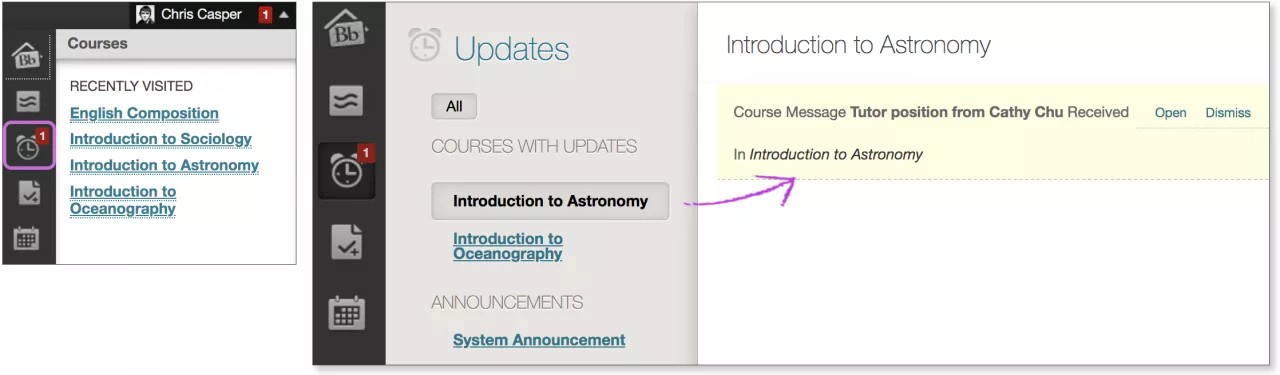
If you see your name in the top-right corner of the page, you can access new messages for all of your courses. Open the menu next to your name and select the Updates icon. You can view a list of notifications about important events and information in all your courses and organizations.
Watch a video about course messages
The following narrated | unnarrated video provides a visual and auditory | visual representation of some of the information included on this page. For a detailed description of what is portrayed in the video, open the video on YouTube, navigate to More actions, and select Open transcript.
Video: Course Messages shows to access, view, and send messages to members of your course.
Send a message
Everyone can use messages for reminders, quick questions, and social interactions. If your institution allows, you can attach files from your computer to your messages.
Reminder: Your institution may not allow you to create and reply to messages. Your instructors don't control this setting.
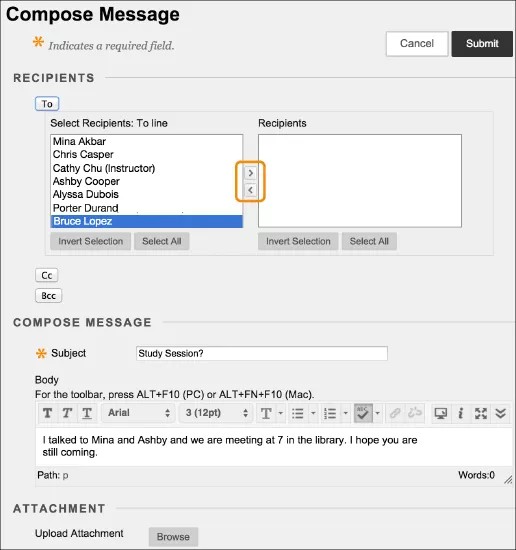
On the Compose Message page, select To. A list of all course members appears. In the first box, select the recipients and select the right-pointing arrow to move them to the Recipients box.
For Windows, to select multiple recipients in a row, press the Shift key and select the first and last recipients. To select recipients out of sequence, press the Ctrl key and select each name needed. For Macs, press the Command key instead of the Ctrl key. You can also select all course members with the Select All option.
You can use the options in the editor to format the text of your message. You have creative control over how your content appears and the flexibility to change the order and appearance.
To use your keyboard to jump to the editor toolbar, press ALT + F10. On a Mac, press Fn + ALT + F10. Use the arrow keys to select an option, such as a numbered list.
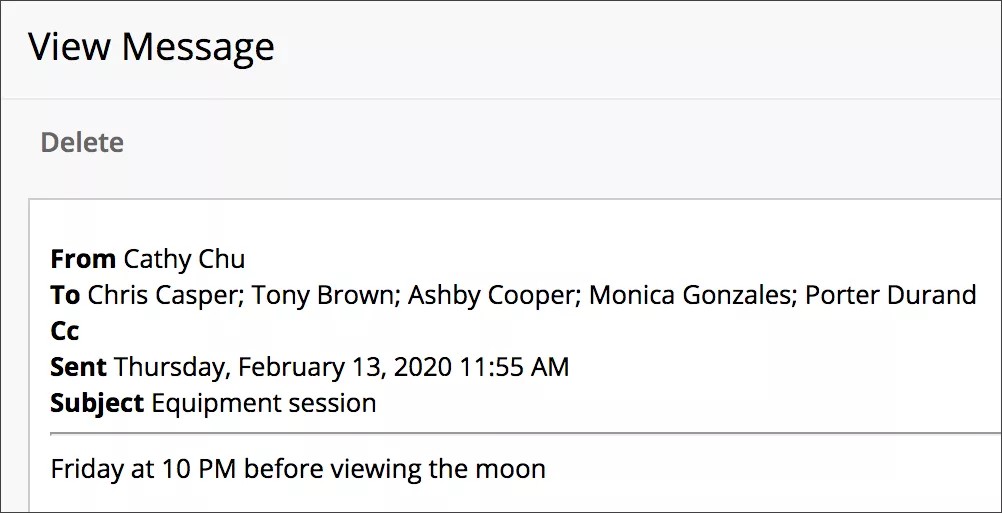
Reply to a message
You can reply to the sender or reply to all if allowed by your institution. The sender and all other recipients of the message are populated in the To: box.
Add other course members to the message as needed. The text of the message is populated with the text of the original message. You may add additional text.
Read-only messages
You may only be allowed to read the messages other roles send, such as instructors and teaching assistants.
When your institution enables read-only messages, some options are removed. When you view your messages, the Create Message, Reply, and Forward options won't appear. Your instructors don't control this setting.
New message alerts
The What's New module appears on the first page after you log in and on the course Home Page. You're notified when new course messages arrive.
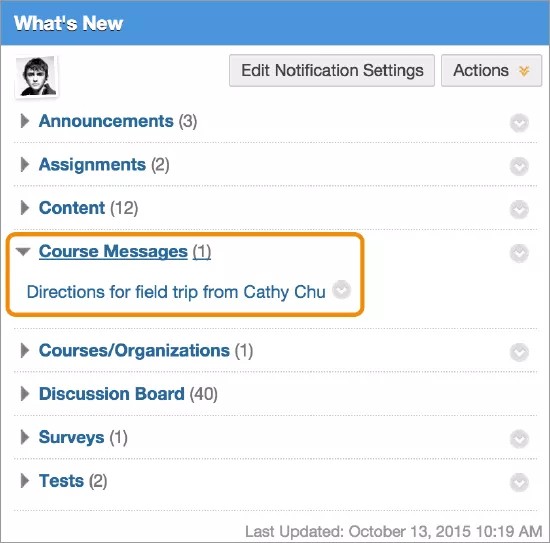
The module reports changes once a day when you first log in. If you want to see new alerts later, select Refresh in the Actions menu.
Your instructor and institution determine which modules appear.