About journals
Journals are personal spaces for students to communicate privately with you. Students can also use journals as a self-reflective tool. They can post their opinions, ideas, and concerns about the course, or discuss and analyze course-related materials.
You can create journal assignments that are broad and student-directed. Students can reflect on the learning process and document changes in their perceptions and attitudes. Students can describe the problems faced and how they solved them. You can also create instructor-directed journal entries that are more formal in nature. You can narrow the focus with a list of topics for discussion.
Journals are ideal for individual projects. For example, in a creative writing course, each student creates entries and you provide comments. In this manner, a student can refine a section of a writing assignment over a period of time, with your guidance and suggestions. Students can also comment on their own entries to continue the conversation.
Topics on this page include:
Video: Create a Journal
Watch a video about creating journals
The following narrated video provides a visual and auditory representation of some of the information included on this page. For a detailed description of what is portrayed in the video, open the video on YouTube, navigate to More actions, and select Open transcript.
Video: Create a Journal shows how to create student journals.
Create a journal
On the Course Content page, select the plus sign wherever you want to add a journal. Select Create, then scroll down to the Journal button at the bottom of the Create Item panel. You can also expand a folder or learning module to add a journal within them.
Enter a meaningful title to help students find the right journal in the content list. If you don't add a title, "New Journal" and the date appear on the Course Content page.
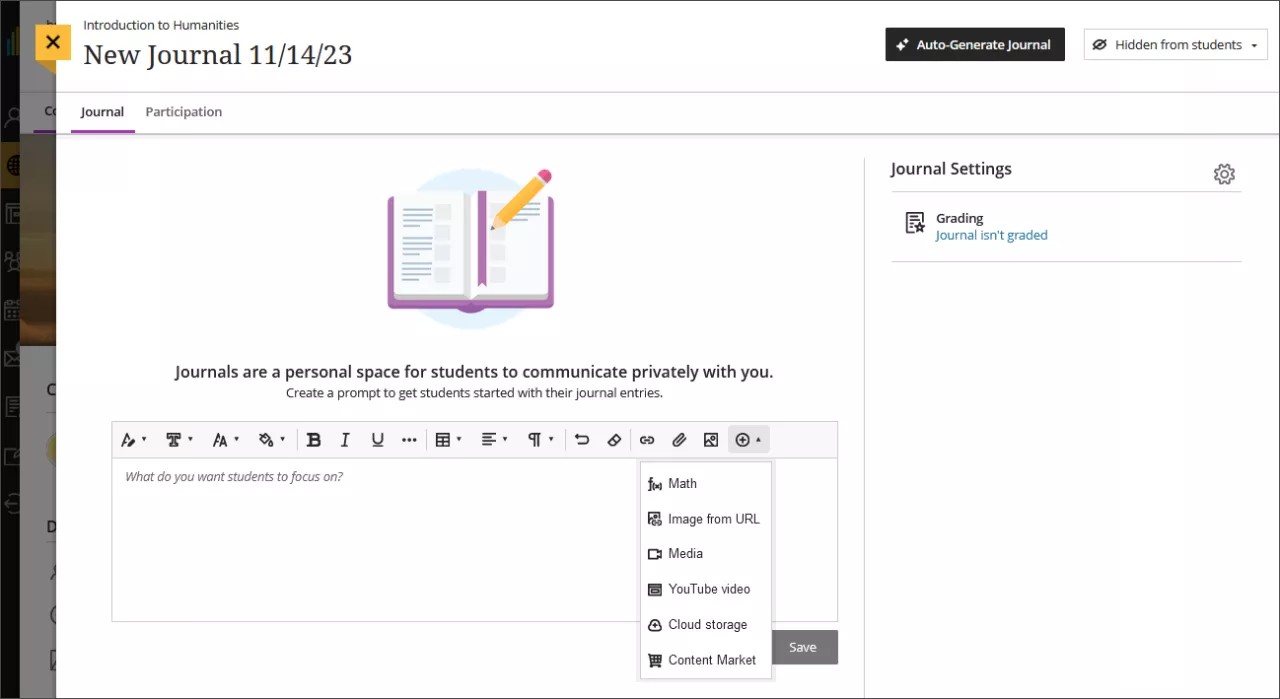
- Add a prompt to set expectations and guidelines. You can use the options in the editor to format text, attach files, and embed multimedia. If you don’t add a prompt, there’s a message for students on the journal page that you haven’t added instructions for this journal.
- Show or hide the journal. New journals are hidden by default. Students can't access a journal until you choose to make it available to students. You can create all your content ahead of time and choose what you want students to view based on your schedule. You can also set availability conditions based on date, time, and performance on other items in the course gradebook. On the Course Content page, students can see when you set the journal to show.
- Customize journal settings. In the Journal Settings panel, you can choose whether or not to allow users to edit and delete entries or comments. Under Goals & Standards, you can select Align with goals to ensure the activity measures the desired learning outcomes. To motivate students to post insightful contributions, you can make a journal count for a grade. Graded journals have more settings options available.
- Auto-generate a journal. If your institution uses the AI Design Assistant feature, you can use AI to create a journal. Select the Auto-Generate Journal button to bring up the creation panel.
Auto-generate a journal
Journals will be generated based on your course's title and description.
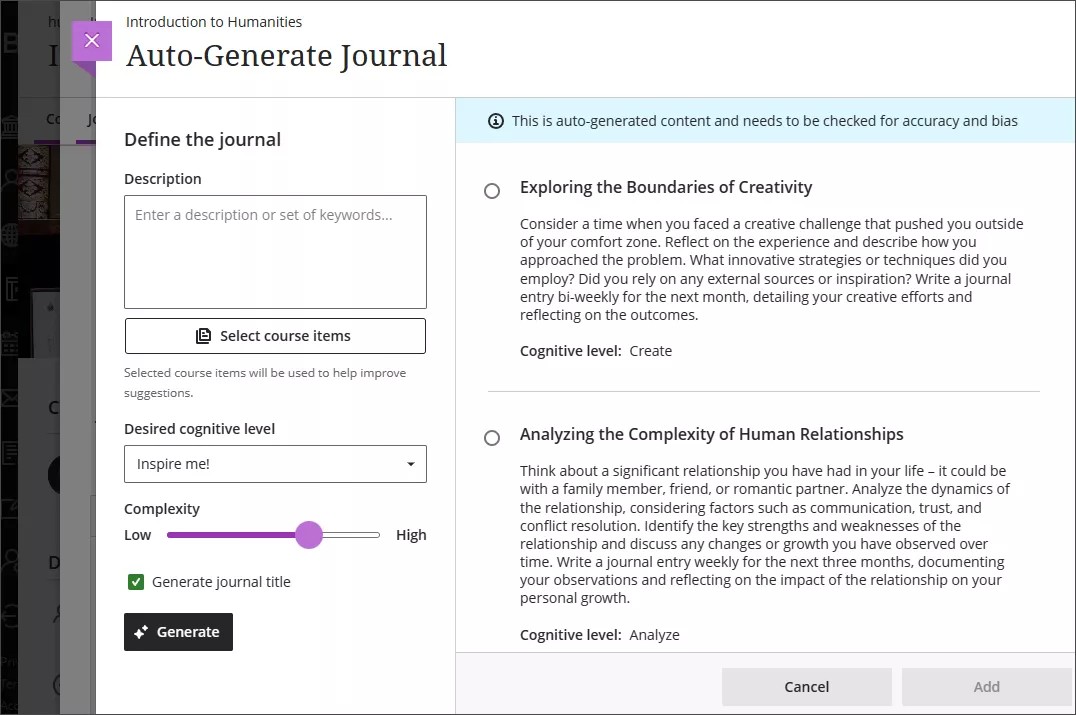
You have several ways to customize the journals that the AI Design Assistant generates.
- Enter a description (limited to 2000 characters) to narrow the focus of the journals
- Select the desired cognitive level
- Apply
- Analyze
- Evaluate
- Create
- Inspire me! provides you with a mix of levels
- Adjust the complexity of the journals’ focus by moving the slider
- Select whether or not you want to generate a title for journals
Cognitive levels are based on Bloom’s Taxonomy.
Optionally, you can select which course items you’d like the AI Design Assistant to provide context for journals. Select Select course items to start.
Select the box beside any course content item to include it in the context for your journal.
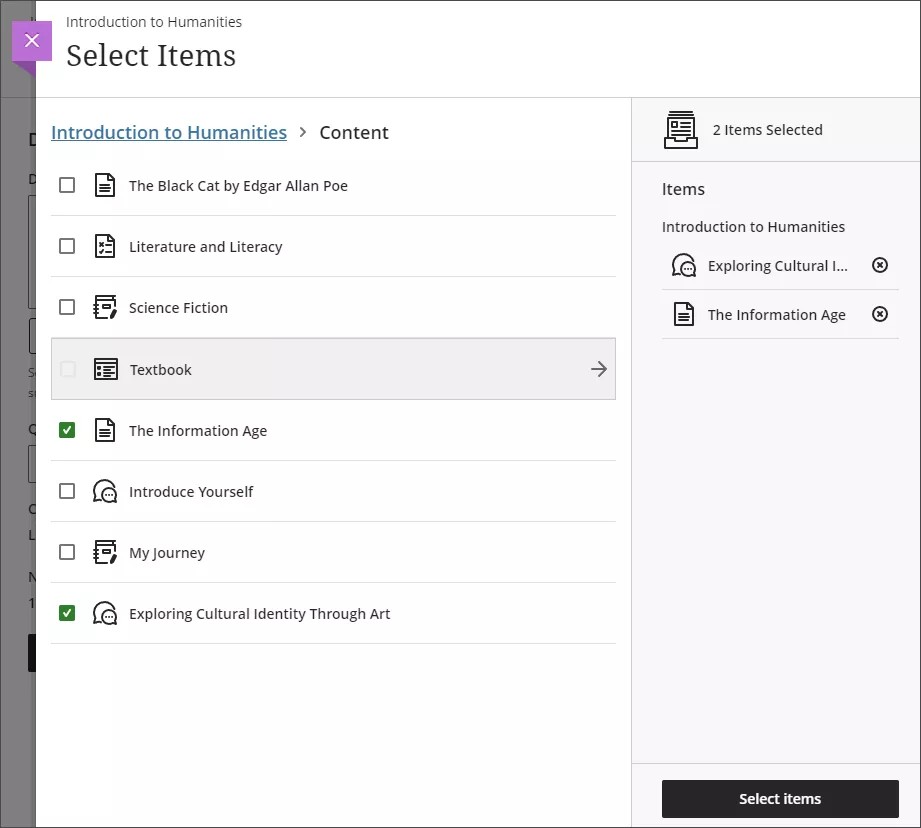
You can select the arrow beside a folder or learning module to include items from them. When you’ve finished choosing items for context, select Select items to return to question generation.
File types supported by the context picker include PDF, Word, PowerPoint, text, RTF, and HTML.
Once you’ve finalized your settings, select Generate. Review each journal for accuracy and bias. Choose the journal you’d like to add to your course, then select Add.
Open a journal
When someone contributes to a journal, an activity icon appears next to the title on the Course Content page. Select the title to open the journal. You can also open a journal from the activity stream.

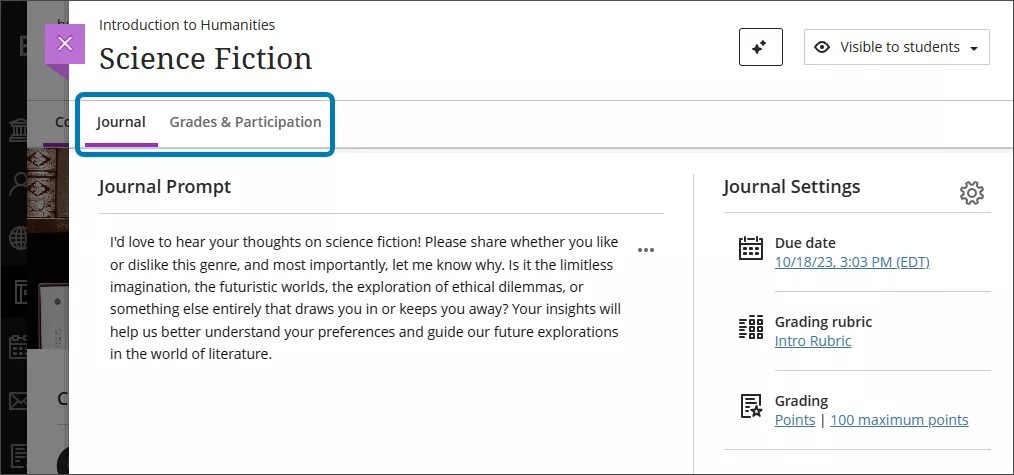
The journal has two tabs. The Journal tab displays the prompt you’ve entered. Ungraded journals have a Participation tab and graded journals have a Grades & Participation tab.
Navigate the Participation and Grades & Participation tabs
Both graded and ungraded journals display each of your students’ names in a list on the Participation tab, organized alphabetically by surname. You can select how many items you see per page, up to 100.
You can search by a student’s name in both ungraded and graded journals to view how many entries they’ve made in the journal.
Use the Student Status menu to see only students who have made no entries, or students who have made an entry. By default, the menu is set to view all student statuses.

Graded journals allow you to sort by grading status through the Grading Status menu. Statuses available are:
- Needs Grading
- Needs Posting
- Completed
- Nothing to Grade
You can override or post grades from the Grades & Participation tab.
View entries and comments
After you select a student’s name in the list in the Participation tab, you can view all the entries that student made and your responses. If there are many entries on the page, you can adjust the number of items to display with a maximum of twenty.
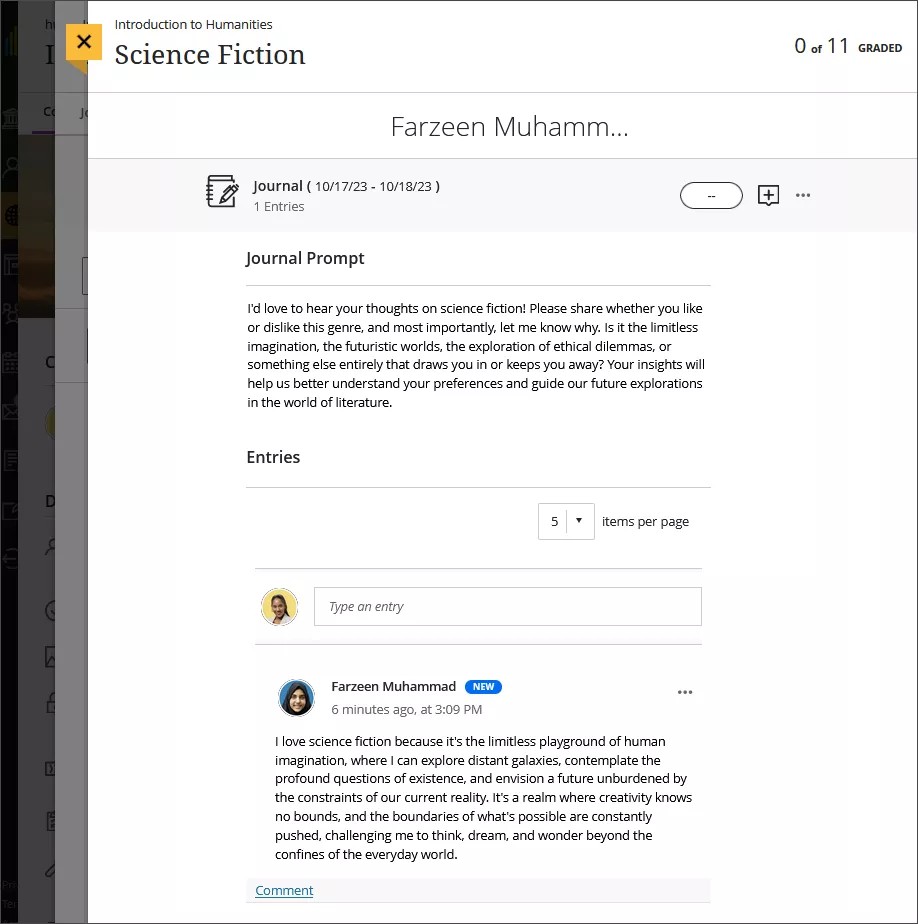
You can grade the journal directly by entering the grade in the grading pill or select the Feedback icon, displayed as a plus sign, to leave feedback. You can edit your feedback after you’ve posted it using the three dot menu.

New entries or comments in a journal cause a NEW icon to display with them.
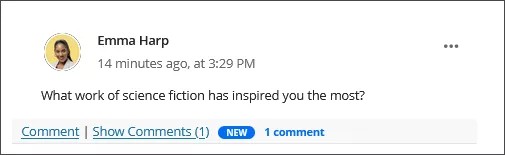
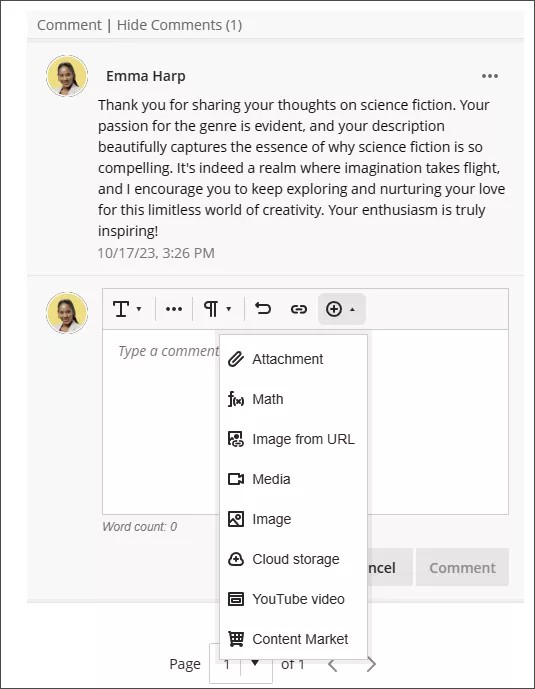
Select Comment below an entry to respond to a student’s entry by bringing up the text box. The rich text editor allows you to customize your response’s appearance and embed media. Commenting on an entry creates a thread.
You can also make a new entry in a student’s journal. Select the text box that displays Type an entry. The student can then respond to your question or comment.
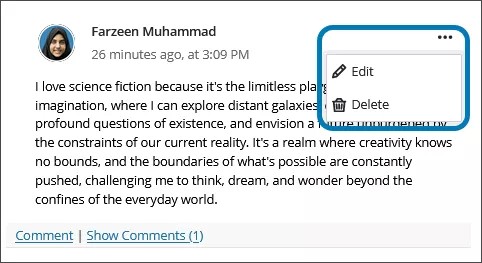
You can select the More options menu associated with a journal entry or comment to edit or delete it. You must give users permission to edit or delete entries or comments for the edit or delete options to appear. Permission for editing and deleting entries is separate from editing and deleting comments.
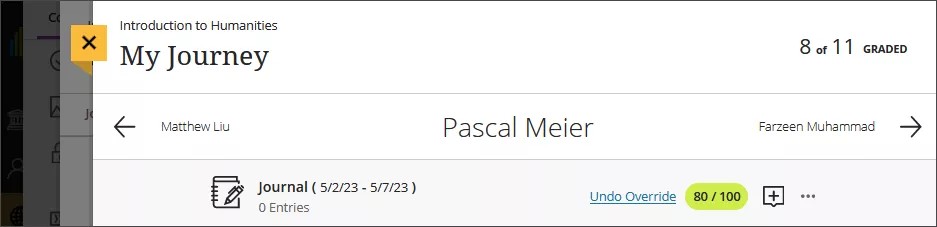
After an entry has comments, you can select Hide Comments to see only the first comment in a thread. To display all comments again, select Show Comments. To move between students’ journal entries without returning to the Participation tab, you can select the arrow buttons to the left and right at the top of the entry.
Edit and manage journals
If you edit any content in the journal, students aren't notified that new content appears.
You can change a journal from graded to ungraded as long as there are no entries or comments. Once entries and comments have been submitted, you can't change the journal type.
If you delete a graded journal, the journal is removed from the Course Content page and the gradebook.
Convert and copy journals
Original Course View journals, prompts, and settings are included in course archives and exports and are converted in the Ultra Course View. Only journals from content areas in Original courses appear in Ultra courses on the Course Content page. At this time, comments and student entries aren’t included when you restore an archive.
You can also convert journals from an Original course to an Ultra course as part of the Ultra Course Preview.
Copy workflow
Ultra journals are included in the supported content items you can copy from other Ultra courses you teach.
If you copy only journals from an Original course to an Ultra course, the graded journals only appear in the gradebook, but you can't edit the content or show them to students. Ungraded journals aren't copied. We recommend a course export or archive to convert the journals that appear in Original's content areas to Ultra.