Open the line of communication and engage your students with online discussions.
Discussions can encourage students to think critically about their coursework and interact with each others' ideas. You can create discussions around individual course lessons or for your course in general. After you start a discussion, you can post responses of your own to guide students.
The most common form of interaction in an online course is through discussions started by an instructor. Participation and interaction in discussions don't occur naturally. You need to intentionally design discussion into your courses. To encourage engaging and quality discussion, create discussion questions carefully.
Topics on this page include:
- Develop successful online discussions
- Create discussions
- Customize discussions
- Auto-generate discussions
- Discussion settings
- Graded discussions
- Discussions created by students
- Discussions or conversations?
The following narrated video provides a visual and auditory representation of some of the information included on this page. For a detailed description of what is portrayed in the video, open the video on YouTube, navigate to More actions, and select Open t
Develop successful online discussions
Help your students feel comfortable and provide them with guidelines as they begin to participate in discussions.
Here are four steps to developing successful online discussions to help build community and fulfill assignments.
1. Define participation requirements.
- Share your expectations. Create a discussion where students can read about etiquette and access grading information.
- Model proper online interaction and reinforce appropriate behavior with public recognition.
2. Craft an effective question.
- Incorporate multimedia resources into your questions to reduce the monotony of purely text-based interactions. With the popularity of services like YouTube, you can ask students to view a clip and ask for responses.
3. Encourage new ideas.
- If discussion posts contain too much agreement and not enough questioning of ideas, assign students with the last names A-M to support one side and N-Z to support the other.
4. Direct the discussion.
- Establish your presence. Ask for clarification, resources, or input from silent participants.
Create discussions
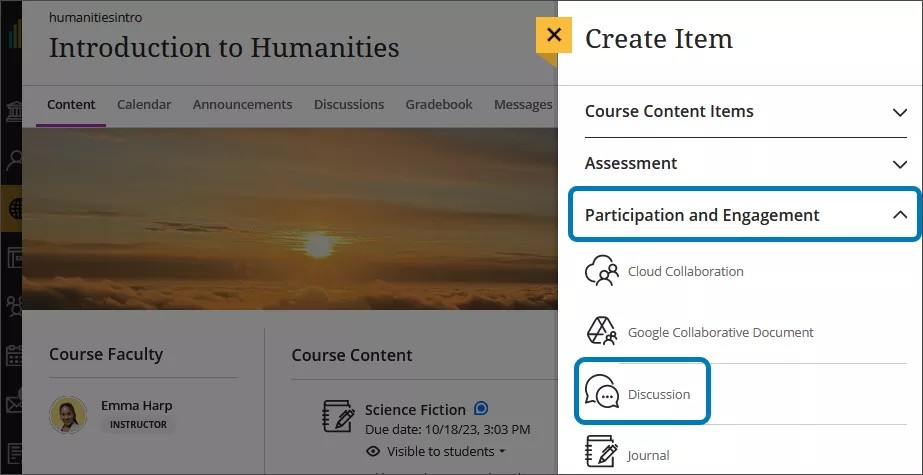
You can create discussions in two locations within your course. You can create them on the Course Content page just like any other item by selecting the plus button anywhere on the page. The option to create a discussion is in the Participation and Engagement section. You may have to scroll down to view the option.
You can also create them directly on the Discussions page by selecting the New Discussion button.
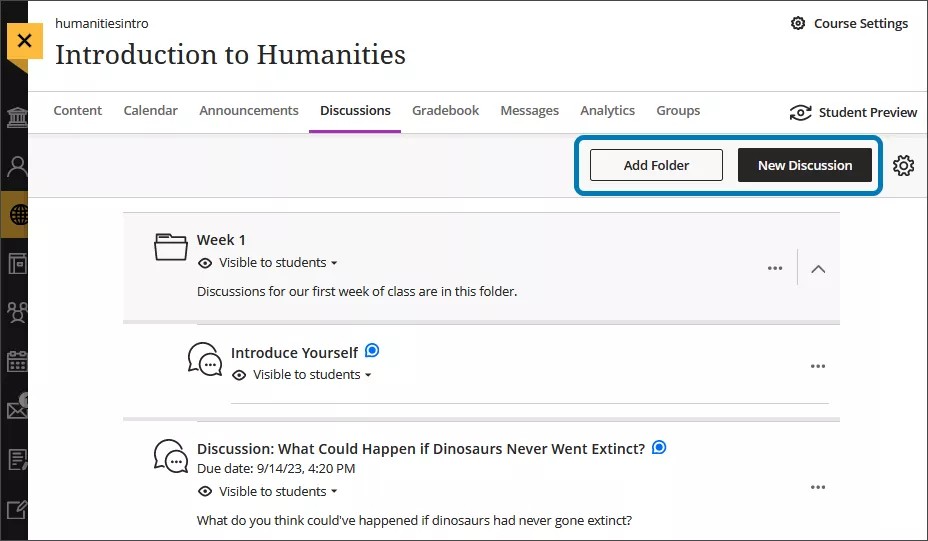
If you have a lot of discussions or want to guide students through course content, consider organizing discussions into folders. Select Add Folder to create a folder. You can create new discussions directly within the folder or drag previously created discussions to the folder.
If you’ve converted your course from the Original Course View to the Ultra Course View, some discussions are flattened and some settings are removed. Visit the "Ultra Course Preview" topic to learn more about the conversion process.
Watch a video about Discussions
The following narrated video provides a visual and auditory representation of some of the information included on this page. For a detailed description of what is portrayed in the video, open the video on YouTube, navigate to More actions, and select Open transcript.
Video: How to create Discussions.
Discussions encourage students to think critically about their coursework and interact with each others' ideas. This tutorial will show you how to create a discussion.
Customize discussions
You can make discussions available for everyone or ask students to participate in group discussions. Visit the "Groups" topic to learn more about groups.
- Enter a meaningful title to help students find the right discussion. If you don't add a title, "New Discussion" and the date will be the title.
- Include guidelines and expectations. You can use the options in the editor to format text, attach files, and embed multimedia. To use your keyboard to jump to the editor toolbar, press ALT + F10. On a Mac, press Fn + ALT + F10. Use the arrow keys to select an option, such as a numbered list.
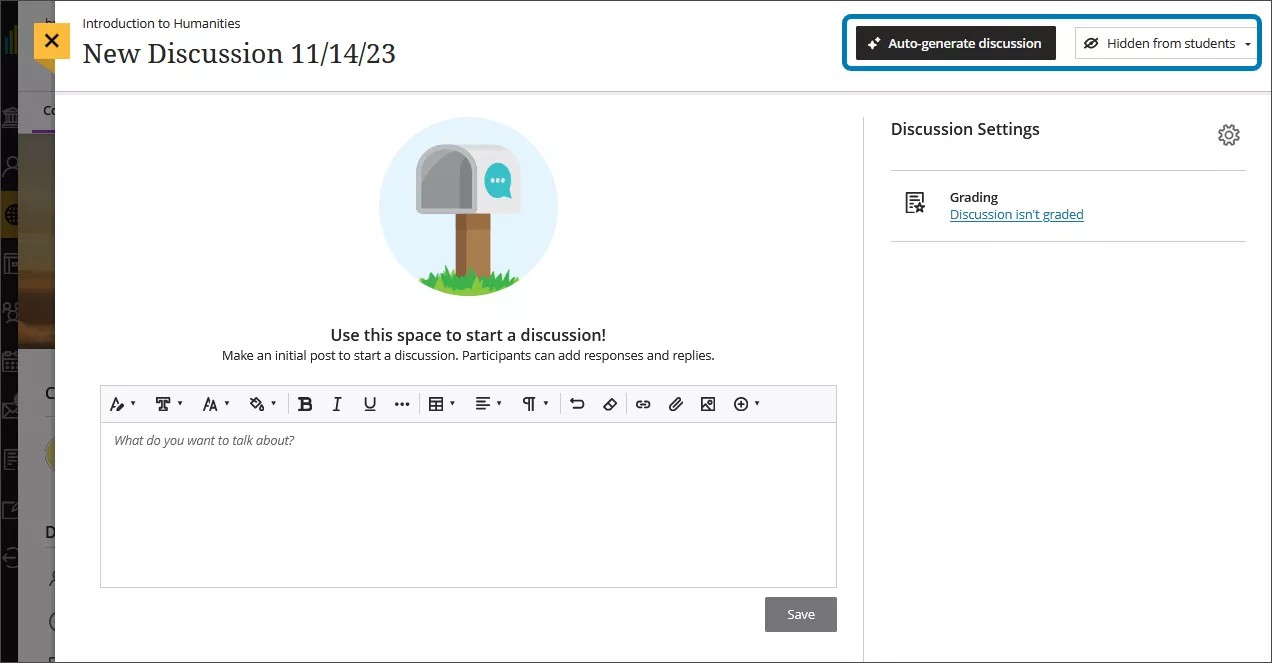
- Show or hide the discussion. New discussions are hidden from students by default. You can create all your content ahead of time and choose what you want students to see based on your schedule. You can also set availability conditions based on date, time, and performance on other items in the course gradebook.
- If your institution uses the AI Design Assistant feature, you can use AI to create a discussion. Select the Auto-generate discussion to bring up the generation panel.
Auto-generate discussions
Discussions will be generated based on your course's title and description.
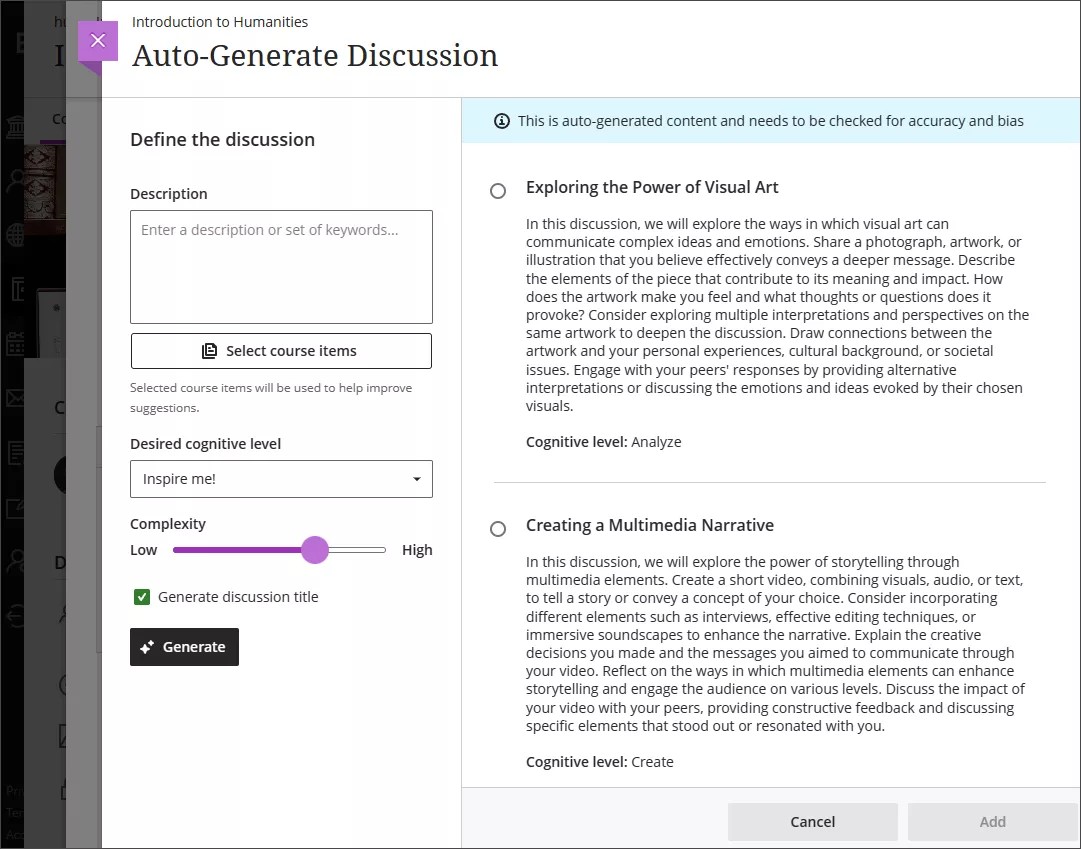
You have several ways to customize the discussions that the AI Design Assistant generates.
- Enter a description (limited to 2000 characters) to narrow the focus of the discussions
- Select the desired cognitive level
- Apply
- Analyze
- Evaluate
- Create
- Inspire me! provides you with a mix of levels
- Adjust the complexity of the discussions’ focus by moving the slider
- Select whether or not you want to generate a title for discussions
Cognitive levels are based on Bloom’s Taxonomy.
Optionally, you can select which course items you’d like the AI Design Assistant to provide context for discussions. Select Select course items to start.
Select the box beside any course content item to include it in the context for your discussion.
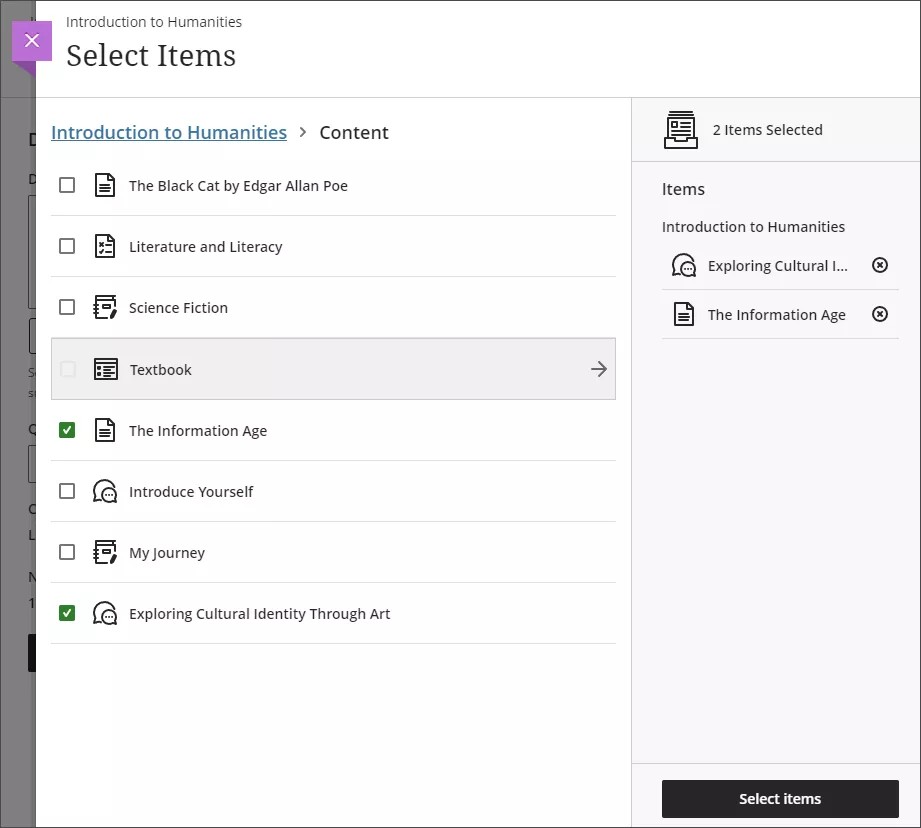
You can select the arrow beside a folder or learning module to include items from them. When you’ve finished choosing items for context, select Select items to return to question generation.
Once you’ve finalized your settings, select Generate. Review each discussion for accuracy and bias. Choose the discussion you’d like to add to your course, then select Add. Visit the "AI Design Assistant" topic to learn more about the feature.
File types supported by the context picker include PDF, Word, PowerPoint, text, RTF, and HTML.
Discussion settings
Select the Discussion Settings button to customize your discussion.
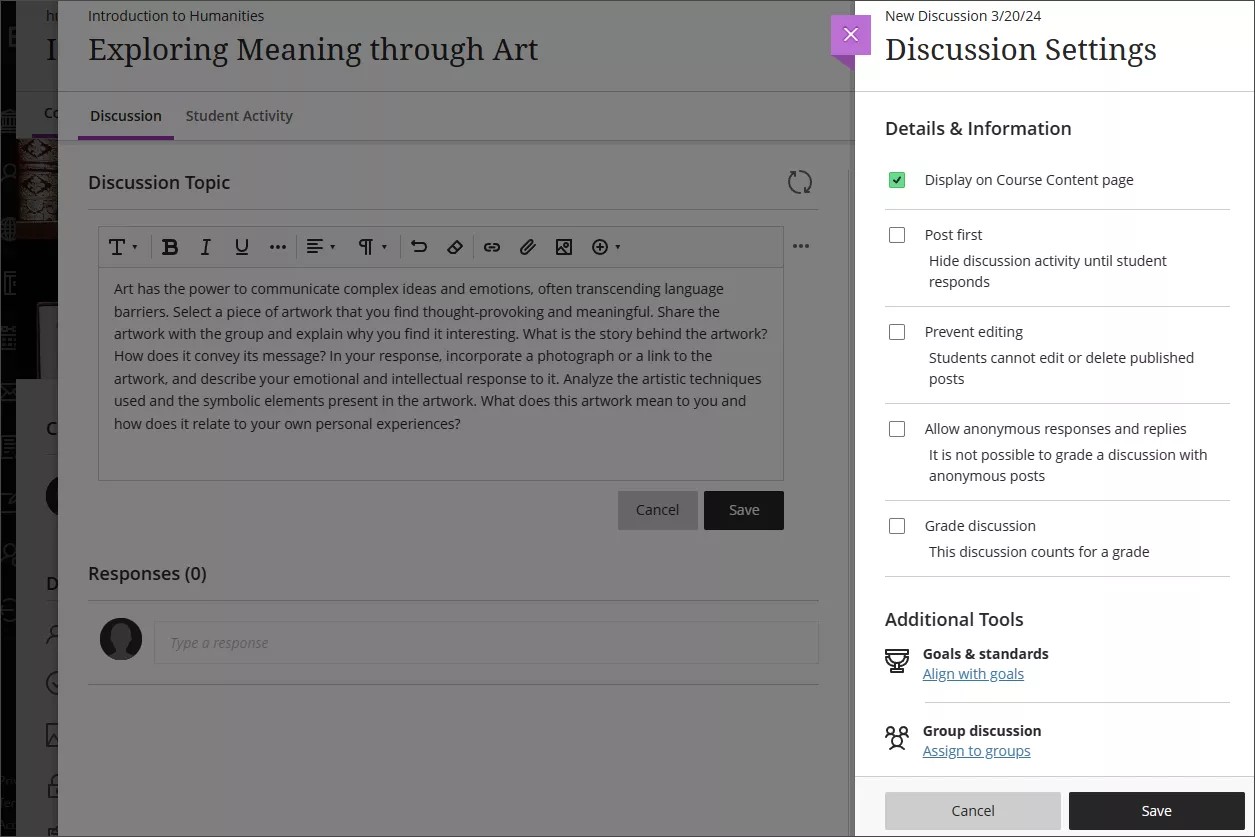
By default, all discussions appear to students on the Course Content page. You can deselect the option if you want students to only view the discussion from the Discussions page.
- You can select Post first to hide discussion activity from students until they respond to the discussion. When you want to use both post first and groups, select Post first before you assign groups.
- Select Prevent editing if you don't want students to be able to edit their discussions after posting them.
- Allow anonymous responses and replies. You can make discussion posts anonymous if you'd like students to feel more free to share their thoughts without judgment. You can turn anonymous posts on and off. Any posts made while anonymous keep their anonymity if anonymous posts are later turned off. You can't grade anonymous discussions.
- Grade discussion. To motivate students to post insightful contributions, you can make the discussion count for a grade.
- Align goals with the discussion. You and your institution can use goals to measure student achievement across programs and curriculums. When you create a discussion, you can align one or multiple goals. Select Goals & Standards to search for available goals. After you make the discussion visible, students can view the goals so they know your expectations. Visit the "Goals" topic to learn about how to align goals with course content.
- Add groups. You can assign students to discussion groups so fewer people are involved. You can also assign a specific topic to each group.
Graded discussions
When you choose to grade a discussion, more options appear in the settings, such as the due date and maximum points. The maximum points apply to one or more posts made by a student. When you enable grading for a discussion, a column is created automatically in the gradebook.
Graded discussions have a Grades & Participation tab that tracks your progress with grading.
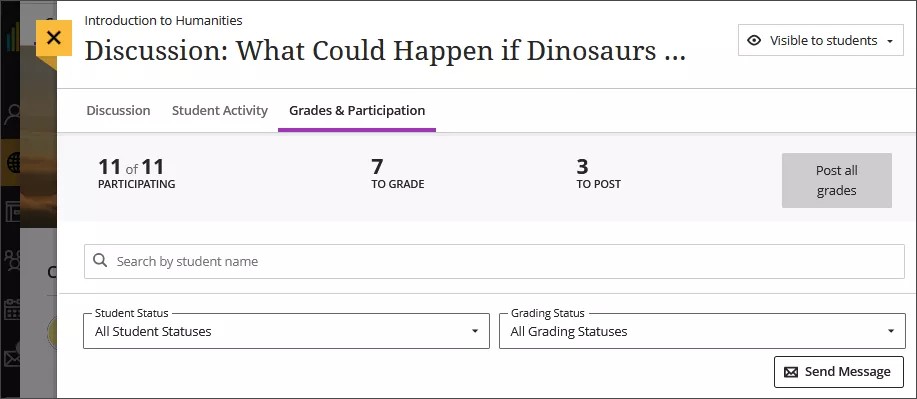
You also have access to several kinds of discussion analytics. Select a student’s name on the Grades & Participation tab to view their discussion entry’s analytics. You can view whether or not a post is substantive, its sentence complexity, and other information.
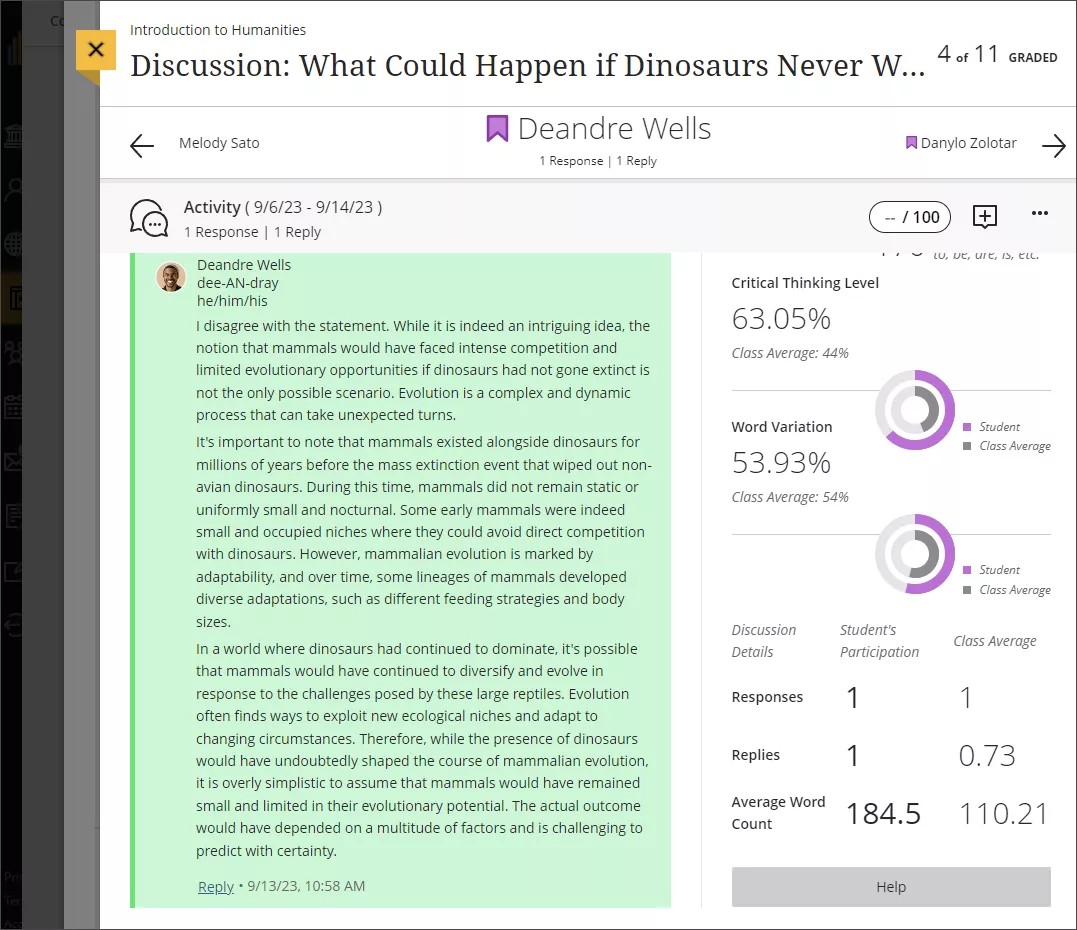
You shouldn’t use discussion analysis metrics as your sole guideline for grading. Discussion analysis algorithms are meant to inform your decisions, but can’t replace reading student responses. Visit the "View Discussion Performance and Analytics" topic for more information on discussion analytics.
At least one discussion must be graded for discussion analytics to be generated.
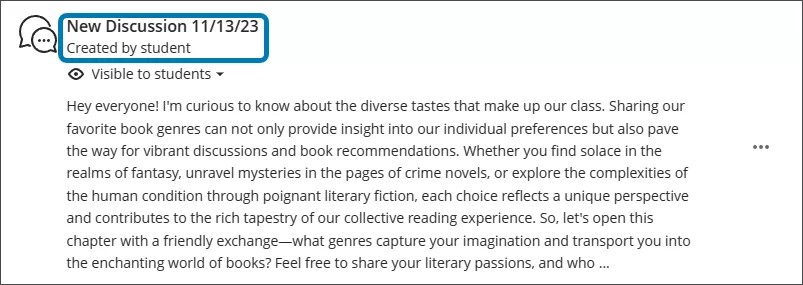
Discussions created by students
You can allow students to create their own discussions. Go to the Discussions page, then select the gear icon to bring up the Discussions Settings panel. When you allow students to create discussions, their titles appear with the label Created by student on the main Discussions page.
You can rearrange the student discussions so that they all appear together or move them to a folder.
When students open a discussion, the author is listed in the side panel.
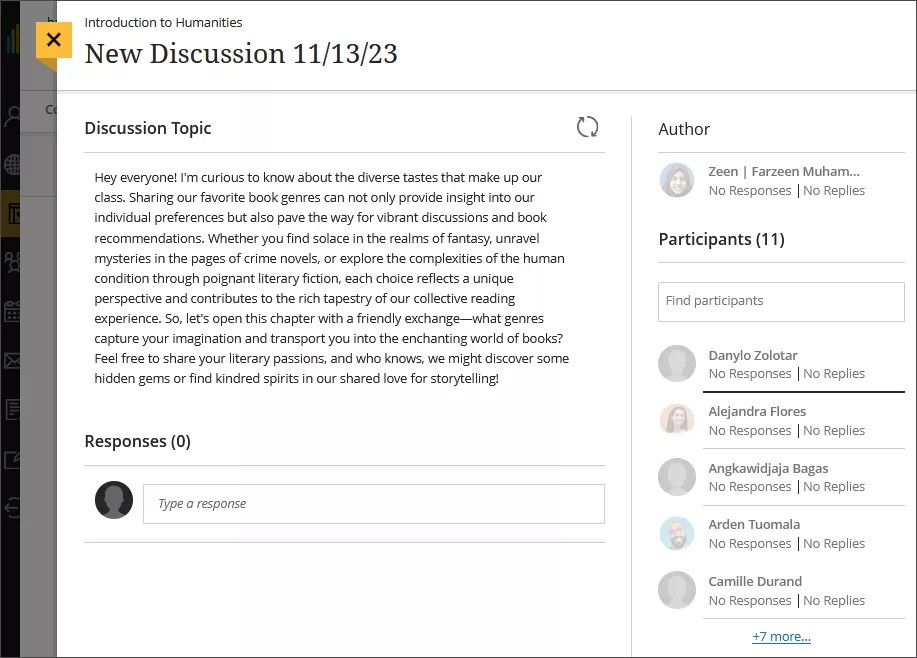
Students can edit or delete their own posts. Students can also delete their own discussions if no one has responded.
Discussions or conversations?
While you can use class discussions to develop or share ideas, you can also use conversations for quick exchanges on specific content. For example, when you create assignments, you can enable conversations. Anyone can make a contribution to the assignment conversation—ask for help, share sources, or answer questions others have. Everyone can read the conversations while they view the assignment.
Conversations appear only with the relevant content item and don't appear on the discussions page.
You can receive notifications for discussions, but not conversations.