Nämä tiedot koskevat vain Ultra-käyttöliittymää.
Can I use the Content Collection with my courses?
Yes, you can use the Content Collection to organize, share, and reuse content.
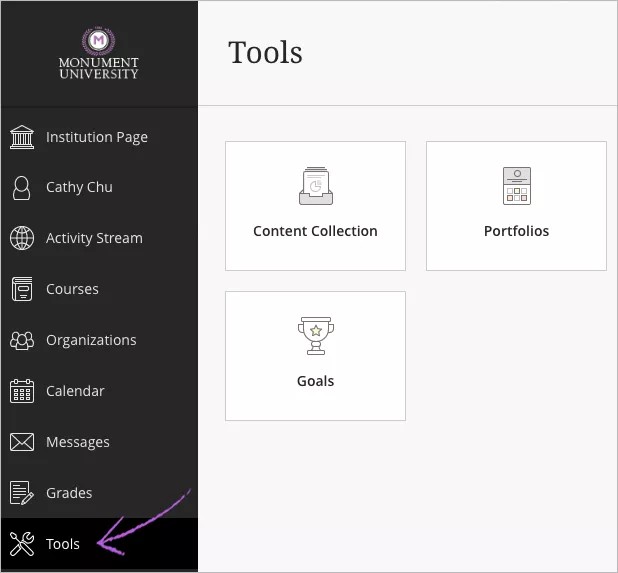
In the list where your name appears, select the Tools link to access the Content Collection.
You'll see some changes to how you add permissions to content in your courses. You can also add files from the Content Collection directly to your Course Content page.
File and folder storage
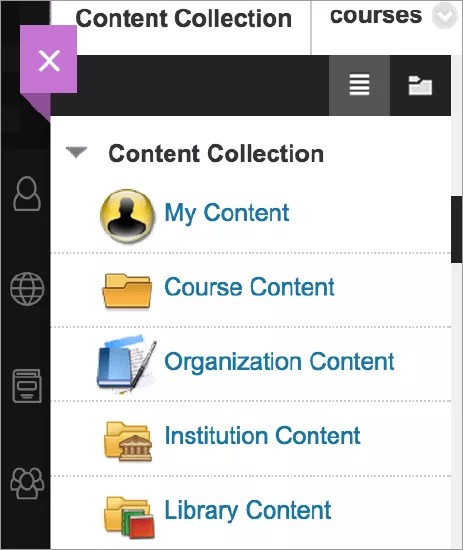
With Ultra courses, you can access existing files for your courses from the Content Collection. Open the Course Content folder in the Content Collection menu and choose a course folder. You can create links to any of the files and folders in your course.
In Blackboard Learn with the Ultra experience, Content Collection items don't always have the same permissions that you added in the Original experience. For existing files and folders, permissions appear only for those roles that create content, such as Instructor, Course Builder, and Teaching Assistant.
For students to access files and folders that you link to in the Content Collection, you need to add Read permission to those items for the Student role. When you add Read permission to a folder, all the contents also receive Read permission. You want to be sure that any folder you share with students doesn't contain files or sub-folders you don't want them to see. When students select a link to a folder, they're taken out of the course to access the folder contents in the Content Collection.
You can add or remove permissions for other users as needed. For example, you can add the full set of permissions for another instructor on files and folders that you want to work on together. Or, you might want your teaching assistant to only have Read permission on a certain file.
You may find it helpful to move files to folders. Organize folders so that you can manage permissions by folder, rather than by file. For example, create a folder that contains all the files for a group project. You can share the folder with your students, rather than manage permissions on separate items stored in different folders.
If you want to share files with others in your institution or across courses, you can move or upload them in the Institution Content folder. You may not have the permissions required to move or upload files in the Institution Content folder. Contact your administrator to learn more.
Edit permissions on your files
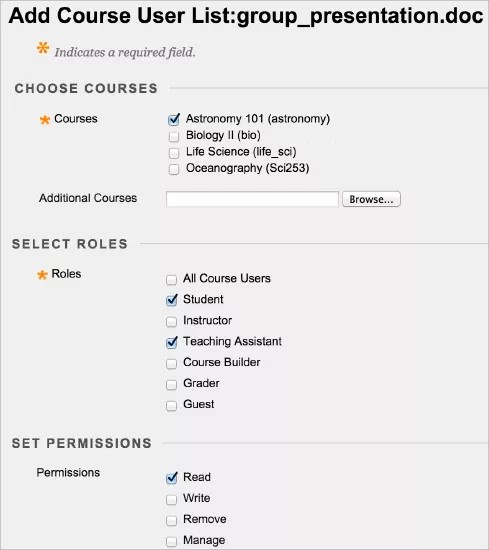
Use these steps to add Read permission for students to files and folders in the Content Collection. Read permission allows students to access the items you link to in your course.
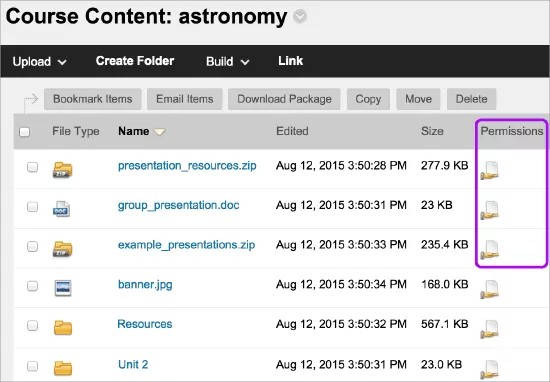
- Navigate to where the item is stored, such as the Course Content folder.
- Select the Permissions icon in the item's row.
- You can make changes to the existing permissions for the roles listed. Access a role's menu and select Edit or Delete.
- You can also add roles and permissions. For example, select Select Specific Users By Place to access the menu.
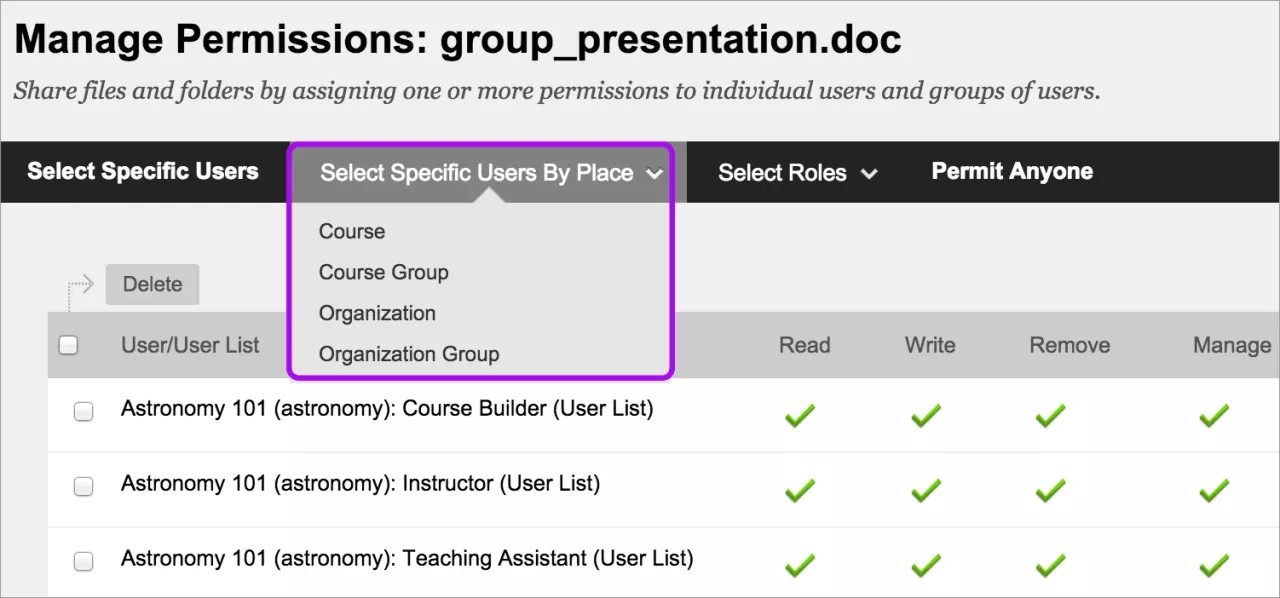
- Select Course to see the courses you have access to. Assign roles and permissions for that specific item. After you make your selections, select Submit.
- Use the breadcrumbs to navigate back to the course folder.
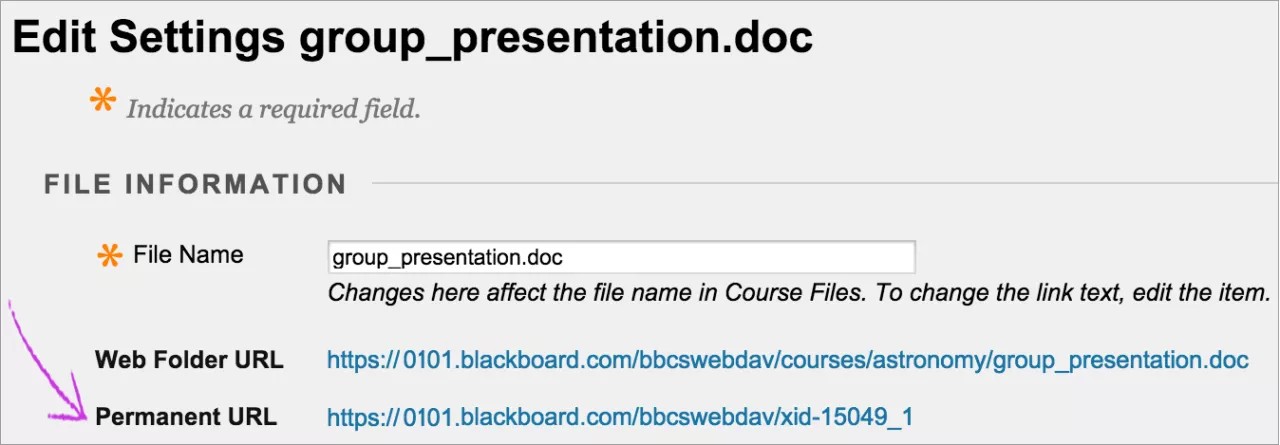
- Access the item's menu and select Edit Settings.
- On the Edit Settings page, copy the Permanent URL and select Cancel. Now you can create a link in your course that points to this item in the Content Collection.
Create a link to a file or folder
Use an item's Permanent URL to add a link in your course to a file or folder in the Content Collection.
- Navigate to the course where you want to add a link to the file or folder.
- On the Course Content page, select where you want the link to appear and select the plus sign.
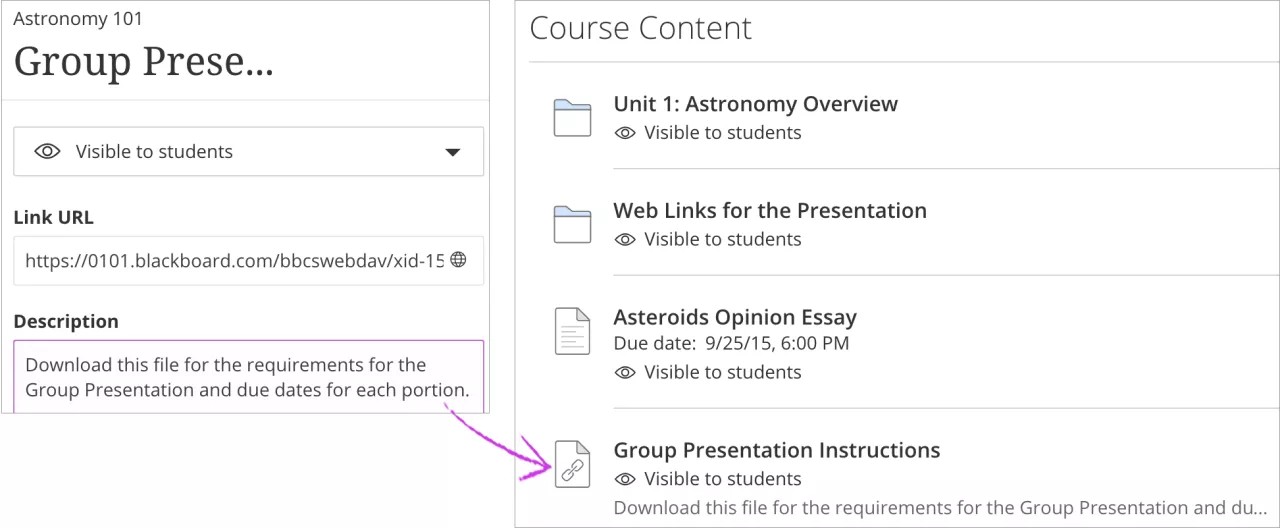
- Select Create to open the Create Item panel and select Link.
- Type a title and optional description. Paste the URL that you copied from the Content Collection item and select Save.
- The new link appears on the Course Content page. Make the link visible to students when you're ready.
Edit and overwrite files
You can edit and overwrite individual files in the Content Collection and maintain the links to those files in your courses.
For example, you can edit a file stored on your computer that is in the Content Collection and linked in your course. After you make edits, navigate to the file in the Content Collection so that you can add the edits. Access the item's menu and select Overwrite File to browse for the edited file on your computer. The system overwrites the existing file with the same name, even if the file on your computer has a different name. If the file is linked in your course, the link remains intact and the edits appear. No need to edit the link in your course.
When you overwrite files in the Content Collection, file names and link titles in your course don't change. When students access the file in your course, they see the revised content.