Announcements are an ideal way to post time-sensitive information critical to course success. Add announcements for these types of course activities:
- Due dates for assignments and projects
- Changes to your syllabus
- Corrections/clarifications of materials
- Exam schedules
You can add, edit, and delete announcements from the Announcements page. You can also record video and audio files that you can include with your announcement. Blackboard Learn provides auto-captioning for audio and video files you create to include in announcements. You do not need to turn on this feature.
When you add an announcement, you can also send it as an email to students in your course. Students receive the announcement even if they don't log into your course.
Video: Create Announcements
Watch a video about creating announcements
The following narrated video provides a visual and auditory representation of some of the information included on this page. For a detailed description of what is portrayed in the video, open the video on YouTube, navigate to More actions, and select Open transcript.
Video: Create announcements shows how to create an announcement in Blackboard Learn.
Create an announcement
Announcements appear in the order you post them. The most recent announcement appears first.
- On the Control Panel, go to Course Tools > Announcements.
- Select Create Announcement.
- Type a Subject, which appears as the title of the announcement on the Announcements page.
- Type your message.
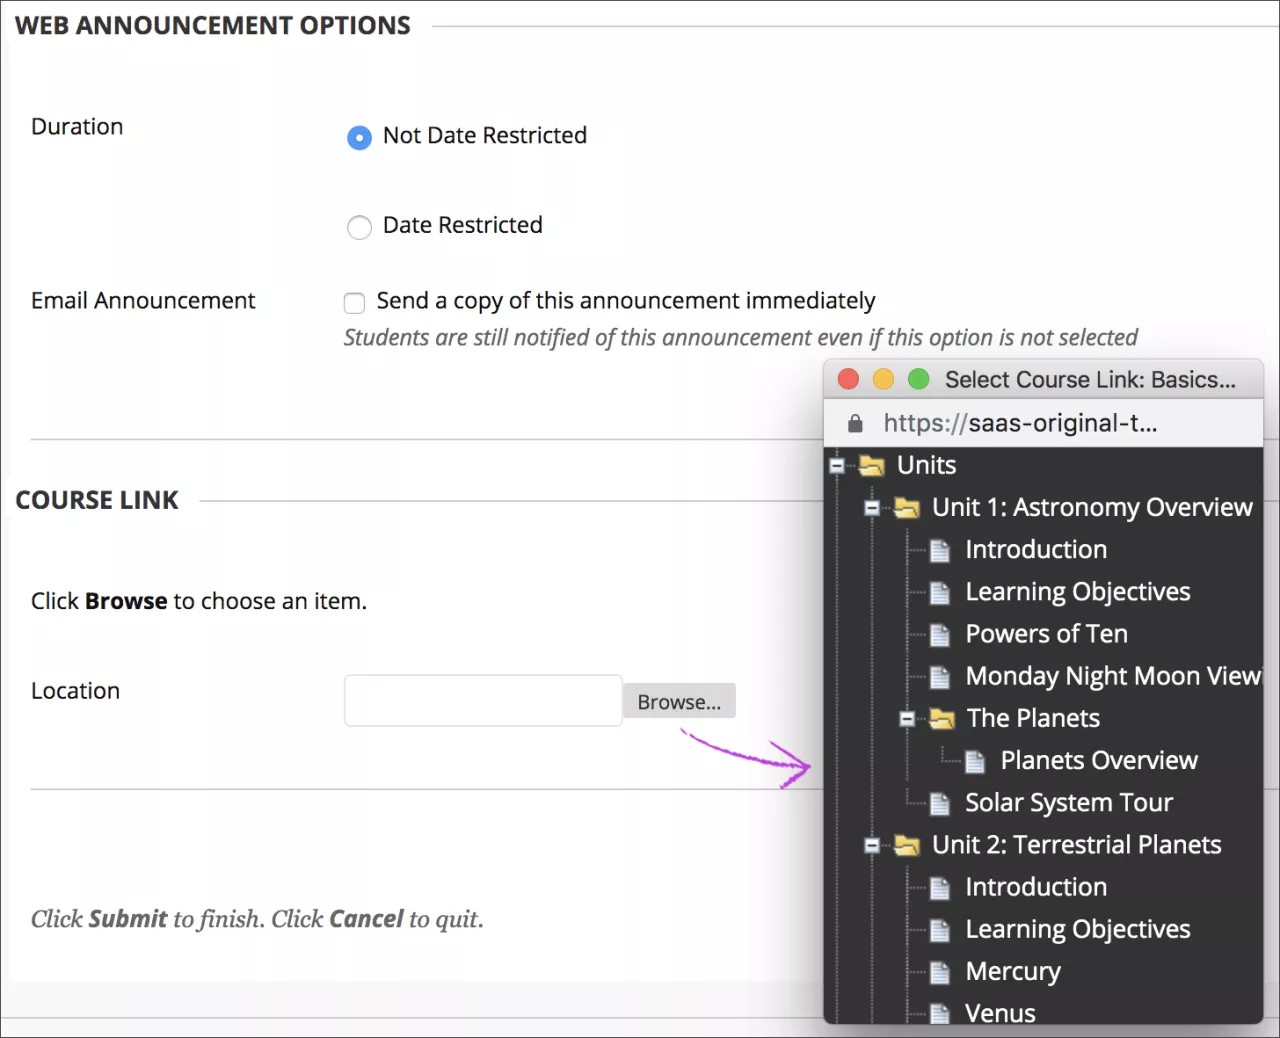
- In the Web Announcements Options section, you can choose to restrict the announcement by date:
- If you choose Not Date Restricted, the announcement is visible until you remove it.
- If you choose Date Restricted, select the Display After and Display Until check boxes to enable the date and time selections. Provide the date and time restriction settings. To display an announcement from a date forward, select the Display After check box and provide a date and time, but don't select the Display Until check box.
- Select the Email Announcement check box to send an email with the announcement to all course members, which includes students, instructors, and teaching assistants. This option only appears if you have a valid email address in the system.
Choose this option if your announcement has embedded files or images.
Users who chose not to receive announcement notifications through email will receive this announcement email. Your institution controls if this option is available. Email announcements display your name but are sent from a "do not reply," automated account.
This option doesn't work if you chose to post the announcement in the future. You'll receive an error and need to clear the email announcement check box.
- Optionally, in the Course Link section, select Browse to link to a course area, tool, or item.
If an announcement is linked to a course that isn't available the announcement isn't available for students.
- Select Submit.
More about email announcements
When you and your students view announcements inside a course, all embedded images, videos, links, formatting, and attached files appear correctly. In an email announcement, some content may not appear or work as you intend. In this table, review the content or formatting in combination with the Send a copy of this announcement immediately option to view the results.
Reminder: Your institution controls if the email announcement option is enabled.
| Type of content or formatting added | Appears with email announcement enabled? | Appears in an email if students chose the option, but with email announcement disabled? |
|---|---|---|
| All formatting in the first row of the editor, such as font formatting, numbered and bulleted lists, and headings | Yes | Yes |
| Image | Yes | No |
| Link | Yes, and the link opens | Yes, and the link opens |
| File attachment | Yes, and a user can open or download the file | Appears but a user can't open or download the file |
| YouTube video, embedded | No | No |
| YouTube video, thumbnail | Yes | Yes |
| Course link | No | No |
If you create an announcement in an unavailable course and choose to send an email announcement, the email is sent to all users in the course. If you create an announcement in an unavailable course and don't choose to send an email announcement, the announcement isn't emailed later when you open the course to students.
Reorder announcements
On the Announcements page, use the bar to reposition and prioritize your announcements. Drag the bar to reorder announcements to new positions on the page. Move priority announcements above the bar to pin them to the top of the list and prevent new announcements from superseding them.
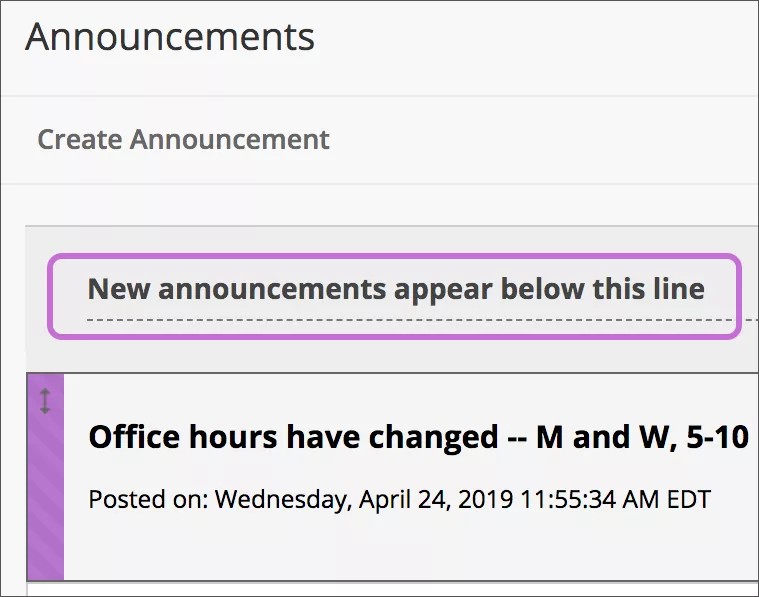
Students see announcements in the order you choose. Students don't see the bar and can't reorder announcements.
Edit and delete announcements
To edit or delete an announcement, select Edit or Delete in its menu. The delete action is final and irreversible.
If you chose to send an email announcement and edit the announcement after you post it, another email is sent.
When another person such as your TA edits an announcement you posted, your name is replaced.
If you edit an announcement with no date restrictions, the posted date and time is changed to the current date and time after you submit. To retain the original posted date and time, select Date Restricted and the original posted date and time appears under Display After.