Contact Page Overview
The Contact page loads upon selecting Contact from the page selector when you are on another page. The page offers the ability to search for, create, view, and manage the Contacts (constituents of your institution) that have been created or loaded to your institution.
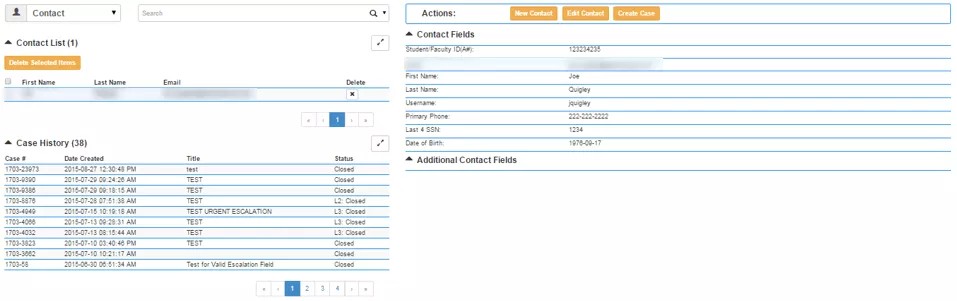
Contact Page Layout
The Contact Page contains the following areas:
- Search and filters area
- Contact List results area (which may be expanded to a full page list view)
- Case History area (once a single contact is selected)
- Action button area
- Contact Fields active load area
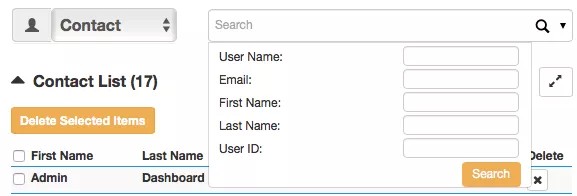
Search and Filters Area
The Search field allows you to search for an institution Contact:
- Enter a Contact first name, last name, both first and last name, or email address in the search field and select the Search icon
- Select the drop-down indicator to the right of the Search icon and enter a value in any of the search criteria fields and select Search
- Contacts that meet the search criteria will list in the Contact List result area
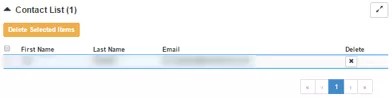
Contact List Results Area
All Contacts that meet the search criteria will list in the Contact List results area.
- The Contact List will include columns for:
- First Name
- Last Name
- Email Address
- The list will order in alphabetic order of the first names
- Select the X in the Delete column to delete the contact
- Or check the checkbox of one or more Contacts and then select the Delete Selected Items button to delete all selected Contacts
- Select the column header checkbox to automatically select all Contacts listed per page and then select the Delete Selected Items button to delete all selected Contacts
- The Default User contact may not be deleted
- The default number of items displayed in the results list can be increased or reduced using the Manage Settings function on the Profile page OR by manually adjusting the number of items to view per page on the expanded page list view
- The default setting is 10 items per page; pagination is available with lists if the number of resulting items in the list exceeds the number of items per page.
If the Service Desk is opened in another tab or browser window (same browser), only 10 items will list per page no matter what has been set under the Profile settings.
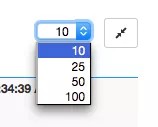
Expanded Page View
Use the expand/collapse icon to expand the results list to the full page list view. The full page list view of the Contact List offers the ability to:
- Sort the list by clicking the arrow next to each column header where the arrow is available
- Increase/reduce the number of Contacts you would like to view per page (10, 25, 50, 100)
- Scroll through pages (if more than one page exists)
- Select a Contact (collapses the list and loads the Contact in the active load area)
- Return to the Contact page view by clicking the collapse icon from the full page listing view.
If you indicated a preferred number of items per page on the expanded page list view, the same number of items will be displayed in the results area when you collapse to the Contact page.
Case History Area
Once a Contact is selected, a list of all cases created by or on behalf of the selected Contact will list in the Case History.
- Select a case from the Case History section and you will be redirected to the Case page with the selected Case loaded in the active load area
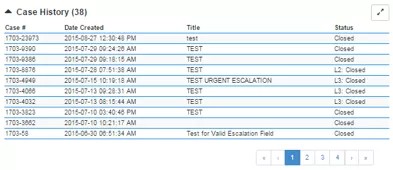
- Select the Back to Contact button in the Action button area to return to the Contact page
Action Button Area
The action button area will display the Action options available on the Contact page:

- Select New Contact to create a new Contact
- Select Edit Contact to edit an existing Contact
- Select Create Case to create a Case on behalf of the selected Contact
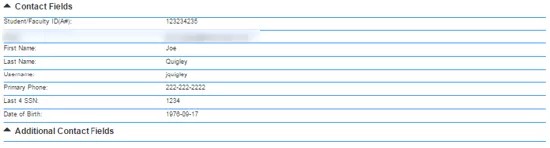
Active Load Area
The active load area on the Contact page will list the profile information of the selected Contact.
The profile information will include the system fields that have been configured to display in the SmartView interfaces for your institution, plus any custom fields created for your institution's profile template.
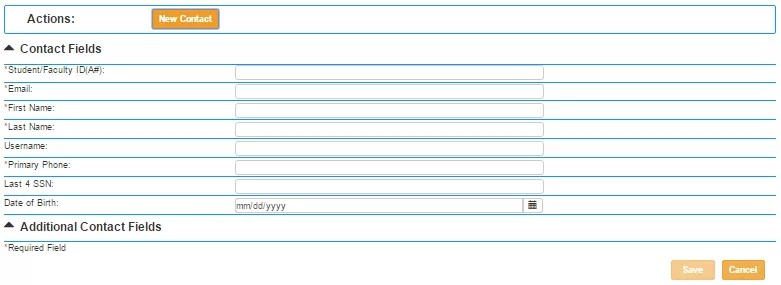
New Contact
- Select the New Contact action button
- A blank profile template will load in the active load area
- Complete the profile form
- Select Save
- The new Contact will be created
Edit Contact
- Select the Edit Contact action button
- The profile template for the selected Contact will load in the active load area with fields populated per the selected Contact's profile information
- The editable fields will be in an editable state
- Edit the information as needed
- Select Save
- The profile for the selected Contact will be updated
Create Case
- Select the Create Case action button on the Contact page
- You will be redirected to the Case page, with the blank Case template loaded in the active load area, with the selected Contact set as the Contact for the new Case
- Proceed with creating the Case as described on the Case page.