Managing Files and Folders
The Files and Folders area is a designated area for uploading and storing files. Files & Folders is an excellent tool for pre-planning content for your workspace. Each Site, Subsite, Channel, and Section Workspace has one dedicated Files & Folders area. Users with editing privileges to a workspace have access to its Files & Folders. You can access Files & Folders two different ways, on the Tools tab or by selecting Files & Folders in Common Tools.
Upload files
Use the Upload files option to upload multiple files at one time.
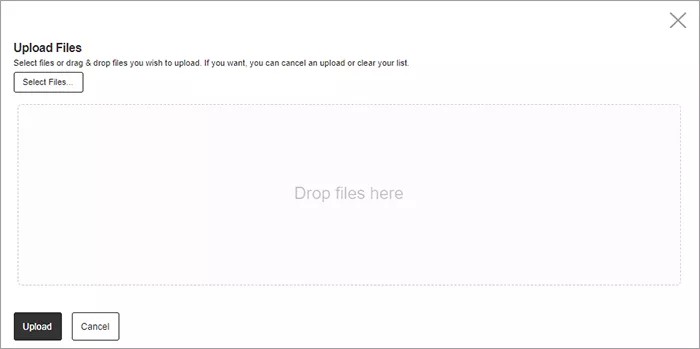
- Navigate to Files & Folders.
- Select Upload Files.
- Browse for your file or drag and drop the file to upload.
- Select Upload.
Select cancel to remove the file from the upload queue.
Multiple files can be selected to upload simultaneously. For PC users, holding the Ctrl Key while selecting files allows you to choose multiple files to upload. Holding the Shift Key allows you to select a contiguous group of files. For Mac users, using the Command Key and Shift Keys allow the same selections.
Update files
There may be times when you need to update a file to which you’ve already linked within your site. This process saves you the work of recreating each link. The updated file must have the same name and extension as the existing file when updating.
- Navigate to Files & Folders.
- Select Upload Files.
- Browse for your file or drag and drop the file to upload.
- Select Upload.
The Upload Files window closes. The updated version of the file overwrites the old version. Since they have the same name and extension, all links to the old file will now point to the newly updated file.
Be certain the updated file has the same name and extension as the existing file in order to successfully update the file.
Rename files
You might need to rename your files to update them, make the name clearer, or provide a new naming convention as needed.
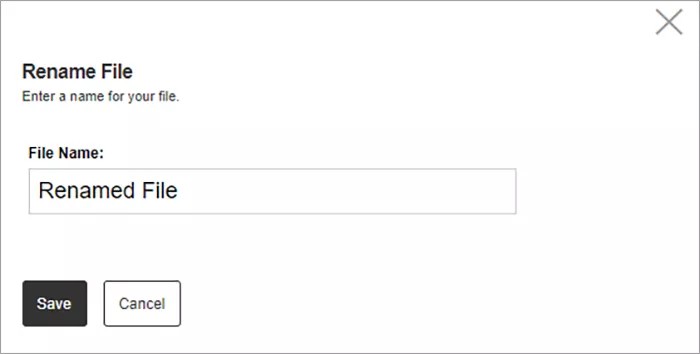
- Navigate to Files & Folders.
- Select More.
- Select Rename.
- Enter the new name for the file.
- Select Save.
If links have been established to the file, these links will need to be re-established after renaming the file.
Move files
You can move files between folders easily in your Section Workspace.
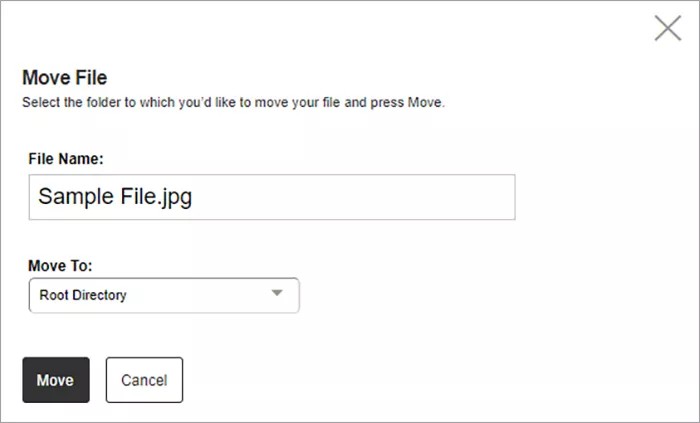
- Navigate to Files & Folders.
- Select Move.
- Select the Move To destination.
- Select Move.
If links to the file exist in your website content, these will need to be updated as the link to the file changes after moving it.
Get a link for a file
You can get a link to your file to use for linking the file in multiple locations. Using the file link allows you to house the file in one location for use in multiple areas without cluttering your pages.
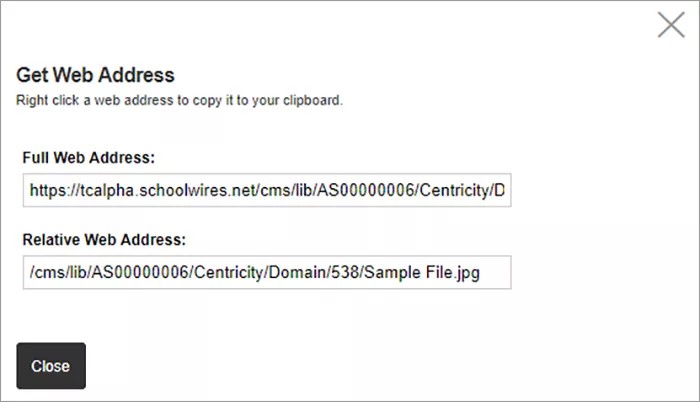
- Navigate to Files & Folders.
- Select More.
- Copy either the Full Web Address or the Relative Web Address URL to use for the link. The Relative Web Address will automatically append the root domain for your website, so it is helpful to use if your site is not yet live.
- Select Close.
Download files
Download files for offline access and to provide hard copies if needed.
- Navigate to Files & Folders.
- Locate the file you wish to download and click on the File Name.
- The file is downloaded to your default download location.
Delete files
As you add more files to your page, it may cause confusion and clutter to keep unnecessary files. Delete files you are sure are not needed to help keep this are current.
- Navigate to Files & Folders
- Select More and Delete.
- Select Yes on the confirmation window to delete your file.
When you want to completely remove a file from your website, you will need to delete it from your Files & Folders. Deleting the section or page containing the file does not delete it from Files & Folders.
If links had been established to the file, they will be broken once the file is deleted.