Groups are collections of users. Use groups to assign privileges and rights for many users. For example, you might create a math teachers group and assign viewing rights to that group for a particular channel, section, or page.
Groups make it easy to do these things.
- Setting viewing permissions
- Setting editing permissions
- Setting sharing permissions for apps and collections
- Sharing apps to display on other pages
- Distributing Broadcast E-Alerts
- Allowing access to PassKeys
Groups can also be grouped into categories to further manage your groups.

Video: Groups workspace overview
The following narrated video provides a visual and auditory representation of some of the information included on this page. For a detailed description of what is portrayed in the video, open the video on YouTube, navigate to More actions, and select Open transcript.
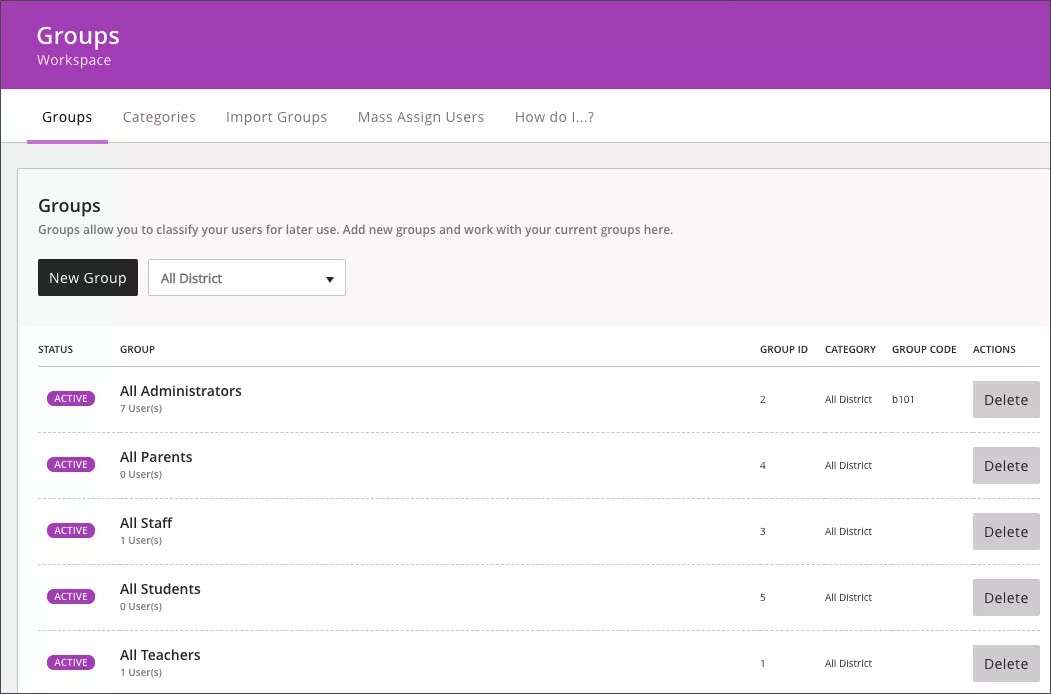
Video: Groups workspace overview demonstrates how to navigate the Groups Workspace, set viewers, filter groups, create group categories, and define a group code
Import groups
Create an CSV file and import many groups all at once.
- From Site Manager select USERS & GROUPS.
- Select Groups.
- Select Import Groups.
- Select Import.
- A link to a sample CSV file is available here to access, complete, and save.
- Mandatory fields are Group Name and Group Category ID.
- Once completed and saved:
- Browse and select your completed CSV file.
Only Group Name and Group Category ID are required fields. You can add additional fields.
- Select Open.
- Select Import.
Add users to groups
After you create groups, you can add users to them. You might need to do this if you didn't assign users to groups in previous imports.
Add a single user to a group
- From Site Manager select USERS & GROUPS.
- Select Users.
- Select the name of the user you want to add.
- Select Groups.
- Select Assign Group and search for the group you want to add the user to. Select as many groups as you want.
- Select Add.
- Select Save.
Add many users to a group
Create an CSV file and add many users to a group all at once. In the CSV file, map a user code to a group code to identify what users go to what groups. You can do only one map per row.
You can also add users to more than one group.
- From Site Manager select USERS & GROUPS.
- Select Groups.
- Select Mass Assign Users.
- Select Import.
- Browse and select your completed CSV file.
Only User Code and Group Code are required fields. You can add additional fields
- Select Open.
- Select Import.
Group categories
Groups can also be grouped into categories. This makes it easier to manage your groups.
For example, you might create a high school category and assign that category to groups of high school teachers, high school staff, high school students, and the high school students' parents.

Create a category
- From Site Manager select USERS & GROUPS.
- Select Groups.
- Select Categories.
- Select New Category.
- Type the Category Name.
- Select Save.
Edit a category
- From Site Manager select USERS & GROUPS.
- Select Groups.
- Select Categories.
- Find the category you want to edit and select the name.
- Make changes to the category.
- Select Save.
Add a group to a category
After you create categories, you can add groups to them.
- From Site Manager select USERS & GROUPS.
- Select Groups.
- Find the group you want and select the name.
- Select the category you want from the Category menu.
- Select Save.