The general settings tab allows you to set up basic configuration options for the catalog.
- Sign in to TDM.
- Select Administration.
- Select Settings.
- Select the General tab.
Banner Settings
You can add a banner image and header text to the catalog. This banner and text will be shared across all pages of the catalog. If you do not upload an image, the default TDM image will be displayed.
- Select Banner Settings.
- Select Change Image to update the banner image.
- Select the image you want to use as your banner image.
The image must be at least 1024 pixels wide, 170 pixels high, and no larger than 2 MB. It must be a JPG, PNG, or GIF file.
- Select the Enable Banner Text toggle. If you skip this step, the text will not display.
- Choose Language for your text.
- Enter your text into the Banner Text box and format it using the provided toolbar. This text is limited to 30 characters.
- Select Create.
- Repeat steps 5-7 for each language you want to include.
- Choose the appropriate buttons for Horizontal Text Alignment and Vertical Text Alignment.
- Select Save to save your image and text.
Default Image
You can also add a default image that displays on each course, offering, or program tile when no other image is designated for a given course, offering, or program.
- Select the Default Image button.
- Select the Change Image button to upload a new image.
- Select the image you want to use as your banner image.
The image must be at least 310 pixels wide, 126 pixels high, and no larger than 2 MB. It must be a JPG, PNG, or GIF file.
- Select the Restore Default button to restore the TDM default image.
- Select Save to save your image.
Help Icon
You can add a help icon that users will see on each screen that will display links you configure.
- Select Help Icon Settings.
- Select the Enable Help Icon toggle.
- Choose a Language for the link you wish to display.
- Enter the link text under Label.
- Enter the URL under Link Address.
- Select Create.
- Repeat steps 3-5 for each additional link.
- Select the ellipsis icon next to the link and choose Delete to delete a link you've already set up.
- Select the ellipsis icon next to the link and choose Manage Language to add another language to a link you've already set up.
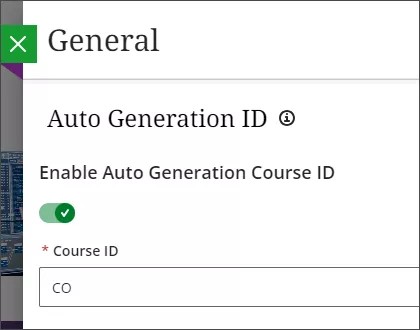
Auto Generation ID
You can have TDM autogenerate IDs for courses, offerings, and programs.
- Select Auto Generation ID Settings.
- Select the toggle for each type of ID you want to be autogenerated.
- Enter the prefix you want to use for each type of ID. Sequential numbers will be appended to that prefix for each course, offering, or program created.
Password Settings
You can set rules for how learners' passwords must be configured.
- Select Password Settings.
- Enter a minimum and maximum length for the password.
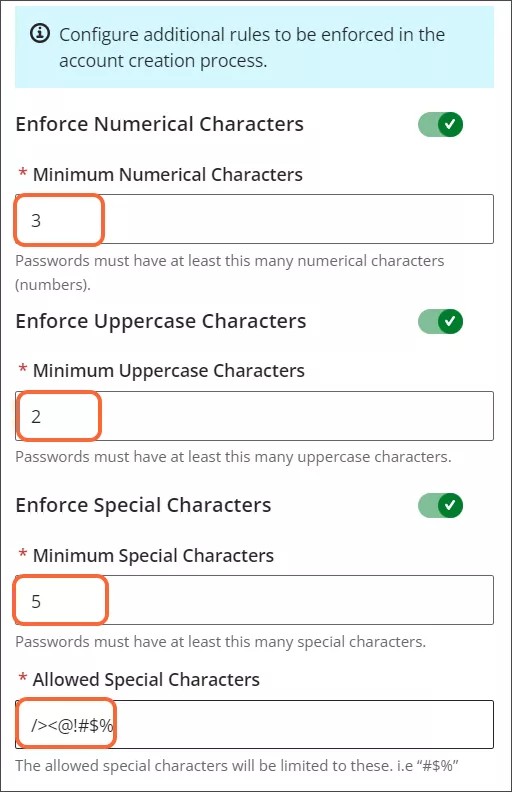
- Select the toggle for each element you would like to require.
- Enter the minimum number of numerals required in the password for Minimum Numerical Characters.
- Enter the minimum number of uppercase letters required in the password for Minimum Uppercase Characters.
- Enter the minimum number of special characters required in the password for Minimum Special Characters.
- Enter the special characters, such as #, %, and $, that will be allowed in the password for Allowed Special Characters.
- Select the Enforce Password Strength toggle to ensure learners' passwords meet a specified strength standard. If the standard is not met, the password will not be accepted. You can choose:
- veryWeak
- Weak
- Fair
- Good
- Strong
Sign Up Form
You can customize the design of the sign-up form that learners see when they sign up for an account in the TDM extension.
You should not change the JSON text unless you are confident you will not break it. If your changes do not act as expected, you can select the Set to default button to undo your changes. If you would like assistance adapting your sign up form, please submit a Behind the Blackboard ticket.
- Select Sign up Form.
- Edit the JSON form.
- Select the eyeball icon at the top of the screen to preview the sign up form.
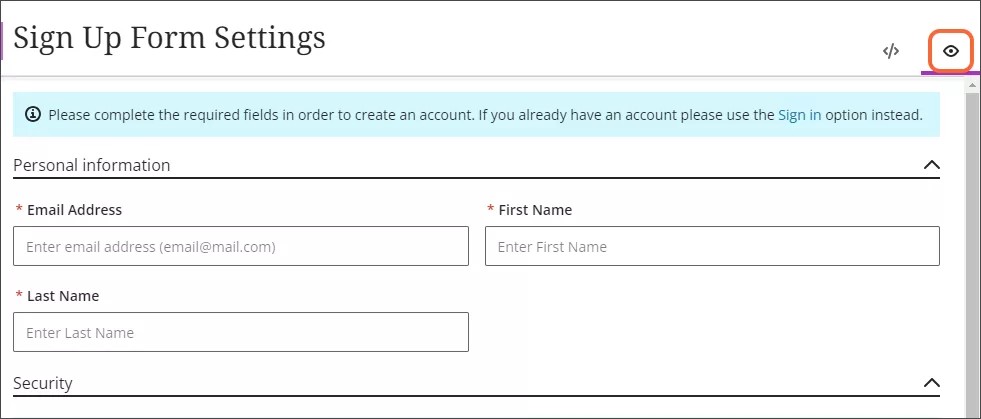
- Select Save when you have finished updating the form.
The Sign Up form can be edited to allow learners to edit their profiles after they have signed up. For assistance with this task, please submit a ticket.
The Sign Up form can also be edited to restrict users allowed to sign up for TDM based on email domain. You can configure the form so that only users with email addresses from one or more valid domains (such as anthology.com) can register. Please submit a ticket for assistance with this setup.
Institutional Hierarchy
If Institutional Hierarchy has been enabled in TDM, you will see an Institutional Hierarchy button where you can enable catalog visibility out of nodes.
- Select Institutional Hierarchy Settings.
- Select the Enable catalog visibility outside of nodes toggle if you want users within nodes to see offerings that are not assigned to nodes.
User Profile Search
Administrators can search your user profiles to find specific users or to see a list of all users.
- Select User Profile Search.
- Select Search All to see a list of all TDM users.
- Enter a username or part of a username to search for specific user or users. Select Search.
- Select the ellipsis icon in the Options column and choose More Details to see more profile information about the user.
- Click on the copy icon to copy the profile details and paste them as text to any desired location.
- Select Download as CSV to download the values as a CSV file on your computer.
- Select one or more users and select Download as CSV to download a CSV file containing all the details about each user.