This information applies only to the Ultra Course View.
This information applies only to the Ultra experience.
When your Administrator has made the corresponding resources available, you can follow these steps to start using Microsoft Teams classes in your courses:
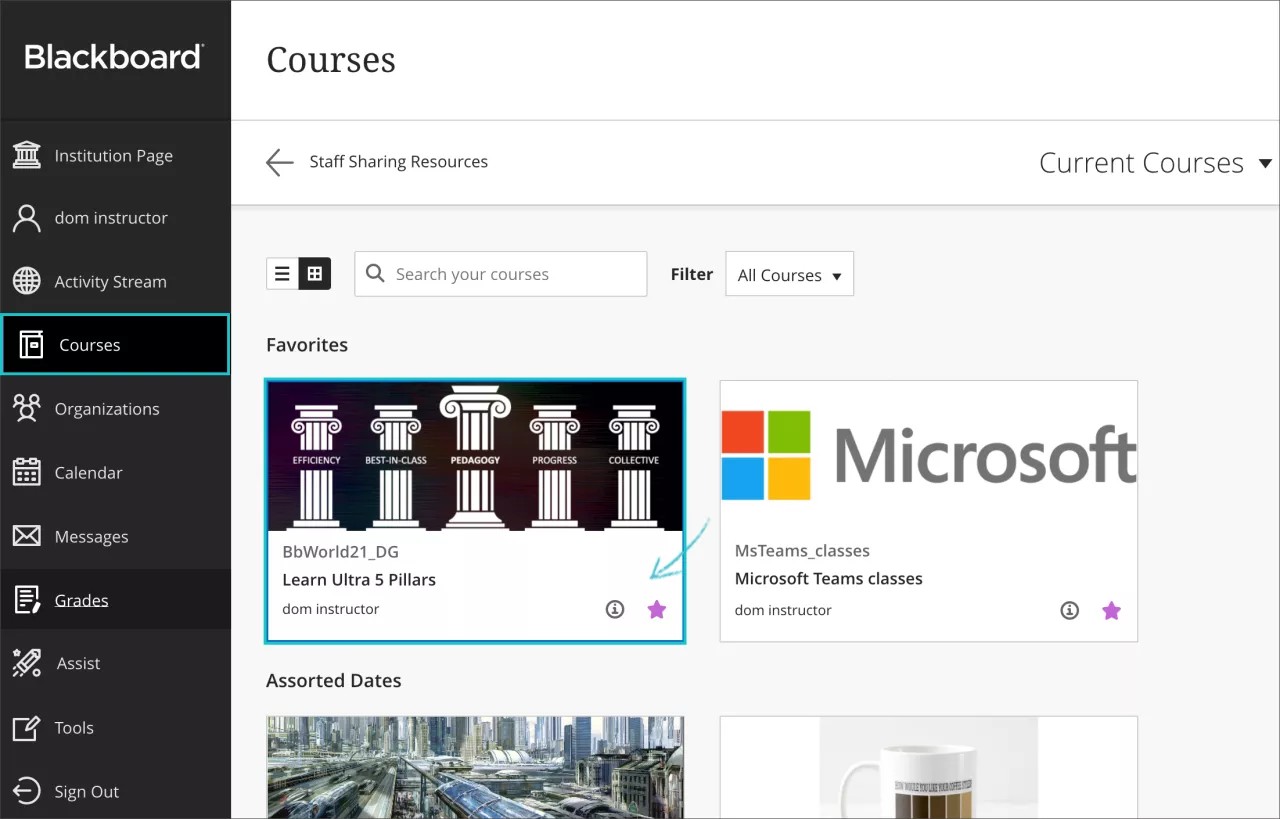
- Open your Courses and select the course in which you want to enable Microsoft Teams classes.
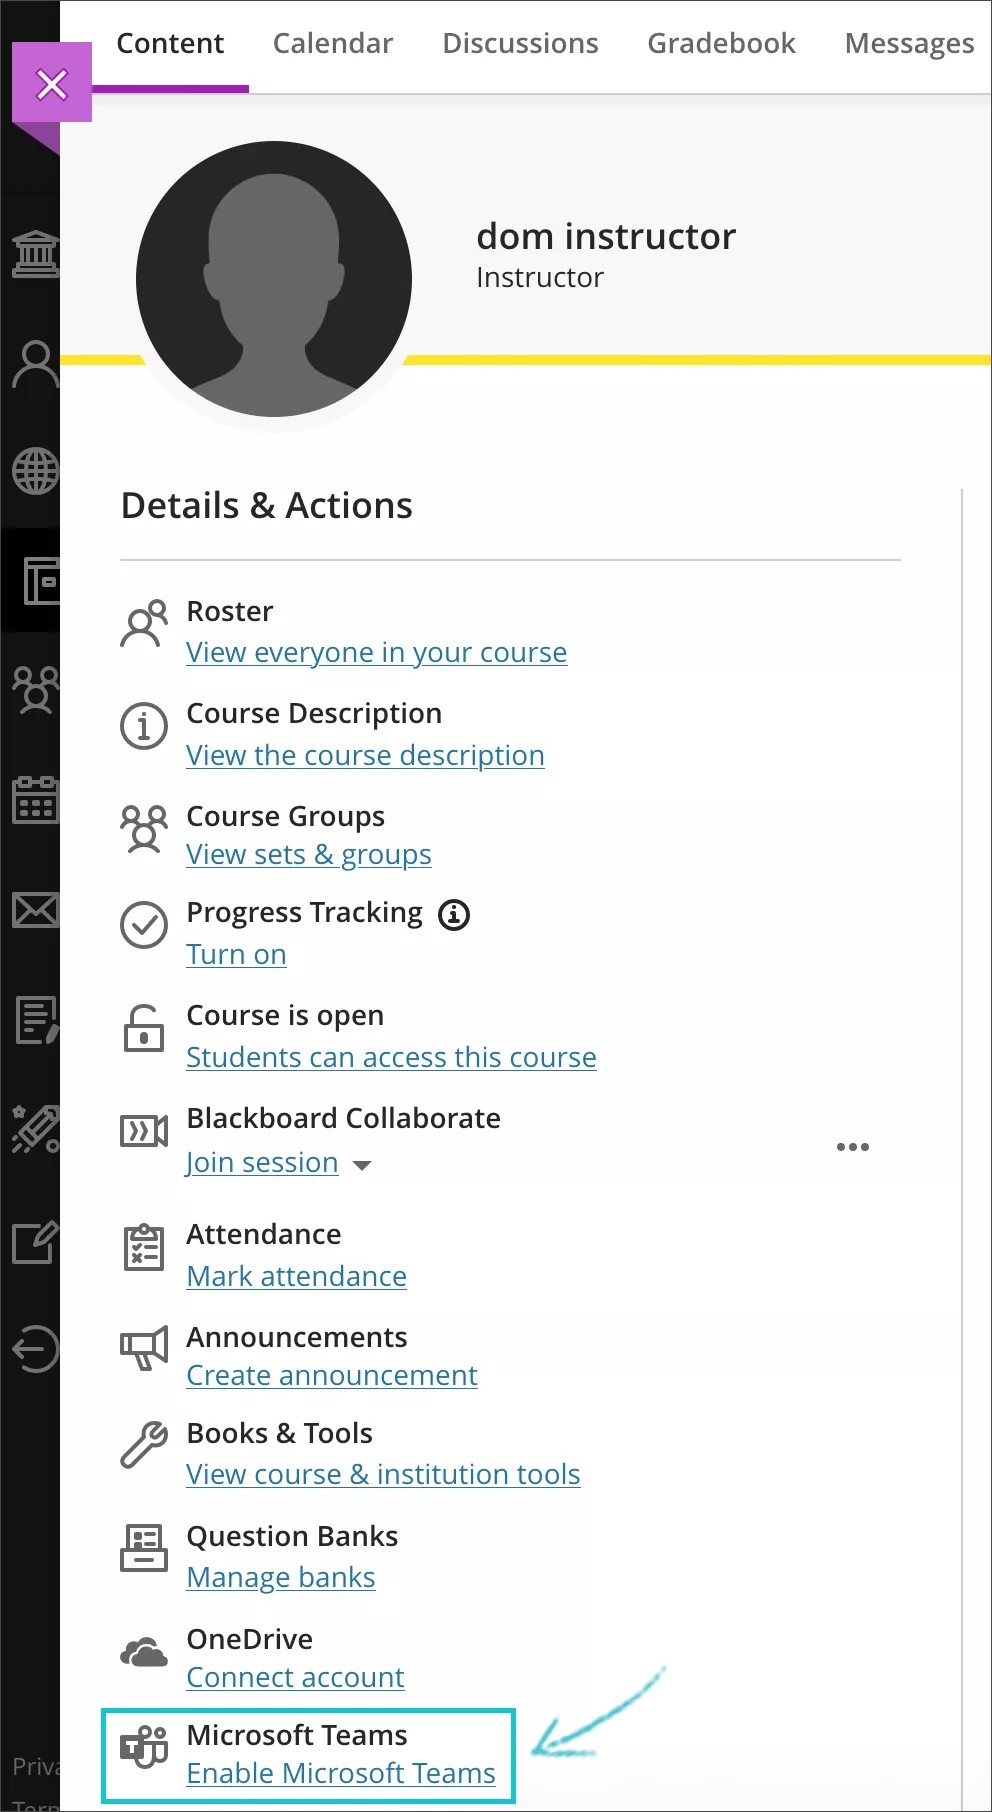
- Select the option to Enable Teams below the Microsoft Teams icon, in the Details & Actions menu of the Ultra Course View outline.
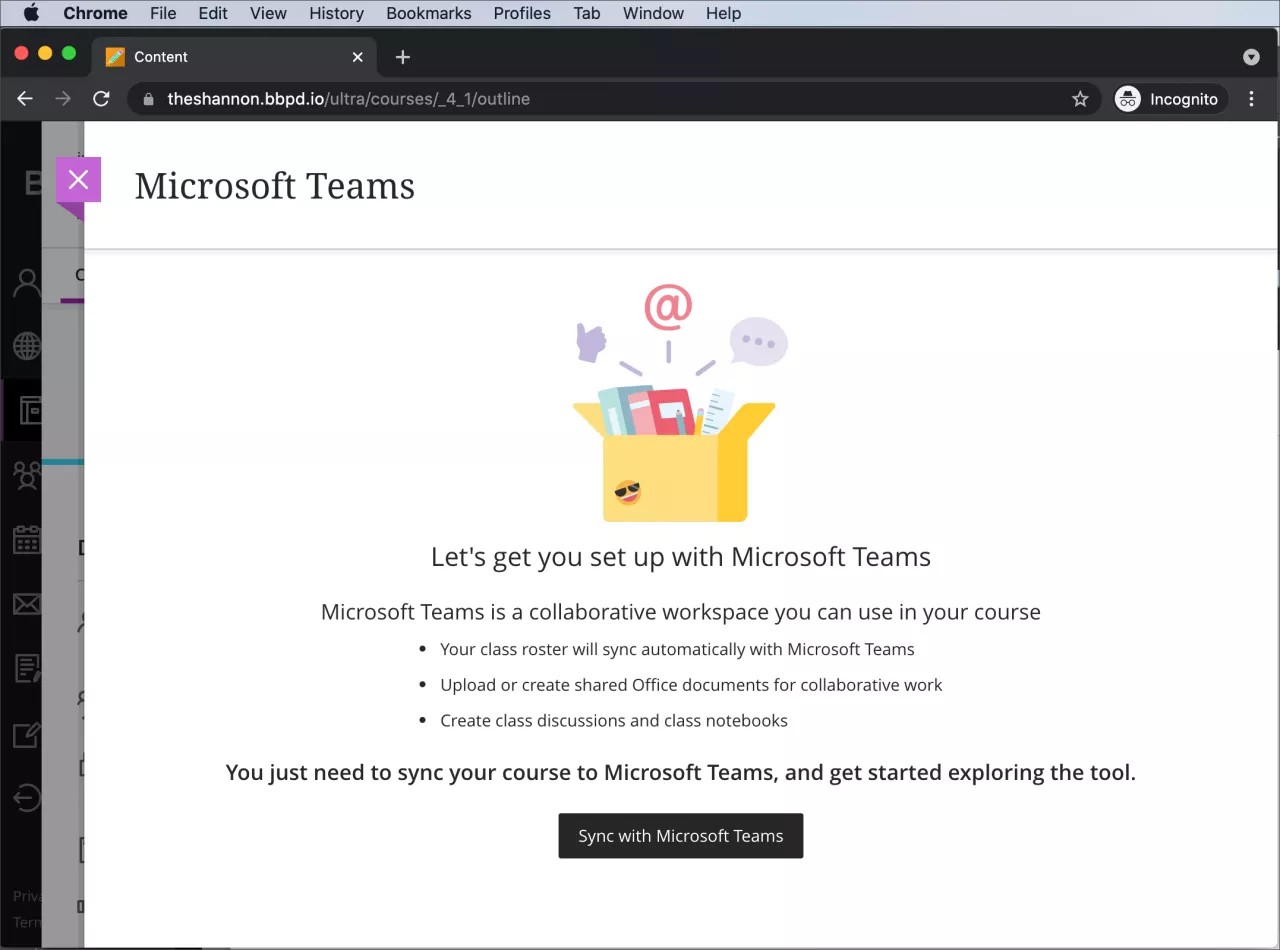
- On the pre-synchronization screen, select the Sync with Microsoft Teams button. It will trigger the roster synchronization process. This screen also offers information on what the integration will provide.
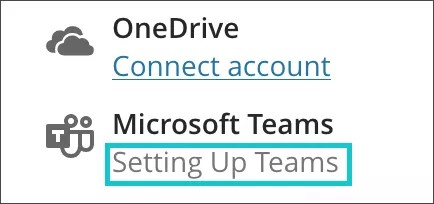
This can take up to 15 mins to complete. You may need to refresh the page after completion.
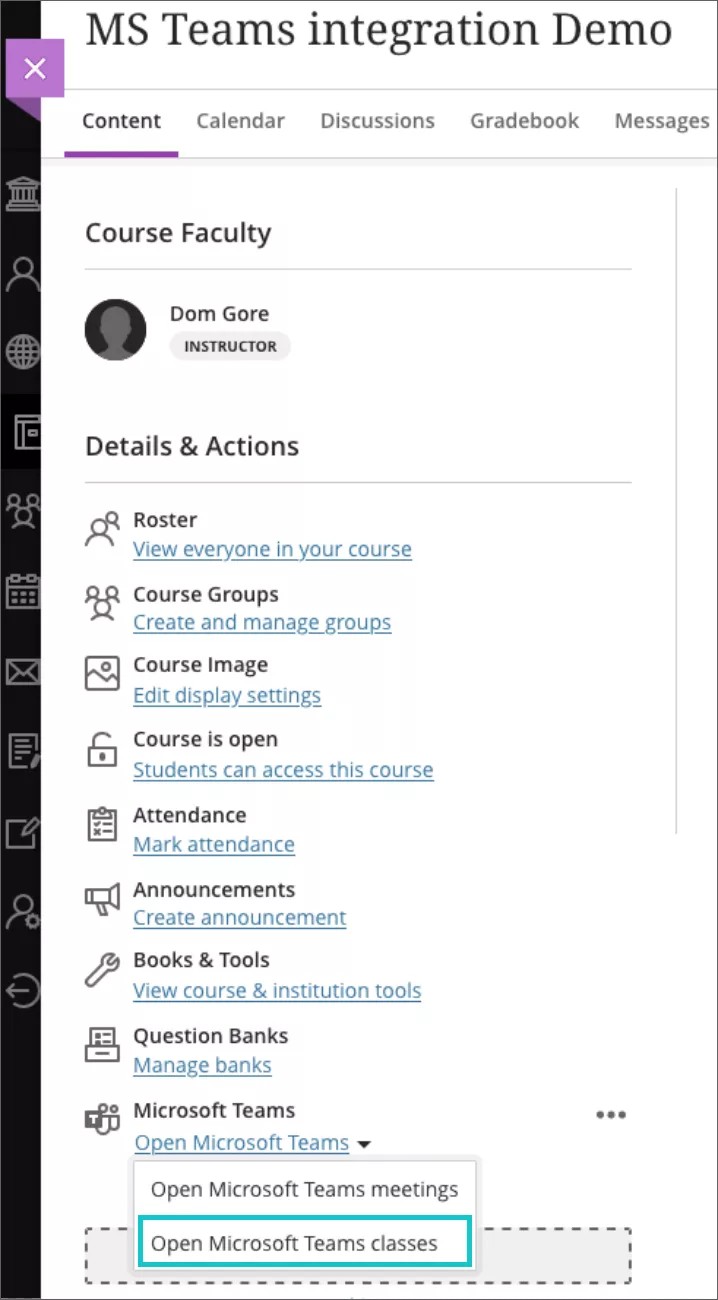
- Select the Open Microsoft Teams -> Open Microsoft Teams classes option from the Details and Actions menu after the synchronization process is complete. It will allow you to access and load the Team section created for the Learn Course.
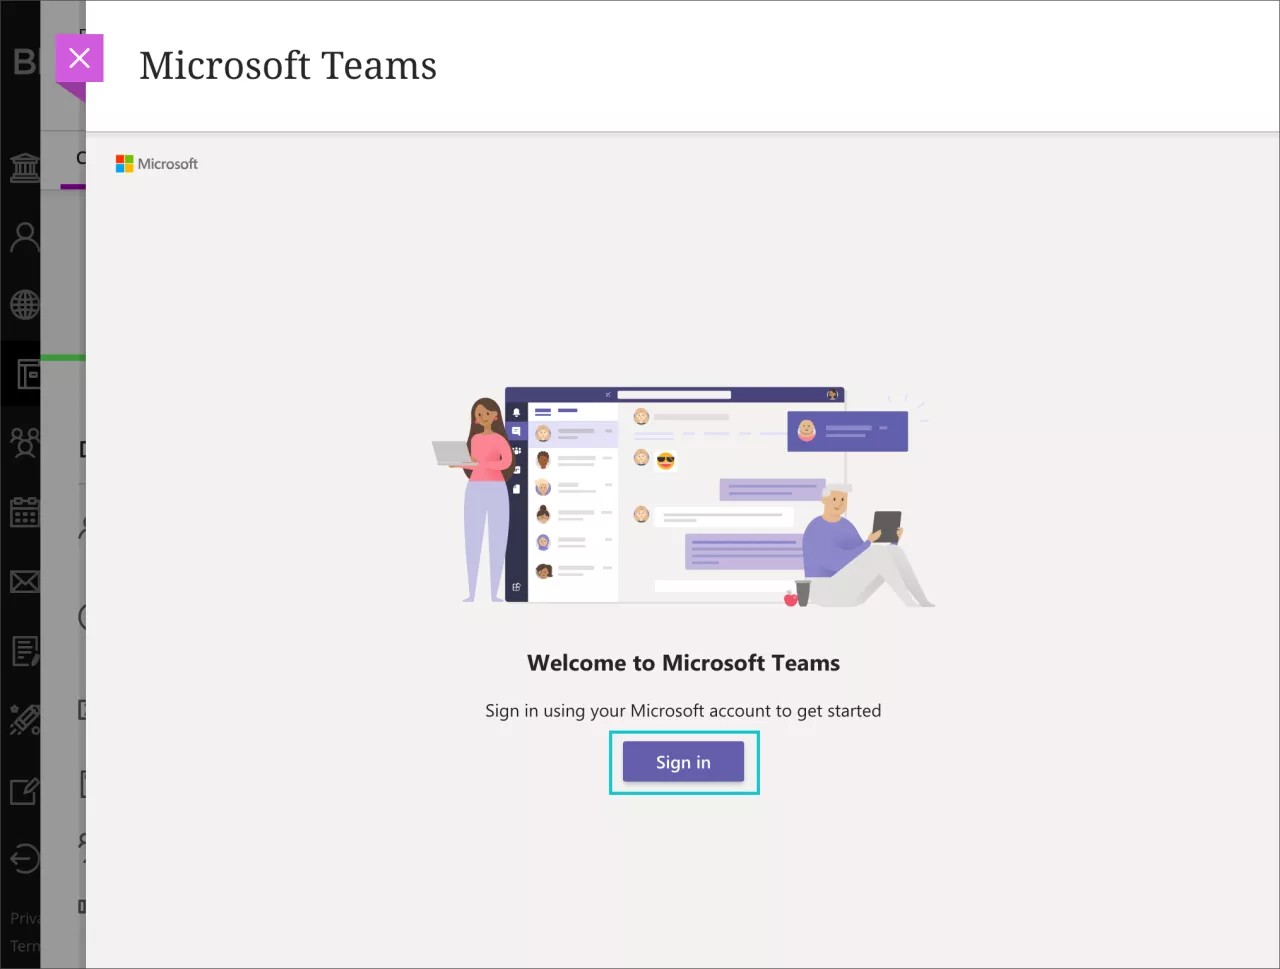
- Select the Sign In button.
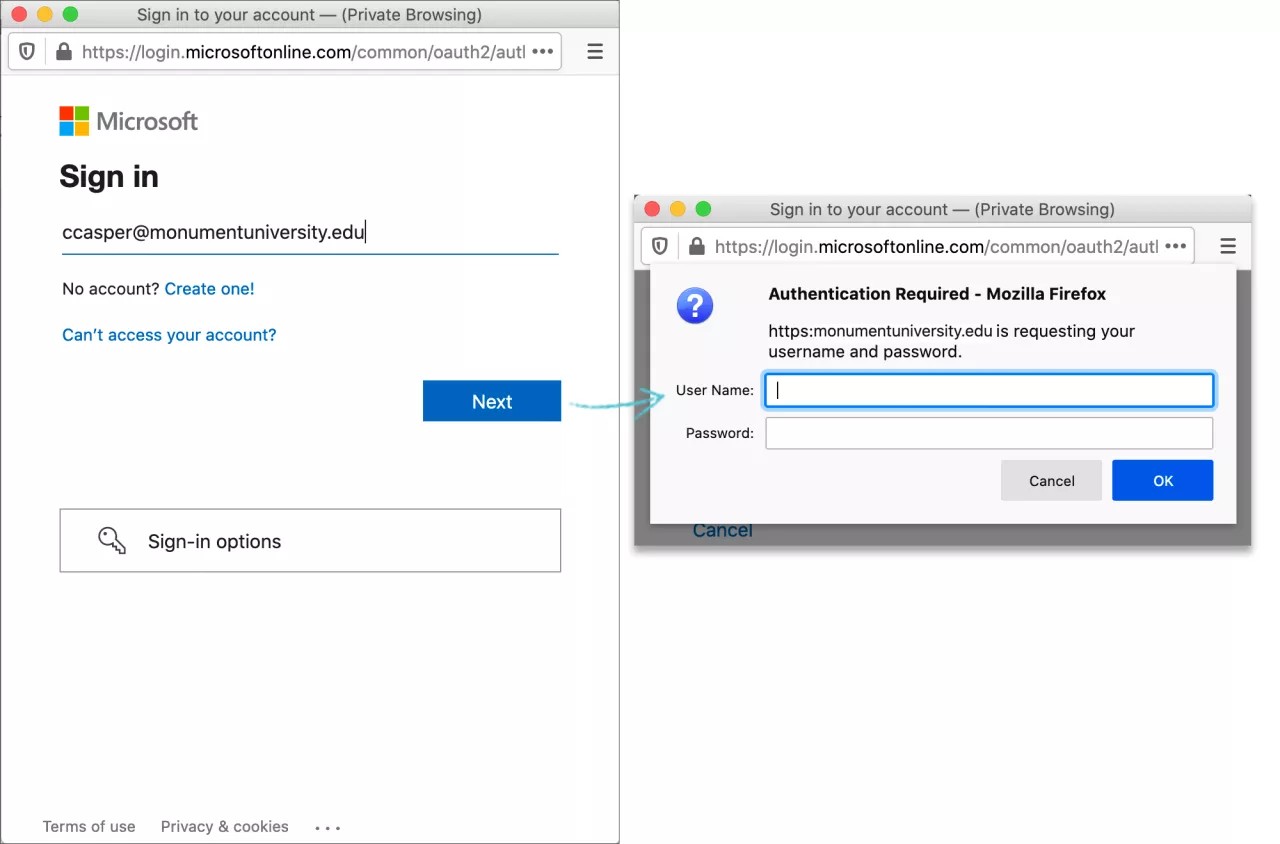
- If you are not redirected automatically to open Microsoft Teams, Sign in to Microsoft Teams using your institutional credentials.
- Select how you'd like to open Microsoft Teams. Choose between your desktop or browser applications.

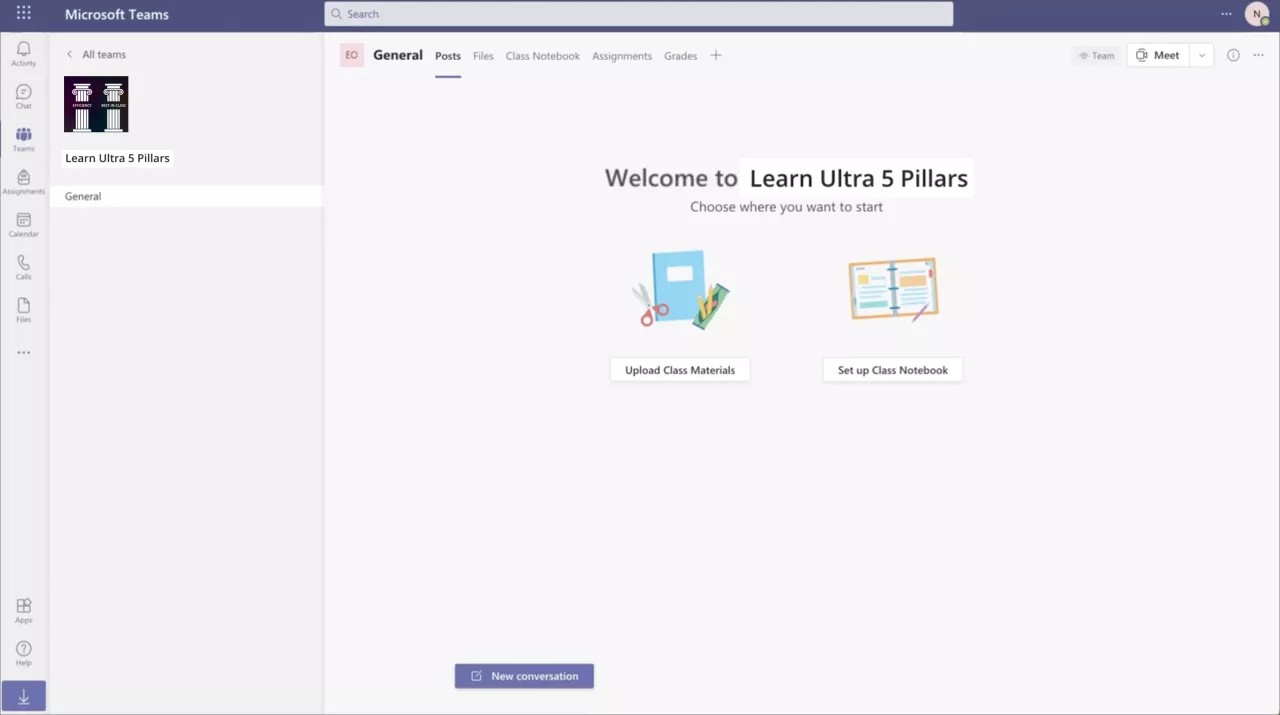
- Select the Course Teams section to launch the web view of Microsoft Teams.

- Choose between Upload Class Materials, Set Up Class Notebook or Start a Conversation, among other options to start using your course's Microsoft Team.
- Activate the Team per Microsoft Guidelines, before students can access, within the Teams interface. This is a default setting in Microsoft Teams.