This information applies only to the Ultra Course View.
This information applies only to the Ultra experience.
You can create content that combines a variety of materials to view together, such as text, multimedia, and attachments.
You can create a document or content item out of a combination of visual or textual elements. A document can be as simple as a single line of text or a combination of elements.
For example, as a single document, you can include introductory text for a lesson, an image for your students to view and interact with, and links to web resources. The materials are all presented together in the content list. The longer your content item is, the more your students have to scroll to see all the other materials in the content area.
On this page, learn about:
Video: Create a Document
Watch a video about creating a document
The following narrated video provides a visual and auditory representation of some of the information included on this page. For a detailed description of what is portrayed in the video, open the video on YouTube, navigate to More actions, and select Open transcript.
Video: Create a document explains how to create a document page.
Create an Ultra document
On the Course Content page, you can create a document or page to present a combination of content. For example, you can include introductory text for a lesson, an audio file of a lecture, and an image. When students select the document title, the materials you added are all presented together on one page. Students see the content just as you see it, without the editing options.
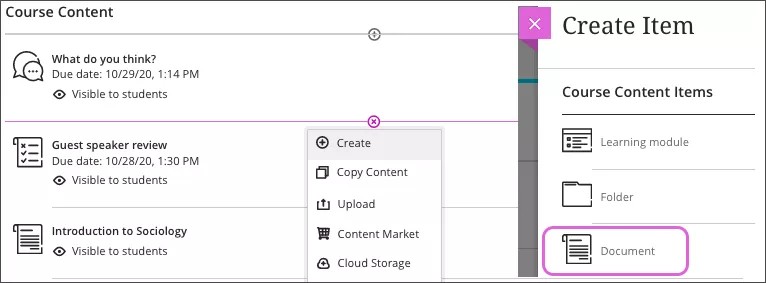
Select the plus sign wherever you want to add a document. In the menu, select Create to open the Create Item panel and select Document. The New Document page opens.
You can also expand or create a folder or learning module and add a document.
New Document page
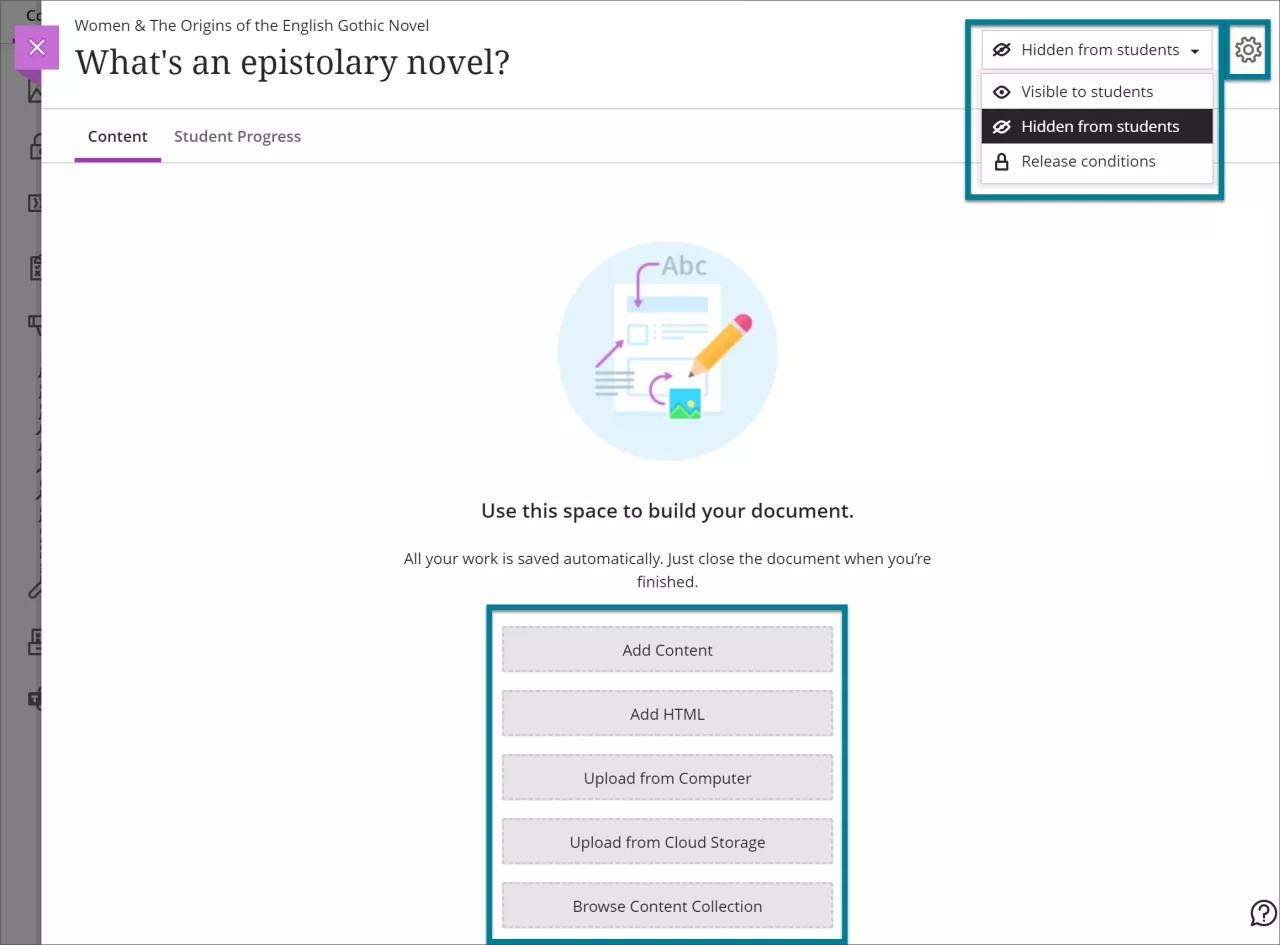
There are three customizable components on the New Document page:
- Add content
- Control document visibility to students
- Apply document settings
Add content
Use the options at the bottom of the New Document page to add content. You can add as many text blocks and files as you want.
- Enter a title. On the Course Content page, the title appears as the link students select to view the materials. If you don't add a title, New Document and the date appear in the content list.
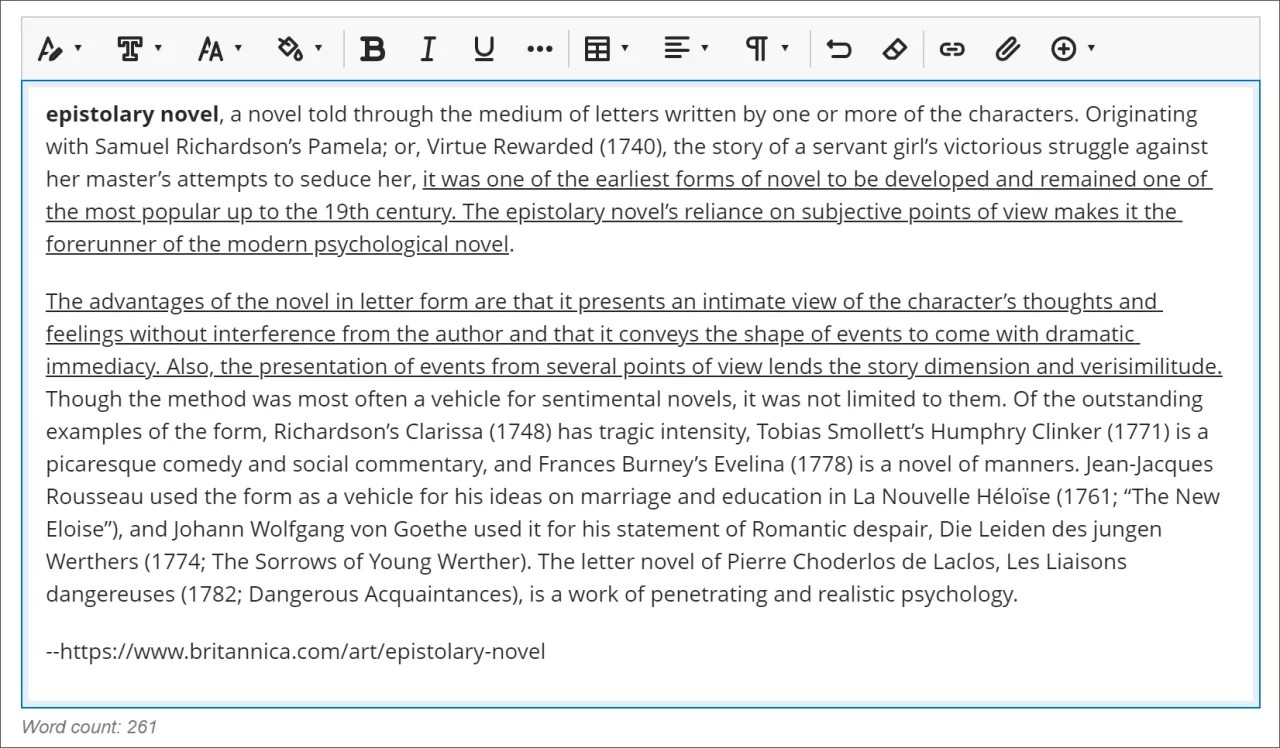
- Add text blocks. Select Add Content to open the content editor. You can also paste text from a Word document.
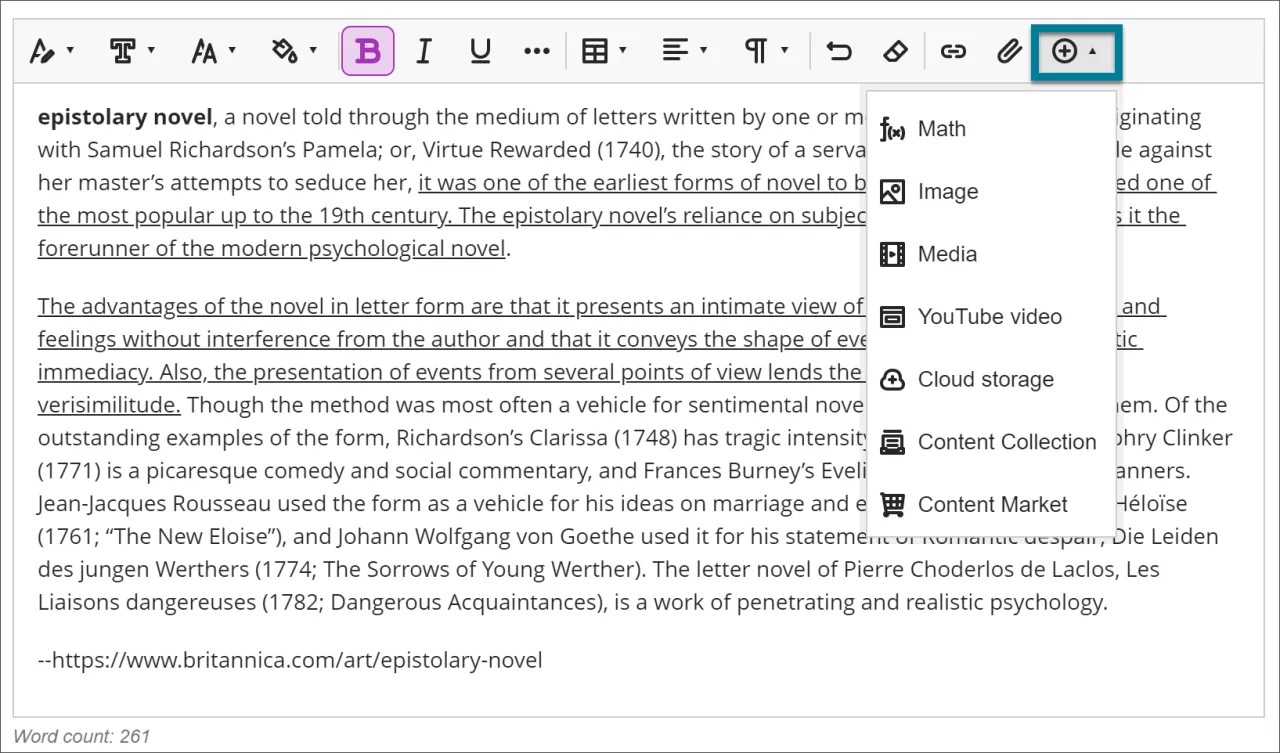
You can also use the editor to embed images and attach files along with your text. To use your keyboard to jump to the editor toolbar, press ALT + F10. On a Mac, press Fn + ALT + F10. Use the arrow keys to select an option, such as a numbered list.
- Add HTML. The content editor has many options for formatting your text. However, you can also add document content using HTML.
- Add files. Select Upload from Computer and browse for or drag files from your computer, such as a Word document and an audio file. If you want content within a folder, you'll need to select individual items inside that folder. Your institution controls the maximum size of a file that you can upload.
- Upload from Cloud Storage. You can upload files from cloud storage, such as OneDrive® and Google Drive™. When you add a file from cloud storage, the system makes a copy of the file in your course. The files aren't linked. Any change you make to a file within your course doesn't apply to the file in cloud storage. If your browser allows, media files display inline.
- Browse Content Collection. You can also include content from the Content Collection in Ultra Documents.
Auto-generate images
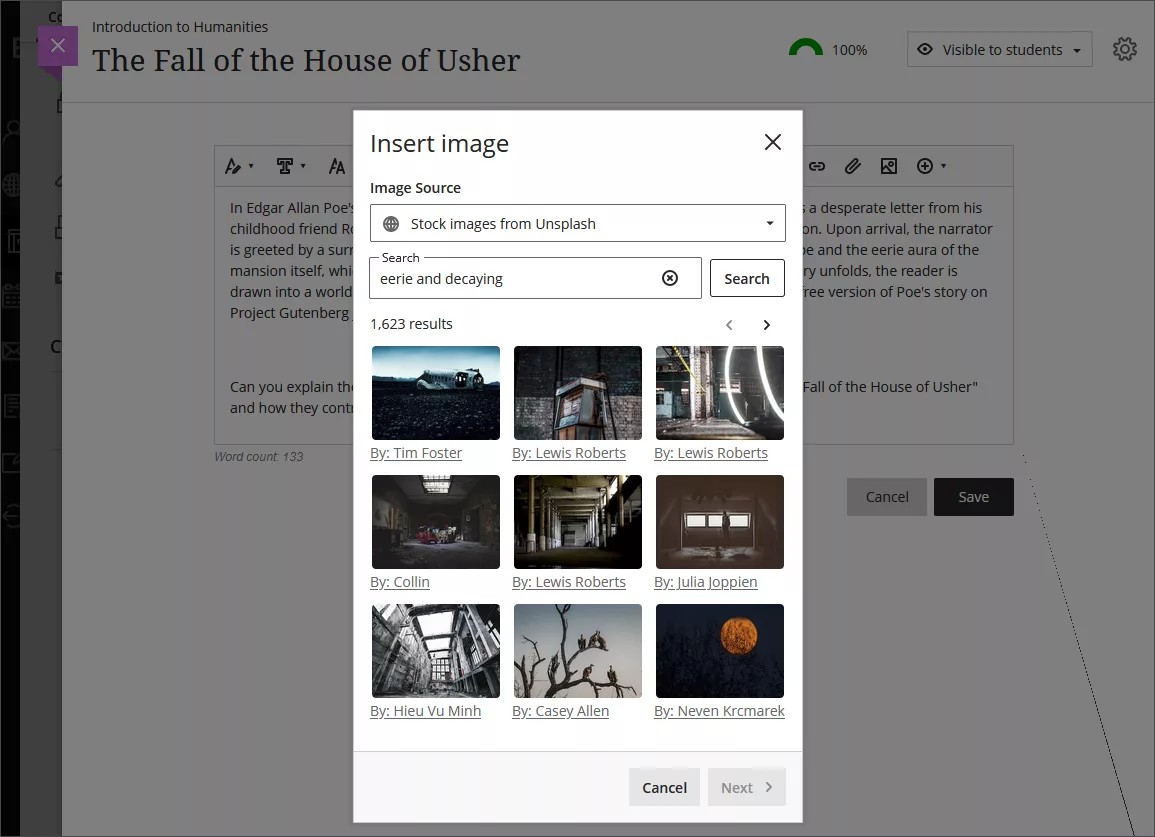
If your institution has turned on the AI Design Assistant Feature,, you can directly insert AI-generated or stock images into the text editor by selecting the Image button. View the "AI Design Assistant" topic to learn more about the feature.
When you use Unsplash, the search terms will be autopopulated from your text. You can select the X button and use your own search terms if you’d prefer.
With the AI Design Assistant, you can generate an image to insert into your text. Enter a description for your image and then select Generate.
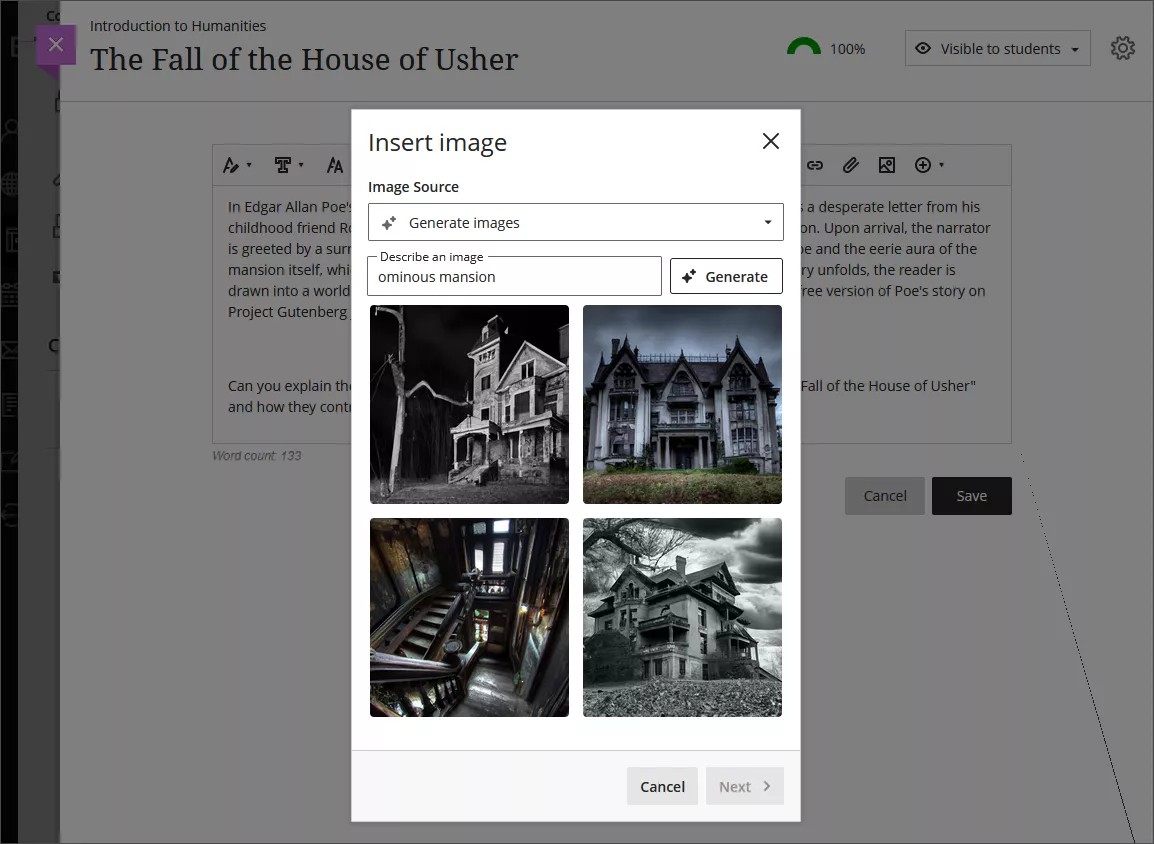
Students can only upload images and can’t generate images or use Unsplash.
Adjust image appearance
After you’ve chosen an image to insert, select Next. You can now customize how the image appears in the text.
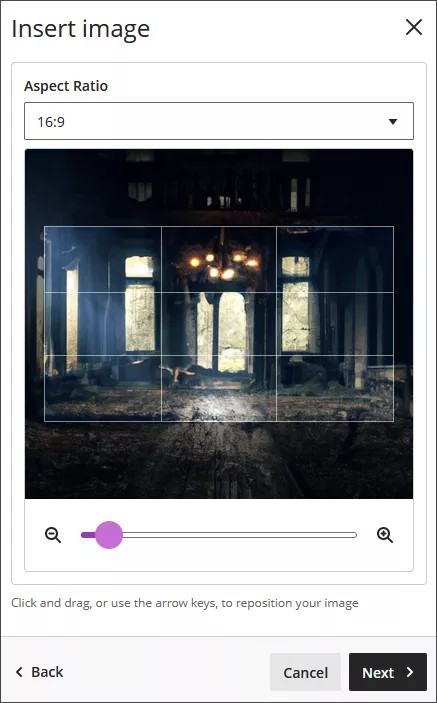
You can choose an aspect ratio for the image. You can keep the original aspect ratio, or convert it to a landscape or portrait display. The white grid lines show you what part of the original image will be displayed on screens.
You also have the option to adjust the slider to zoom in or out, and you can select and drag the grid lines to change the focus.
Select Next when you’re ready to insert the image.
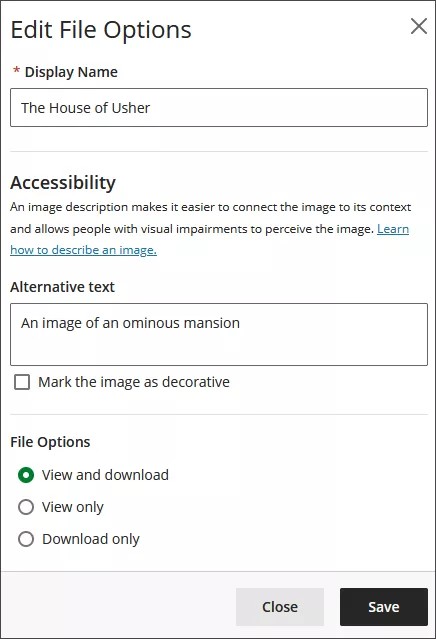
You’re required to enter a display name. We recommend also adding alt text, to make the image accessible to users with screen readers.
By default, users can view and download the image. If you select Download only for the image, a placeholder will display on user screens until users download the image.

Document visibility
- Show or hide the document. Students can't see a document until you choose to show it. You can create all your content ahead of time and choose what you want students to see based on your schedule. You can also set availability conditions based on date, time, and performance on other items in the course gradebook. On the Course Content page, students can see when the document is set to be available.
Document settings
Allow class conversations. What if your students have questions? You can allow conversations within a document, and anyone can contribute. Select Settings to open the Document Settings panel and select the conversations check box. As the conversation develops, it appears only with the document.
Add goals and standards. You and your institution can use goals to measure student achievement across programs and curricula. When you create a document, you can align one or multiple goals. In the document, select Settings. Select Align with goals to search for available goals to align with the document. Students won't be able to see the goals you align with a document.
Add an optional description. The description appears with the document title on the Course Content page. This is where you can provide students with more information about the document or give additional instructions.
The maximum length of a description is 750 characters.

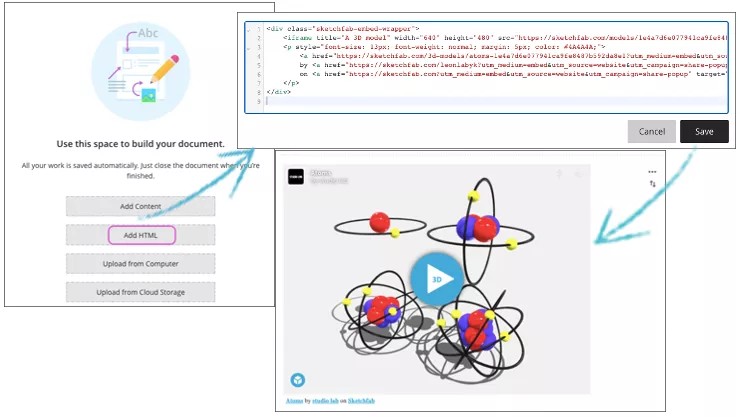
Add custom HTML or CSS
In Ultra Course View, when you enable an alternate domain for your site, you can use custom HTML or CSS in a document. Select Add HTML as a new block to embed an inline third-party HTML editor in the document. You can write or paste HTML code into the editor and select Save. The encoded HTML is sent to Learn within BbML for persistence. The HTML is denoted in the BbML with a new data-bbtype. If you load previously created BbML containing HTML in read-only mode, the HTML is loaded from a separate domain in an iframe.
A CodeEditor package handles all of the imports required by the third-party editor and standardizes the editor configurations. The package otherwise simply wraps the editor's method for injecting itself into a DOM element. Directives and plugins that embed the editor on the page depend on the package.
Your institution must have an alternate domain configured for the Add HTML block to appear. If you don't see the block, please contact your site administrator.
Add HTML
Add custom HTML or CSS
In Ultra Course View, when you enable an alternate domain for your site, you can now use custom HTML or CSS in a document. Select Add HTML as a new block to embed an inline third-party HTML editor in the document. You can write or paste HTML code into the editor and select Save. The encoded HTML will be sent to Learn within BbML for persistence. The HTML will be denoted in the BbML with a new data-bbtype. If you load previously created BbML containing HTML in read-only mode, the HTML will be loaded from a separate domain in an iframe.
A new CodeEditor package handles all of the imports required by the third-party editor and standardizes the editor configurations. The package will otherwise simply wrap the editor's method for injecting itself into a DOM element. Directives and plugins that embed the editor on the page will depend on the package.
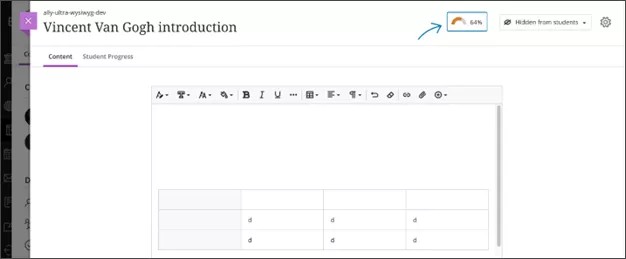
Word count in the editor
As you enter text in the editor, the word count appears below the editor. After you save, the word count no longer appears.
These items are included in the word count:
- Individual words
- Web links
- Text in bulleted or numbered lists, but the bullets or numbers themselves aren't included
- Superscript and subscript text not part of another word
These items and formatting elements don't affect the word count:
- Images, videos, and file attachments
- Math formulas
- Blank spaces and lines
- Alternative text
When you use punctuation to attach words or numbers, the count is affected. For example, "We went...without you" is counted as three words. The words or numbers on either side of the punctuation are counted as one word.
Ultra Accessibility Checker (Powered by Ally)
Accessible content ensures inclusivity and meaningful engagement for diverse learners. To create accessible content in your Ultra Documents, you can use the Ultra Accessibility Checker (Powered by Ally).
The Ultra Accessibility Checker scans content in the rich content editor for Ultra Documents to identify accessibility issues. It offers explanations about these issues and offers quick fixes to address them, making your content accessible.
Ally is a licensable product that is integrated into a Learning Management System to enhance accessibility for you and your students. The Ultra Accessibility Checked capability is built into Learn Ultra. You institution does not need a license for Ally to use the Ultra Accessibility Checker.
More on Ultra Accessibility Checker (Powered by Ally) [link]
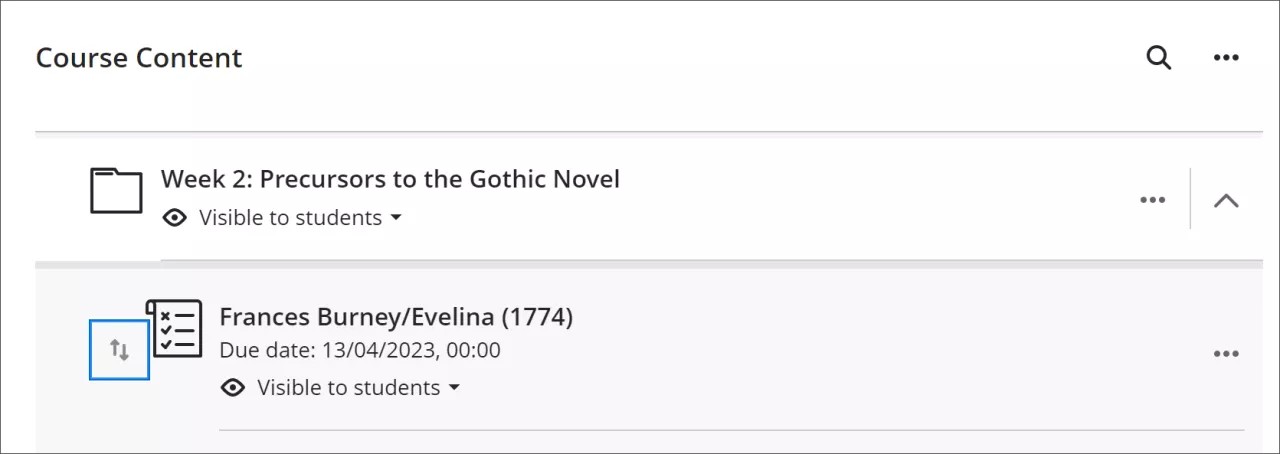
Edit, reorder, and delete Ultra documents
You can make changes to existing documents and change where they appear on your Course Content page. Select the row of the document you wish to move and drag it to a new location. You can also move a document into an expanded folder.
You can use your keyboard to move a document.
- Tab to an item's Move button.
- Press Enter to activate move mode.
- Use the arrow keys to choose a location.
- Press Enter to drop the item in the new location.
In a document's row, open the menu to select Edit or Delete.
Delete documents
You can delete a document from your course or hide it from students to preserve the information. Students can't access hidden documents on the Course Content page.
Edit documents and media files
Based on the document element, you can move, edit, delete, or download it.
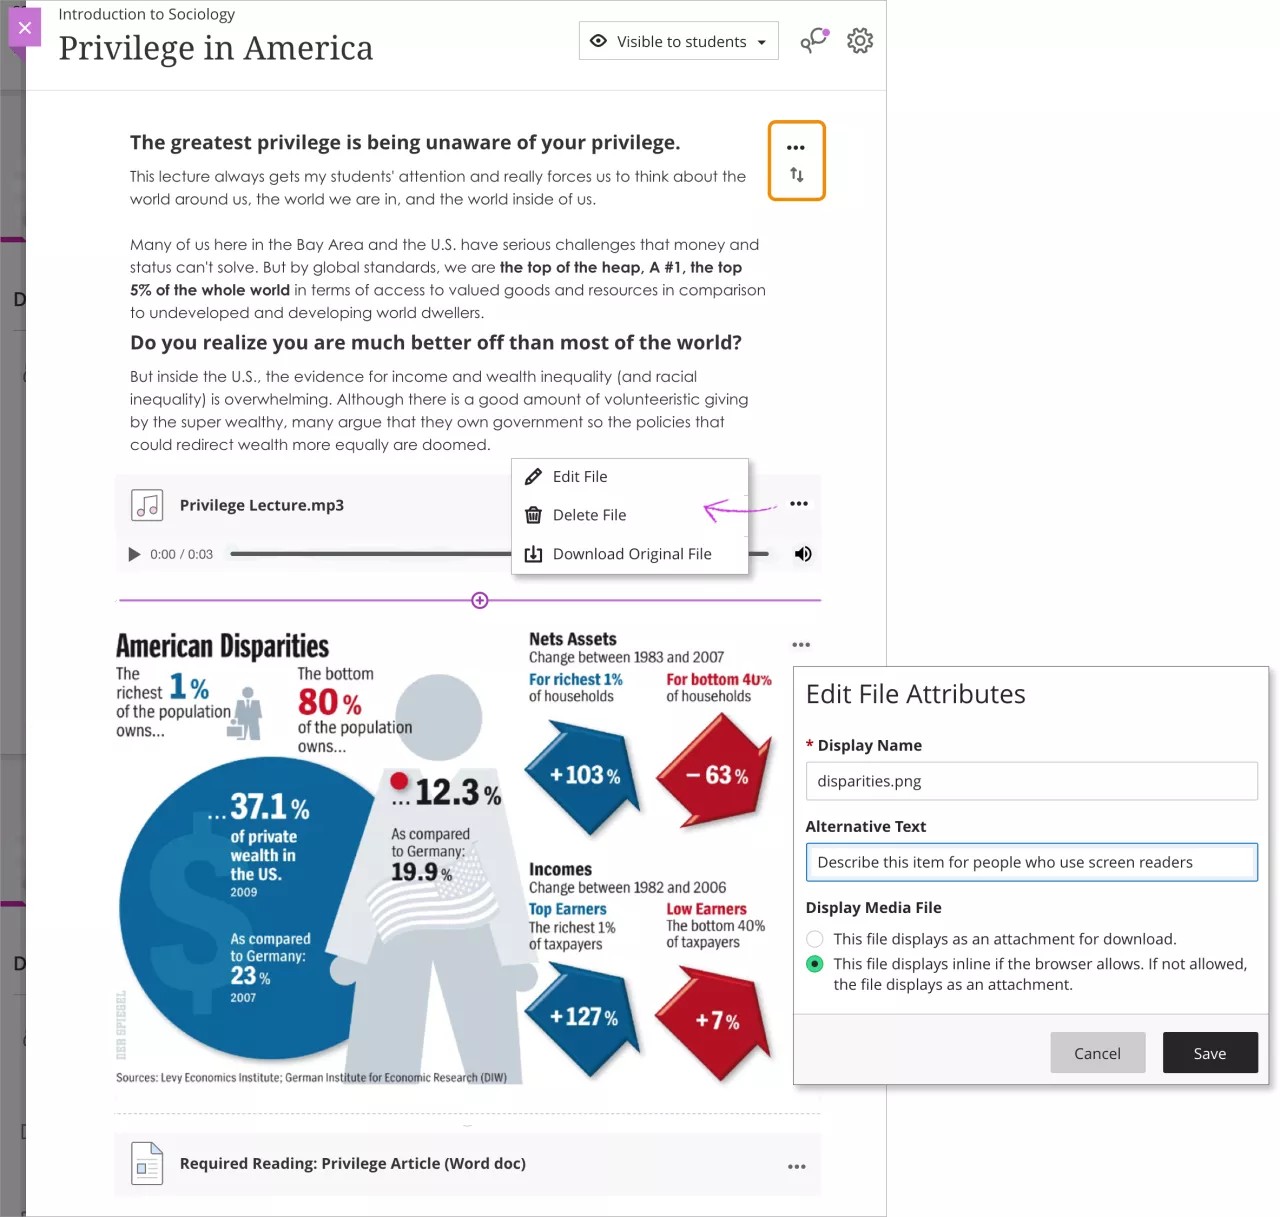
Open an element's menu to access the options. Select the Move button to move an element to a new location on the document page.
Select the plus sign wherever you want to add another file or text block on the document page.
Media viewing options
If your browser allows inline media files, the media files you add to documents appear inline by default. Otherwise, they appear as an attachment.
Images that display inline are embedded in a 768-pixel block at the biggest breakpoints. The closer to that size the images are, the less padding appears around them.
You can also add alternative text to describe the images you add. Alternative text is read aloud by screen readers and helps describe what some users can't see.
You can edit the file's settings, including the display name, alternative text, and display behavior. Choose whether to insert the file as a link in the editor or to embed the file directly so it appears inline with other content you've added. To edit the file's alternative text or display behavior, select the file in the editor and then select Edit Attachment.
In most browsers, you can select where the files that you open in courses are downloaded. For example, in Chrome, go to Settings > Advanced > Downloads. You can select the location for file downloads and choose if you want the browser to ask each time. In Safari, you have the same capabilities. Go to Preferences > General > File download location. You can perform an internet search to learn about file download choices in other browsers.
Understand what happens during copy and import
You can import a course or copy all the content from one of your courses on the system into another course. The new content is added to the end of the content list of the course you're in.
More on copying a course or copying content from other Ultra courses
When you import Original content or choose to preview your Original course in the Ultra Course View, content items are converted to Ultra documents. All text, attachments, and links that you added in the editor are converted and media files will open inline by default. Files that you added as attachments in the section after the Original editor are grouped together in alphabetical order at the end of the Ultra document. Media files will open inline by default. You can edit images, video, and audio files to change the default and change any file's title. Students will need to download some file types to view them.
More on Original content items
Review the document as you may see some loss of formatting during the conversion process. For example, if you added a title for one of your files in the Original Course View, the title may not appear in Ultra. You can edit the file to change the file name. You can reorder the items in the document as needed.