Get insight into your students' activity
As an instructor, you can see when your students opened, started, and submitted tests and assignments with the Student Activity report. In general, this feature looks and functions the same whether you're working in an Original or Ultra course. In an Original course, you can also view student activity for Kaltura multimedia content.
More on determining your course view
View student activity for an assessment
- Inside your course, select the Content tab.
- Navigate to a test or assignment and select the arrow to the right of its name.
- Choose Student Activity.
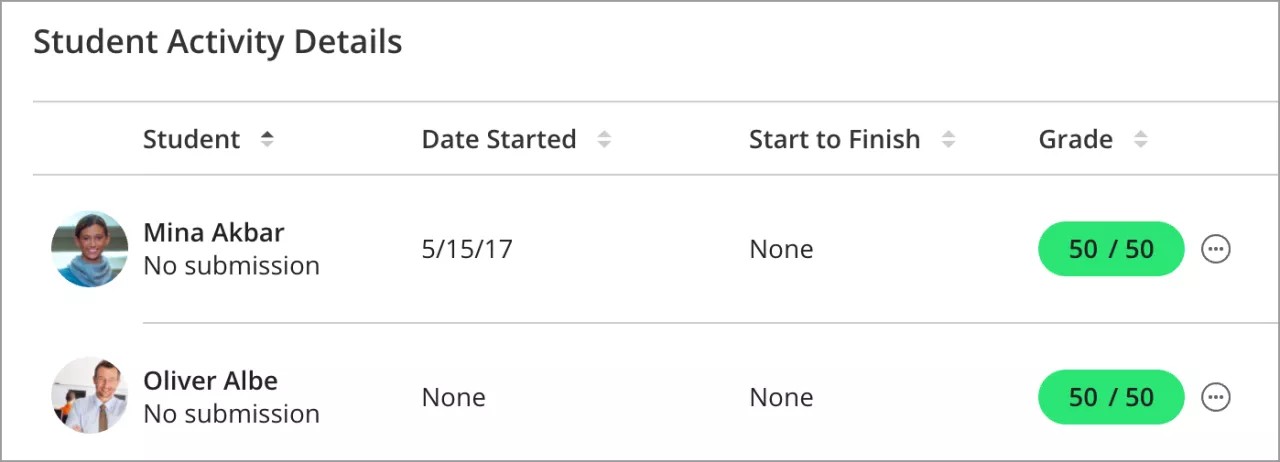
- The Student Activity Details panel appears.
You can also view student activity for discussions. The discussion statistics are located in the Performance Dashboard, and are a valuable tool you can use to monitor student progress throughout your course. A summary table displays each student's history of access and progress.
Explore student activity details
The top of the page shows you an overview of information, including the course average submission time, time to open, time before due date, and submission activity for all students. The Grade Distribution shows the grades you've assigned to students.
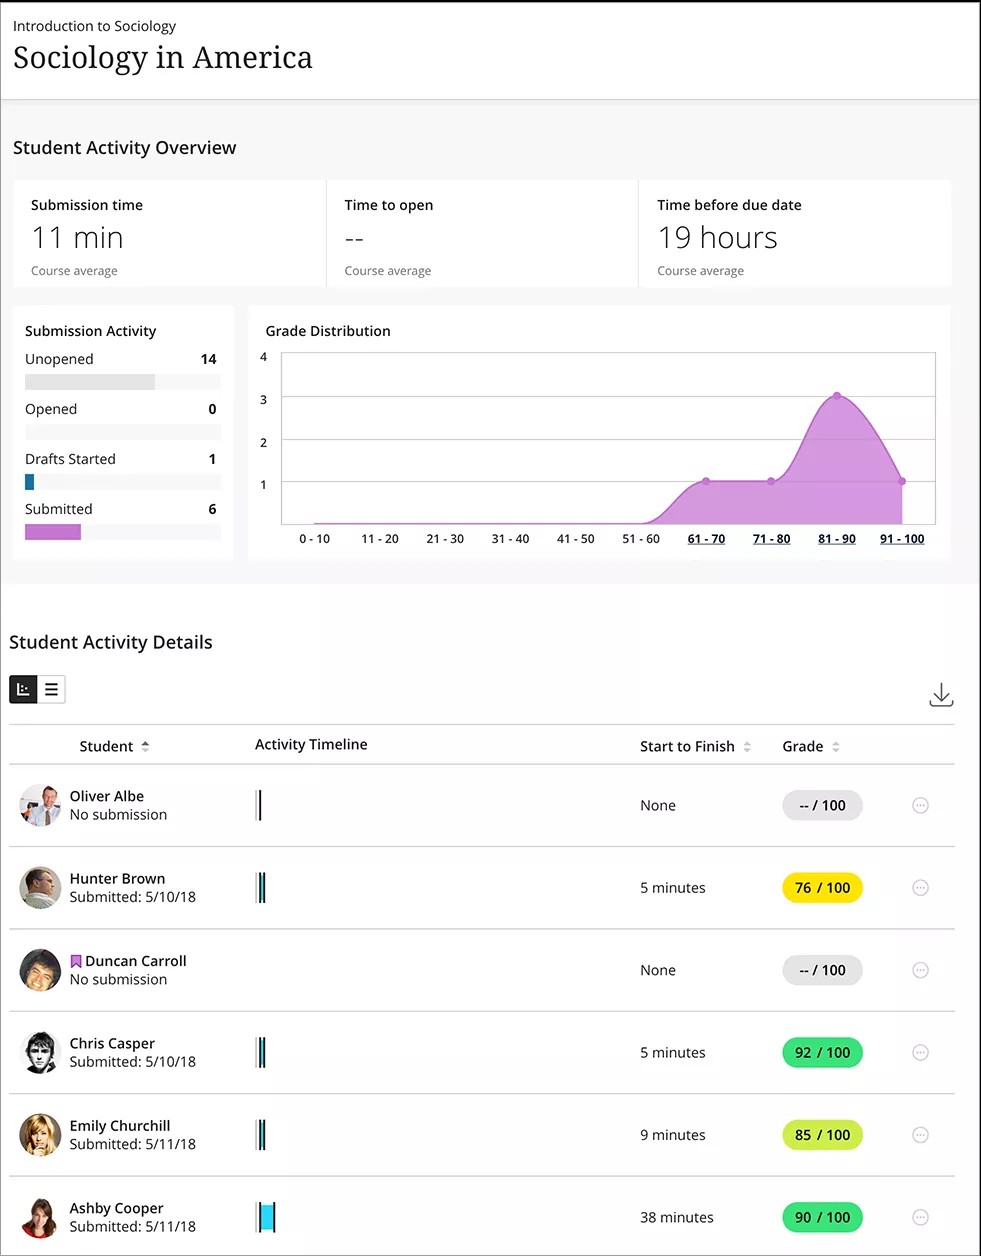
The bottom half of the page includes individual student activity, including each student's names, activity timeline, start to finish time, and grade. You can view this data in two modes: grid view or chart view. The grid view displays an Activity Timeline in a visual, box-and-whisker plot graph. You can hover over the tick marks on the plot to see important markers of student activity, such as the date the student opened the assignment.
The chart view provides the same information as the graph, but each time detail is listed in separate columns with numerical data. If you want, you can choose to download the data for all your students. Select Download in the upper-right section of Student Activity Details.
Contact a student to follow up
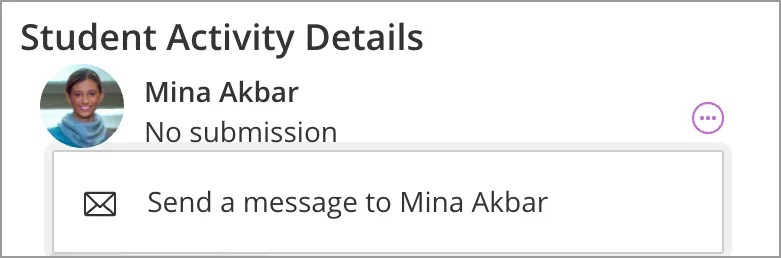
In the Student Activity Details section, you can send a message to a specific student from the default grid view.
Select Message and send a message to one of your students. Invite the student to meet with you one-on-one or during office hours to discuss activity in the course.
On a smaller mobile device, you may need to select the More Options icon first before the Message choice appears.